Apple login setup
This page explains how to add Apple's sign-in service to your applications to allow customers to log in with their Apple identities.
Objective
Integrating with Apple's sign-in service allows customers to log in with their existing Apple identities.
Overview
Strivacity's support for social authentication and registration allows you to easily establish a trusted relationship between your applications and various social identity providers.

Social provider add-ons in the Admin Console come with many client-side configurations out of the box to make integration as painless as possible:
- autodiscovery URL with automatic endpoint collection
- pre-defined scopes for the essential requests
- pre-configured claim mappings to obtain and synchronize relevant social profile attributes
- continuous customer data synchronization
Prerequisites
General
- General understanding of the OIDC Authorization Code Flow grant type
- A test application where you can apply and test the Apple social provider
To demonstrate the integration process, the test application will be Strivacity's customer self-service management utility. The process will look mostly the same for any other application.
Apple
- Existing Apple identity
- Apple developer account with Apple Developer Program membership
- Permission to Certificates, Identifiers & Profiles
- App ID (Team ID in Strivacity)
- Services ID (Client ID in Strivacity)
- Key ID (Key ID in Strivacity)
- Authentication key (Client Secret Signing Key in Strivacity)
The authentication key can only be downloaded once.
Strivacity
- Up-and-running Strivacity instance
- the URL of your instance in reverse-domain name style: <com.strivacity.yourStrivacityInstanceID>
- Redirect URI where customers are redirected after successful authentication: https://<yourStrivacityInstanceID>.strivacity.com/provider/continue
- Test application to test the social provider
- The application's self-service URL for reference
Apple-side configuration steps
To add the Sign in with Apple capability, you need to configure multiple components on Apple's side:
- register an App ID for your Strivacity instance on Apple's side
- make the sign-in capability available for use (=enable) while registering the App ID
- create a Service ID
- allow the sign-in capability while adding the redirect URL
- obtain the Key ID and download the authentication key
Registering an identifier for Strivacity
- Go to 'Certificates, Identifiers & Profiles' in your Apple developer portal.
This module is only available with an Apple Developer Program membership.
- Go to 'Identifiers' on the 'Certificates, Identifiers & Profiles' page.
- Select 'App IDs' in the dropdown on the right.
- Click on the blue '+' sign next to the 'Identifiers' heading.
'Register a new identifier' page
On this page, you can select the type of identifier you'd like to register.
- Select 'App IDs' from the list, then click 'Continue'.
- On the next page, select 'App' under 'Select a type', then click 'Continue'.
You will be directed to the ‘Register an App ID' page where the App ID is automatically generated.
'Register an App ID' page
- Capture the App ID from 'App ID Prefix' and save it for future reference.
- At 'Description', add a name for your new identifier; it will go by this name in the 'Identifiers' module.
- At 'Bundle ID', add your Strivacity instance's URL in reverse-domain name style: 'com.strivacity.yourStrivacityinstanceID'.
Enabling the 'Sign in with Apple' capability
This is the place where you can select which Apple services should be available for Strivacity. The available capabilities can also be changed later on.
- Scroll down to find 'Sign in with Apple' and select it.
New options will appear after making the selection.
- Click 'Edit'.
- Select 'Enable as primary App ID' on the new screen.
- Click 'Save' to save your choices.
'Confirm your App ID' page
- Click 'Continue'.
- Click 'Register' to complete your App ID registration.
- You will get a preview of the new App ID.
Registering the Service ID
- Open the drop-down on the right (showing 'App IDs').
- Select 'Service IDs' from the list.
- Click on the blue '+' sign next to the 'Identifiers' heading.
'Register a new identifier' page
- Select 'Service IDs' from the list, then click 'Continue'.
'Register a Services ID' page
- On the next page, you can fill in the Service ID in the 'Identifier' field.
Apple asks you to provide your Services ID in a reverse-domain name style. The Services ID can't be identical to the Bundle ID you've previously provided.
- Click 'Continue'.
- Click 'Register'.
Allow sign-in with Apple and add redirect URL
- In the 'Identifiers' section, make sure that 'Services IDs' is selected from the drop-down on the right.
- Select the 'Services ID' you have just registered.
'Edit your Services ID Configuration' page
- Capture the Services ID from the 'Identifier' section for future reference.
- Select 'Sign in with Apple' from the list of available capabilities (only capability available).
- Click 'Configure'.
'Web Authentication Configuration' screen
- At 'Primary App ID', select the App ID you have previously registered (see: Registering an identifier for Strivacity)
'Register Website URLs' section
- At 'Domains and Subdomains', add the domain of your Strivacity instance: '<yourStrivacityinstanceID>.strivacity.com'
- At 'Return URLs', add a redirect URL the customer will return to after authenticating with their Apple identity.
The redirect URL consists of your Strivacity instance ID and the following endpoint: [https://**\](https://**\)**.strivacity.com/provider/continue
- Click 'Next' to continue.
- Click 'Done' to save your configurations made on this screen.
'Edit your Services ID Configuration' page
- Click 'Continue' on the right, as you resume the 'Edit your Services ID Configuration' page.
- Click 'Save' to confirm.
Registering a new key
In this part, you will register a new key and assign it to the sign-in service you've created in the previous steps.
- Go to the 'Keys' section on the 'Certificates, Identifiers & Profiles' page.
- Click on the blue '+' sign next to the 'Keys' heading.
'Register a New Key' page
- Select 'Sign in with Apple' from the list.
- Click 'Configure'.
'Configure Key' page
- In the 'Primary App ID' drop-down, select the App ID you've registered in the first part.
- Click 'Save'.
You will be redirected to the 'Register a New Key' page.
- Add a name for your new key in the 'Key Name' field.
- Click 'Continue'.
You will get a summary of the configurations you've made for the new key.
- Click 'Register' to create your new key.
'Download Your' Key page
- Capture the Key ID for future reference as you're redirected to the new key's summary page.
- Download the authentication key using the button on the right.
Before you download the authentication key, make sure you are prepared for storing it in a secure place where you can access it easily. The authentication key can only be downloaded once.
- Click 'Done' to exit this page.
You’re all set for adding Apple's sign-in experience to your applications.
Adding Apple as a social login provider
-
In the Strivacity Admin Console, navigate to Identities > Social Login.
-
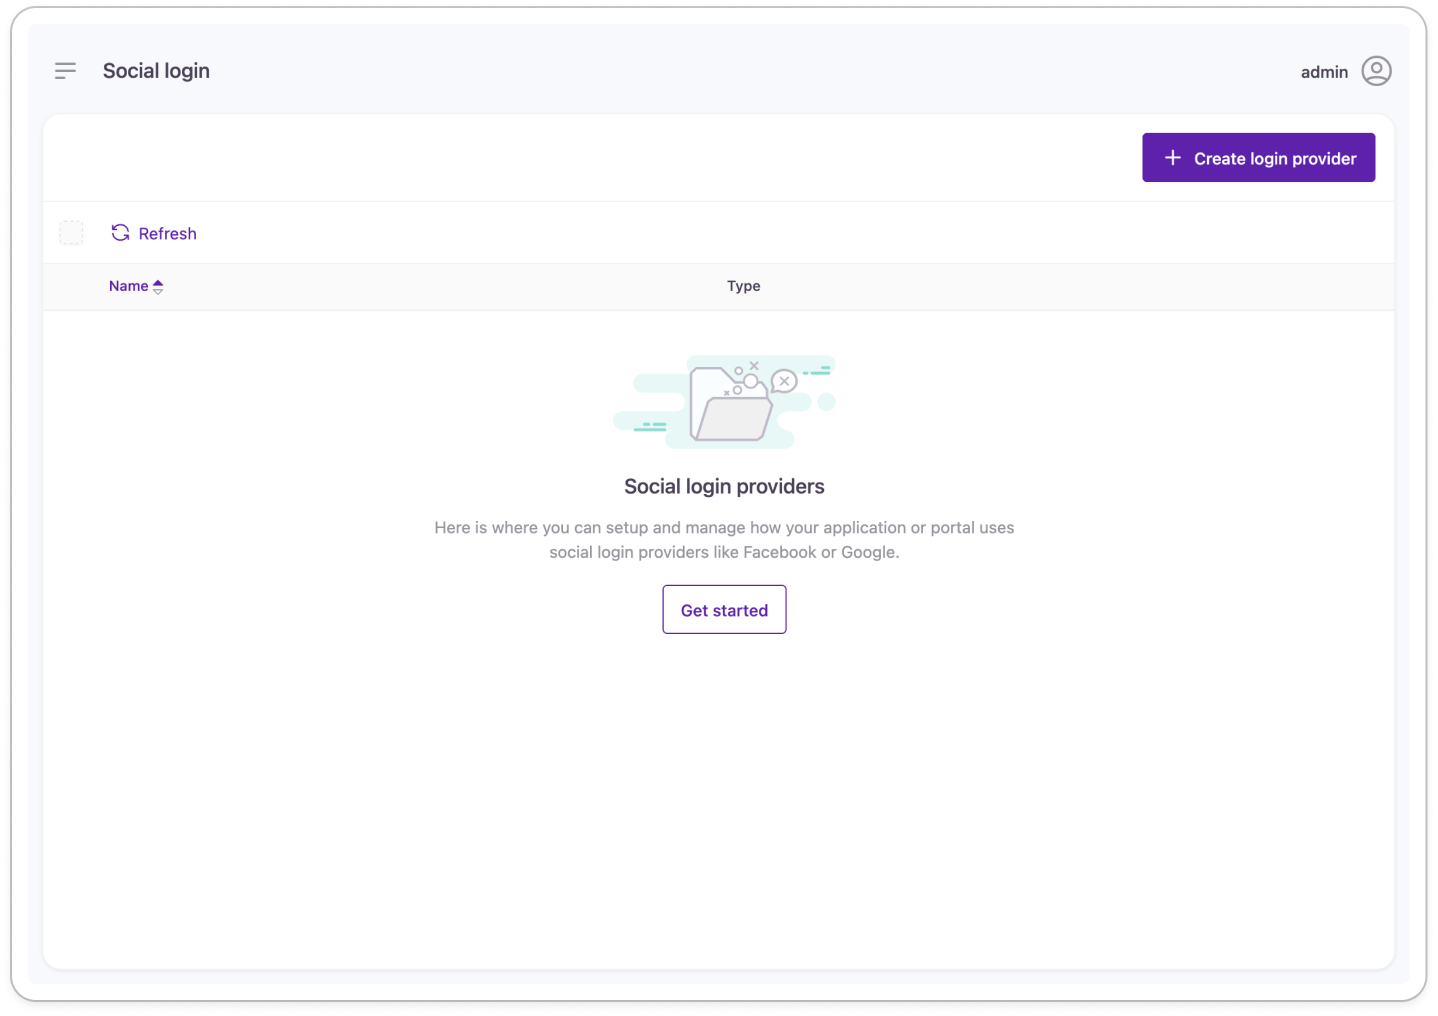
Click ‘Create Social Login Provider’.

Social login page without any providers added yet
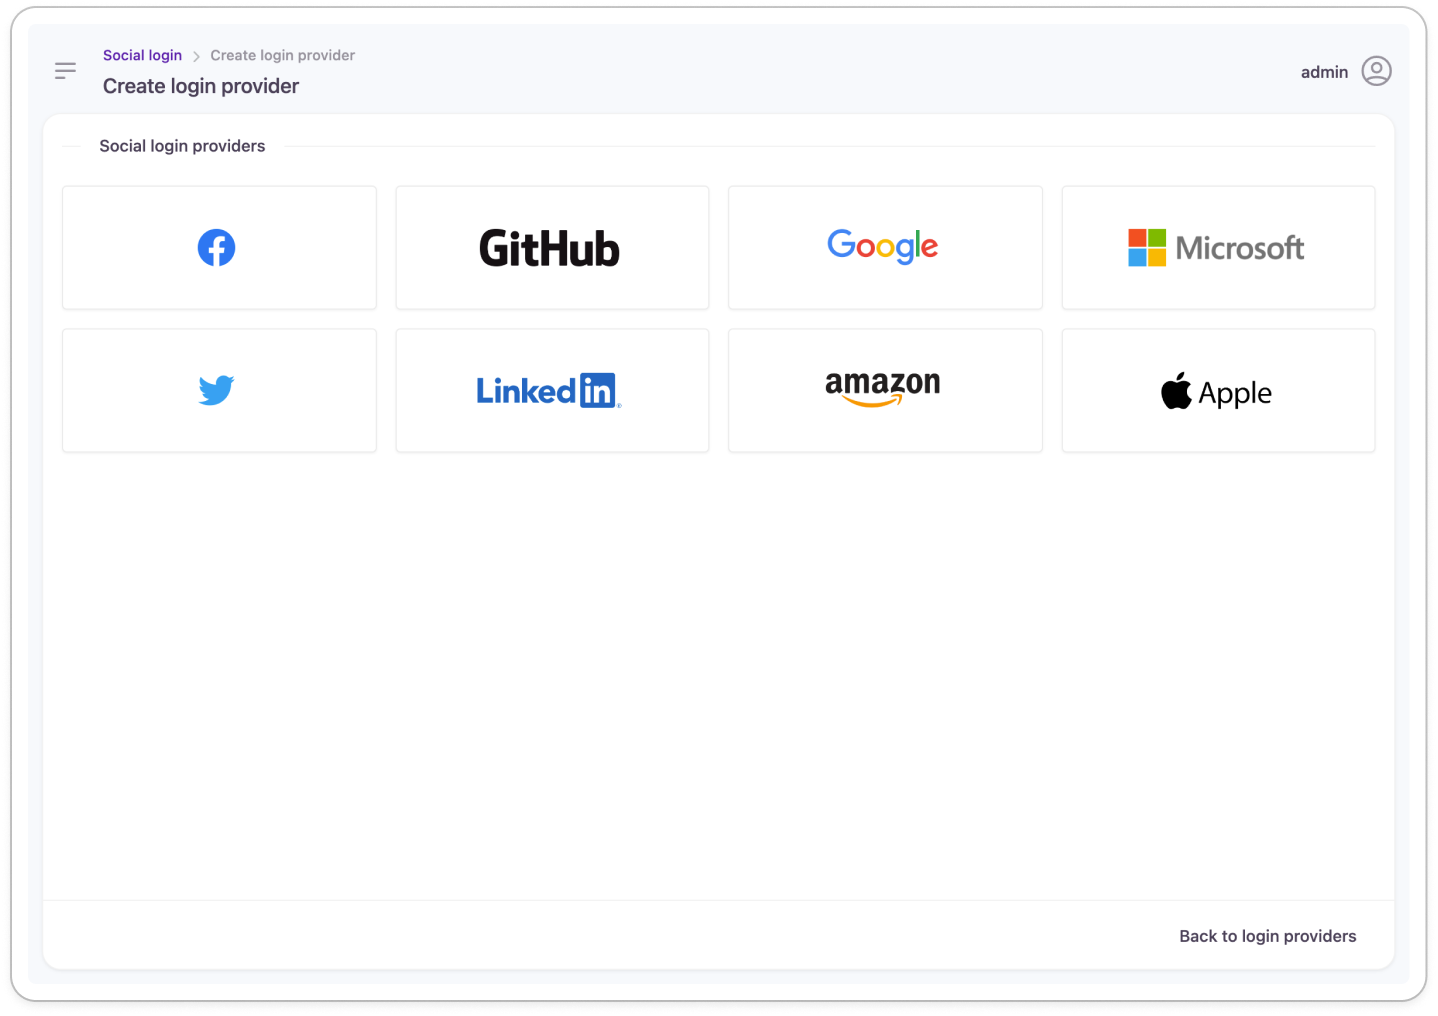
- Select ‘Apple’ from the list of available social provider capabilities.

Easy-to-add social login providers
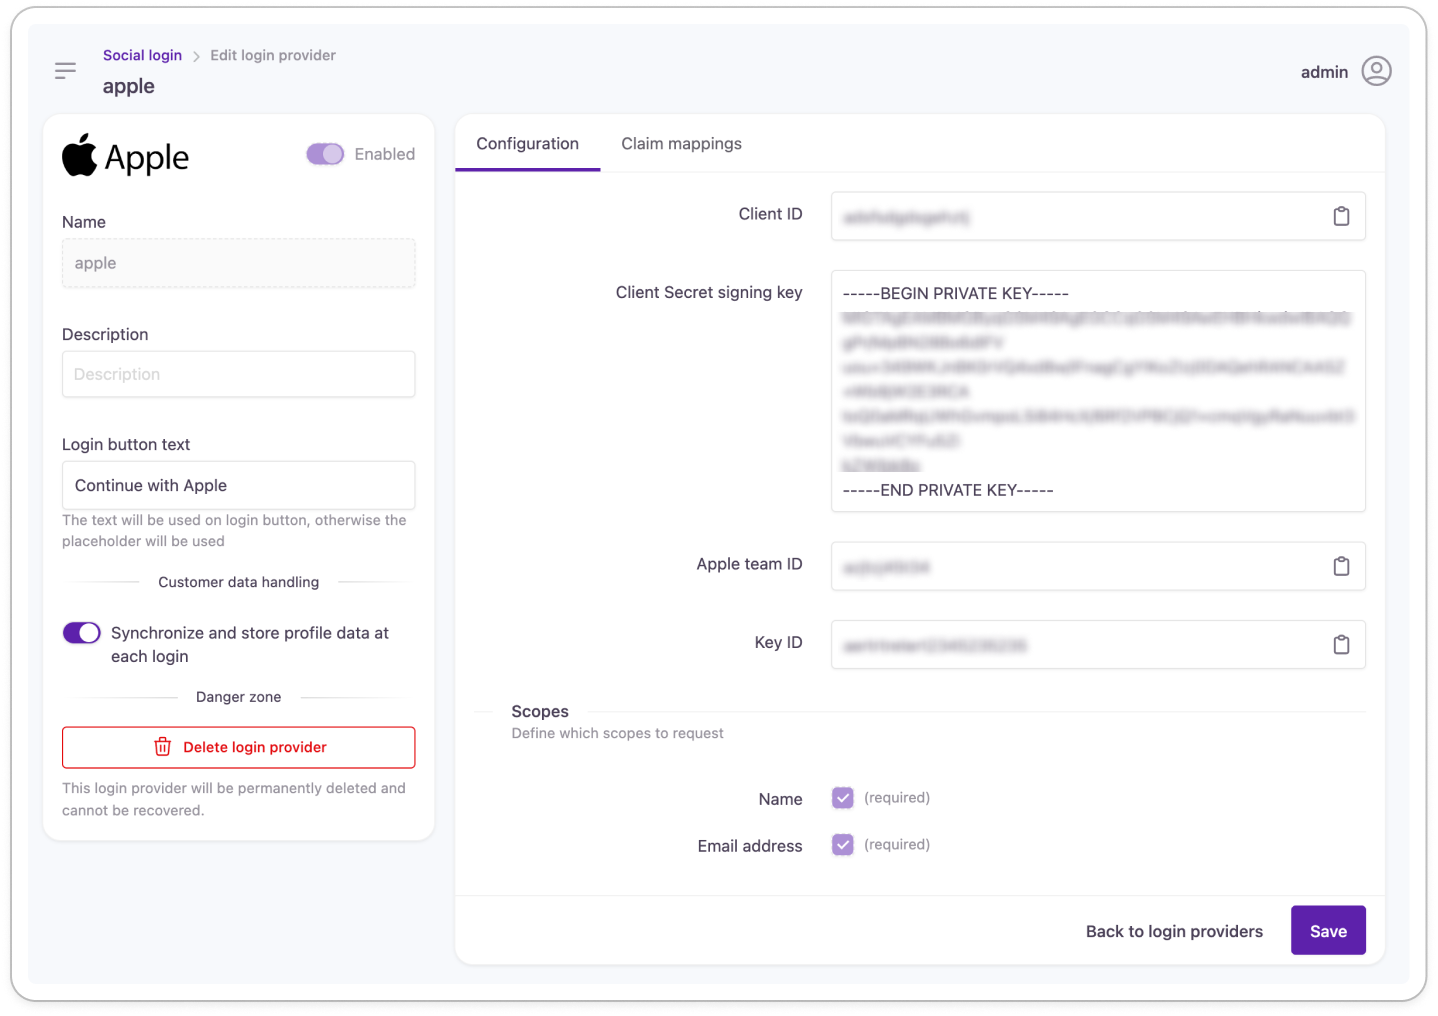
- Fill in the 'Basic information' for the Apple social provider.
- Client ID (Services ID on Apple's side)
- Client Secret Signing Key (the downloaded authentication key)
- Apple Team ID (the App ID on Apple's side)
- Key ID (same as on Apple's side)

Create Apple login provider page with client credentials added
The scopes that your Strivacity application will request are already defined.
-
Enable Synchronize and store profile data at each login to ensure customer data is kept up-to-date inside your application.
-
Click ‘Save’ to add the Apple social provider.
Claim mappings are automatically handled for social login providers after saving.
Adding Apple's sign-in capability to your application
Follow the steps described in this guide to add a social login provider to an application.
Testing your social login provider
-
Copy the self-service URL of your application.
-
Open an incognito window or launch another browser.
-
Go to the self-service login page of your application using the application’s link.
-
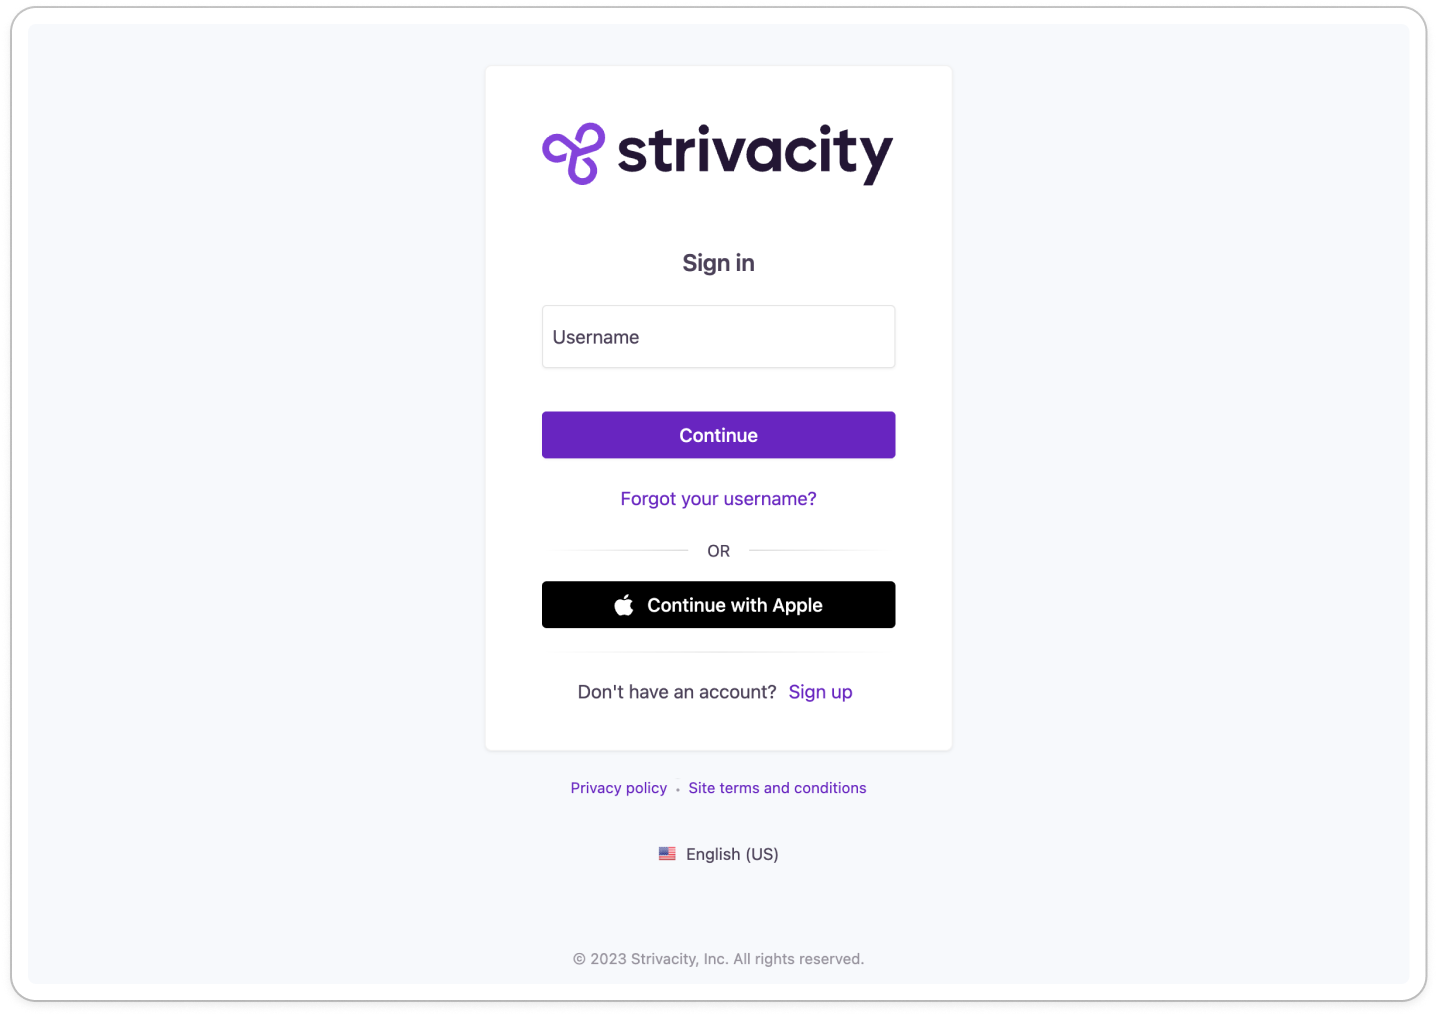
Click ‘Continue with Apple’ to sign in with your Apple identity.

Login screen with Apple social provider option
In case of successful setup, after authentication, you should be asked to allow permission to your basic profile information and email address in your Apple account.
Updated over 1 year ago
