Google login setup
Setting up Social Login requires establishing a trusted relationship between Strivacity and Google.

Step 1: Configuring Google Sign-In in the Google API Console
To setup Google Sign for use as a social login provider, follow these steps.
- Go to the Google API Console (console.developers.google.com) and login using your Google account.
If this is the first time that you're visiting this site, you will be asked to agree to the Terms of Service.
In the upper left hand corner of the screen click Select a project and then CREATE PROJECT as shown in the screen below:
.png)
- Enter a Project name and then click the CREATE button as shown in the screen below:
.png)
- Next, click on the OAuth consent screen from the left-hand menu. Then select either Internal or External to define your target user scope. Once selected, click the CREATE button.
.png)
- Next, you'll see further prompts on the OAuth consent screen. You'll need to enter the following information:
- Application Name
- Fully qualified domain name (FQDN) of your domain
- URL to the home page of your application
- URL to your Privacy Policy
- URL to your Terms of Service
Once complete, click the Save button. This is shown in the screen below:
.png)
- Now within APIs & Services, click Credentials, then + Create Credentials from the menu at the top, and select OAuth client ID, as shown below:
.png)
- On the Create OAuth client ID page, configure the following options:
| Setting | Value |
|---|---|
| Application Type | Web Application |
| Name | The OAuth 2.0 Client Name (only shown in the console) |
| Authorized Javascript origins | The URL of your Strivacity instance |
| Authorized redirect URIs | [The URI of your Strivacity instance]/provider/continue |
Once complete, click the Create button, as shown below:
.png)
- Google will now generate a Client ID and Client Secret, as shown in the screenshot below. You will need to copy the App ID and App Secret fields within the Google Login Provider setup in the Admin Console. You can click the OK Button to finish the configuration for Google. This completes the configuration within Google for social login.
.png)
Step 2: Configuring Google Sign-in within Strivacity
Following these steps will finalize your setup for using Google Sign-in as a social login provider with Strivacity (and your application).
-
Start by logging into the Admin Console using an admin account
-
From the left-hand menu, select Identities, then Social Login
-
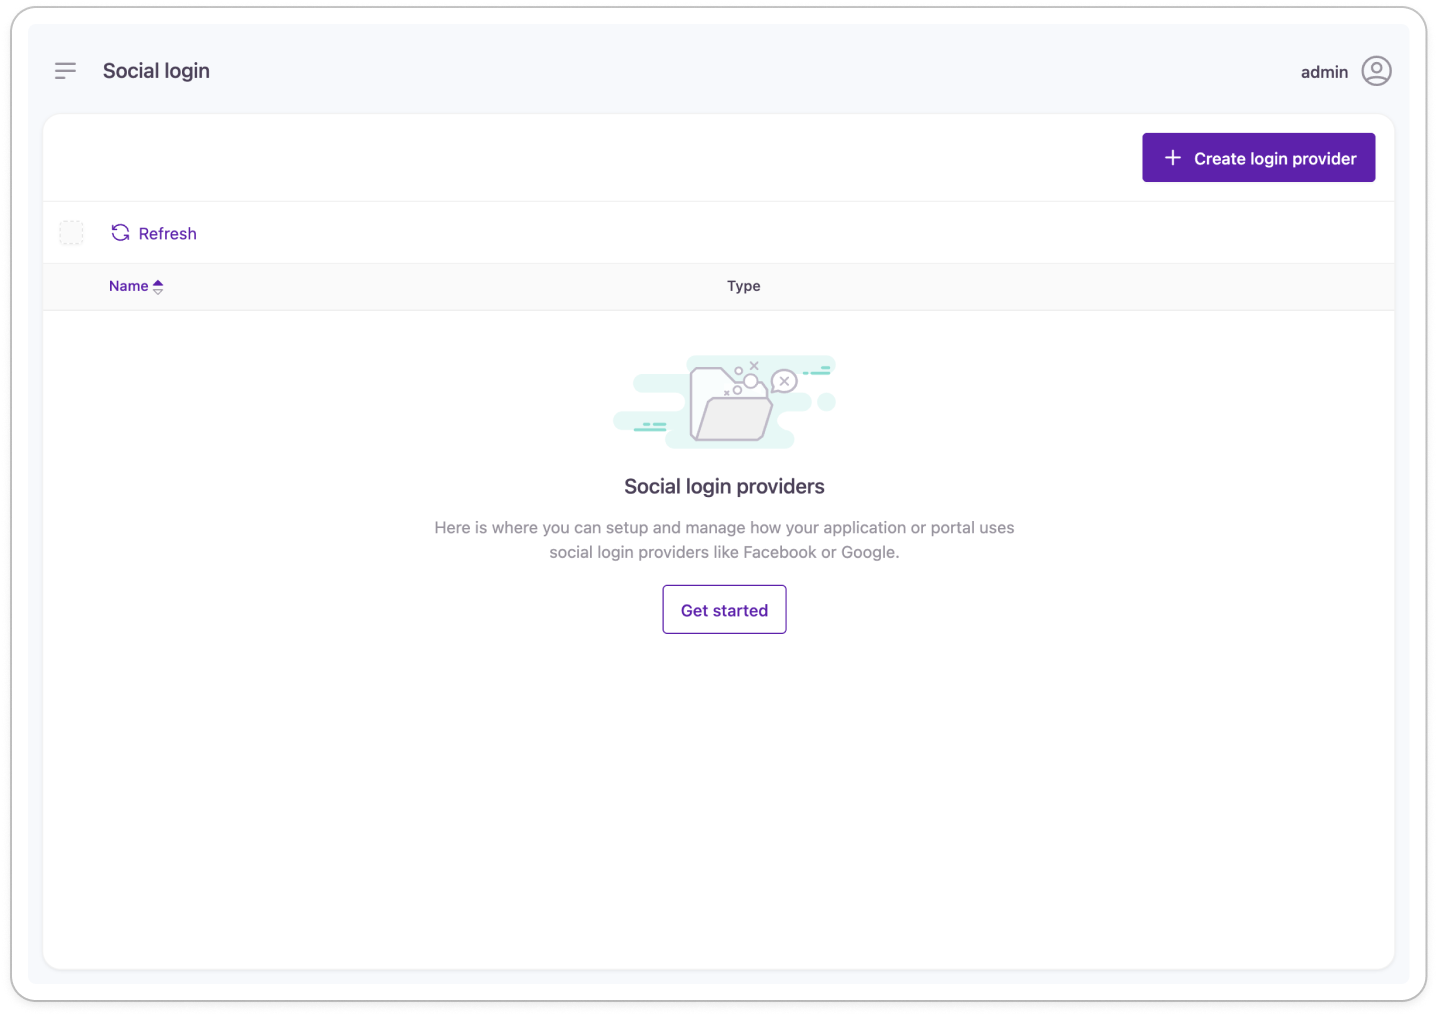
From the Social Login screen, click the + Create Provider button from the top right-hand corner as shown below:

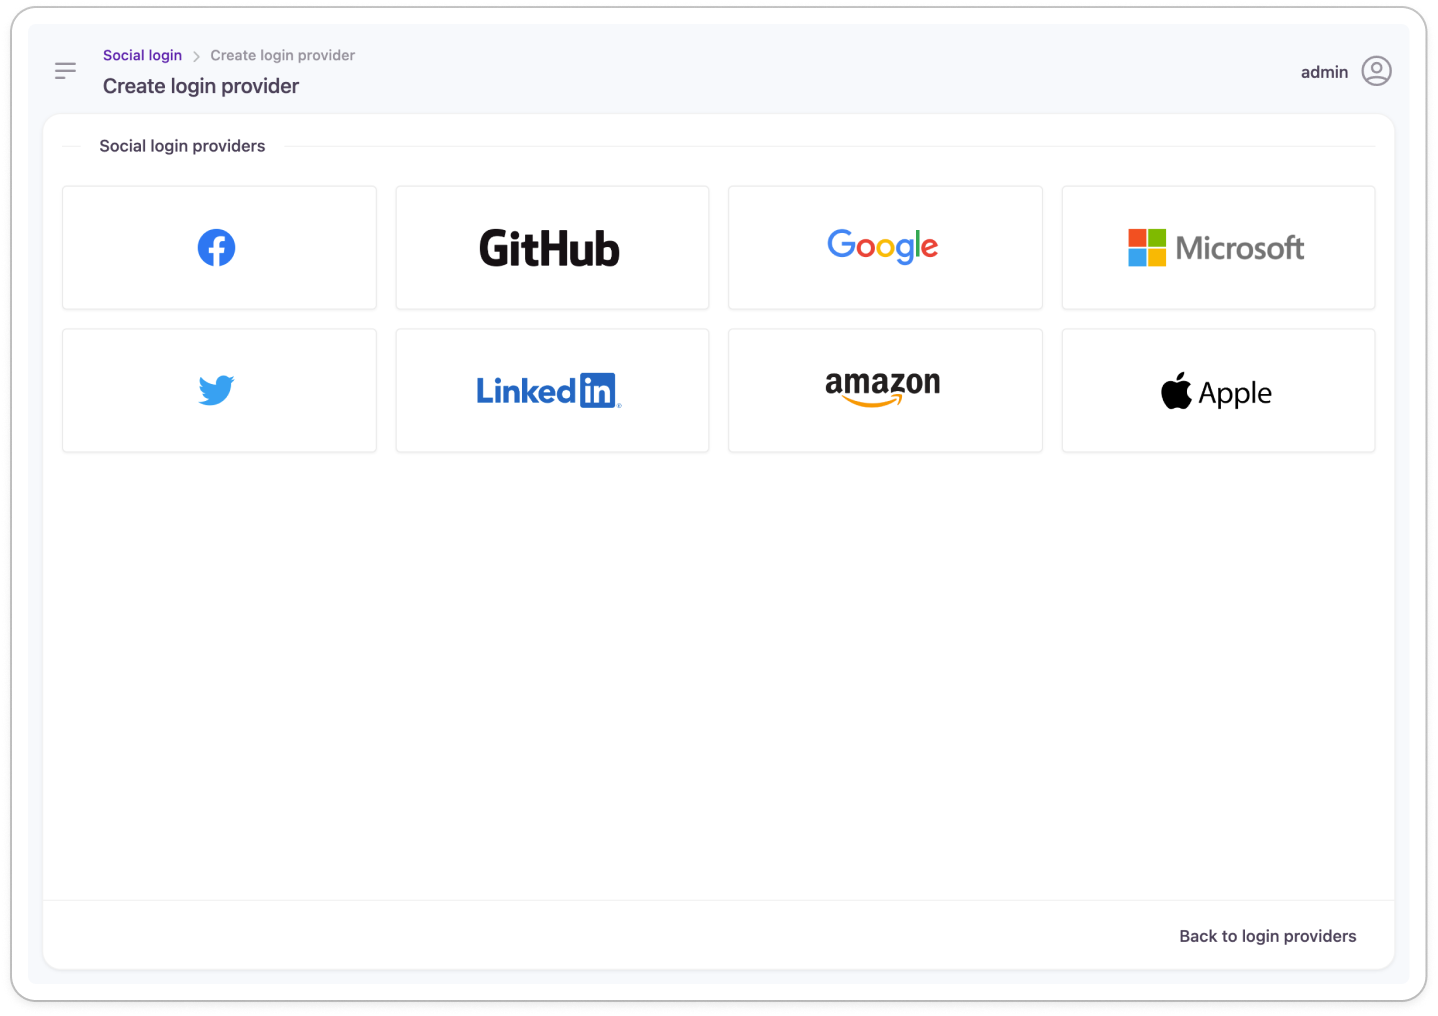
- From the Create Social Login Provider screen click the Google icon as shown below:

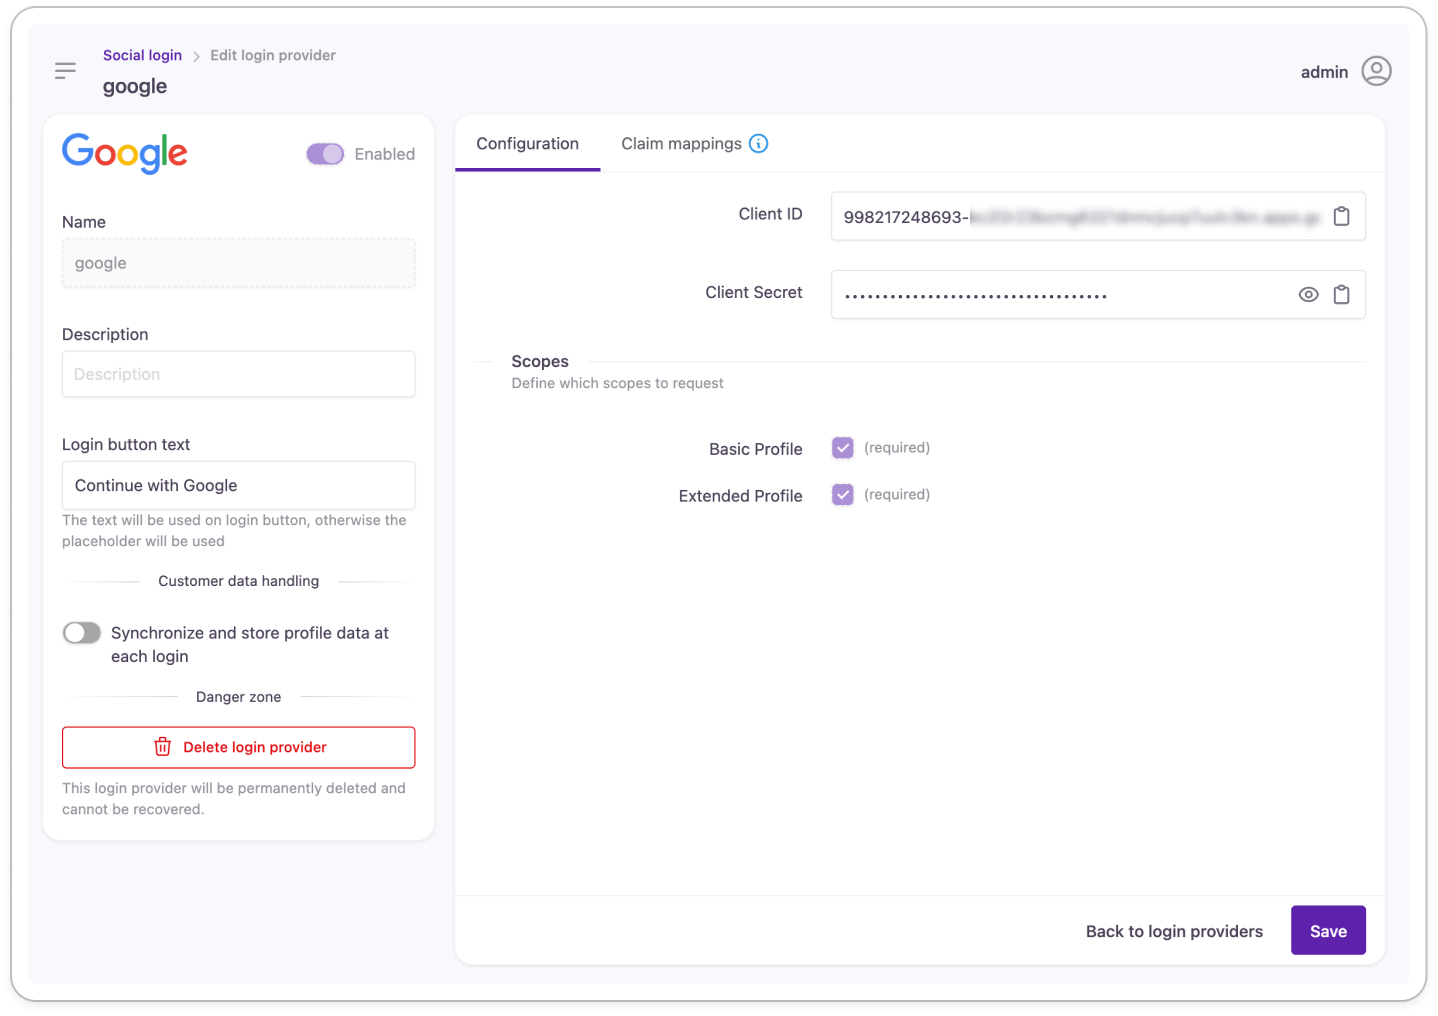
- The Create Google Login Provider screen will now be displayed as shown below:

- Next, copy the ClientID and Client Secret from Configuring Google Sign-In in the Google API Console - Step 7, above, and paste the respective values into the Client ID and Client Secret fields.
Strivacity will use the Google Basic Profile and Extended Profile attributes of the customer's profile. If you choose to synchronize and store this social profile data at each login, then Strivacity will retrieve and store this information which will be visible to the customer in the My Account page, and to any Strivacity Admins when managing the customer identity.
- When you have finished, click the Save button.
Updated over 1 year ago
