Manage policies
Learn how to create, assign, edit, copy, import/export, and delete policies.
The methods described in this article can be applied to Adaptive access, Identity verification, Self-service, Branding, Notifications, Consent management and Password quality policies.
Creating a policy
To create a new policy, follow these simple steps. To use the policy once you've created it, simply follow the Assigning a Policy steps.
- Start by logging into the Admin Console using an admin account.
- From the left-hand menu, under Policies, select the type of policy you want to create.
- A listing of all existing policies will be displayed. If this is a new Strivacity instance, then you will only see the default policy.
- To create a new policy, select + Create policy on the right.
- The Create policy page will be displayed.
- Depending on the type of policy you are creating, you will have options to configure parameters specific to that policy.
- Select Save once you're finished with the settings.
Assigning a policy
Once a policy is assigned to an application, it will take immediate effect for that application. Any customers that are using the application will be subject to any new or changed policy settings at next login or when interacting with that policy.
To assign an existing policy to an application, take the following steps.
- Log in to the Admin Console using your admin account.
- From the left-hand menu, select Applications.
- From the list of applications that you have configured, choose the application that you wish to edit. The Edit application screen will be displayed.
- Under the Policies tab, choose the policy you want to change and select the one you created from the dropdown list. If you have not created any policies yet, you'll notice that the default policy is automatically assigned to the application.
- Once you've selected the policy that you wish to use, select Save.
- The new policy and its settings will apply immediately.
If you set in place a new consent management policy, customers with existing accounts will be prompted on their next login with new mandatory consents.
Editing a policy
To edit a policy, follow these simple steps.
- Start by logging into the Admin Console using an admin account.
- From the left-hand menu, select the type of policy you want to modify.
- On the Policy page, you will see a listing of all policies. Select the one you want to make changes to.
- Depending on the type of policy you are editing, you will be able to configure different aspects of it.
- Once you've made the necessary changes to the policy, select Save. You might be asked to confirm this action for some types of policies, where any accidental changes would strongly impact customer experience.
Any changes that you make to a policy in production could have adverse effects on your customers' experience. Alwys consider carefully the implications of turning on/off self-service functionality.
Copying, exporting, and importing policies
Duplicate existing policies or import policies from other Strivacity instances.
Copying a policy
- Select the copy icon of a policy.
- Strivacity will create an identical copy of the policy, appending its name with 'copy' at the end.
- You can make changes to the copied policy before saving.
- Once you've made the necessary changes, select Save. Your copy will be added to the policy list of the type of policy you copied.
Exporting a policy
- Choose a policy you want to export.
- Select the overflow menu icon appearing on the right.
- Opt for Export selected.
- A dialogue will appear asking you to confirm your action. Choose Export to continue.
- The Admin Console will prepare a JSON file to download. Save the JSON file to a folder of your choice.
Importing a policy
- Select the downward-pointing arrow on the Create button on any policy page.
- Select Import from JSON file.
Only JSON files of the same policy type, exported from a Strivactiy instance can be imported successfully.
- Your file manager will open. Select a previously exported policy file.
- You can confirm importing with Done when the process finishes. Importing may take a couple of seconds.
- The imported policy will be added to the policy list.
Deleting a policy
Learn how to delete a policy from Strivacity.
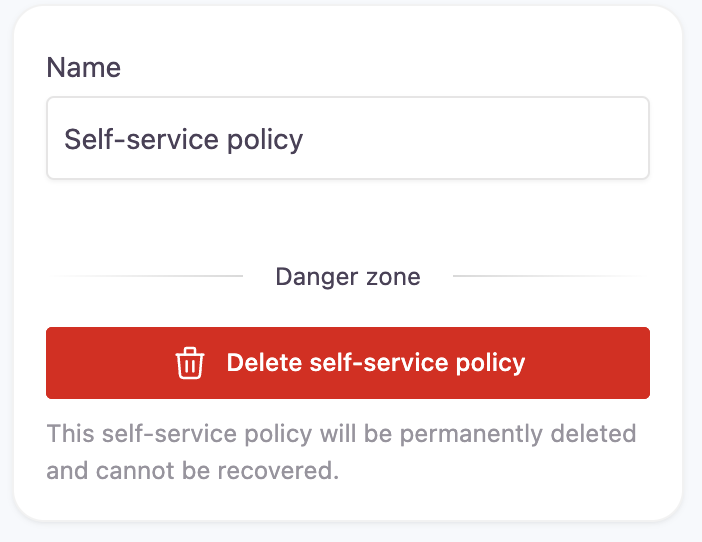
For every crucial asset that you’re allowed to delete from the Admin Console, there’s a Danger Zone. Danger Zones are safeguards at the bottom of editing screens that add extra friction to the administrative experience to make sure that deletion only happens when intended.
Deleting a policy is an irreversible action that results in the loss of every configuration and setting added to it. To delete a policy, you will also need to make sure that it has been unassociated with any applications before deletion.
If you do not de-assign a policy from an application when trying to delete it, you will see the following message:

See Setup and manage an application for further information on how to remove an association of a policy from an application.
You can delete a policy with the following steps:
-
Start by logging into the Admin Console using an admin account.
-
From the left-hand menu, under Policies, select the type of policy you wish to delete.
-
In the list of policies, choose your selected policy.
-
Enter the Danger Zone and select Delete policy.

-
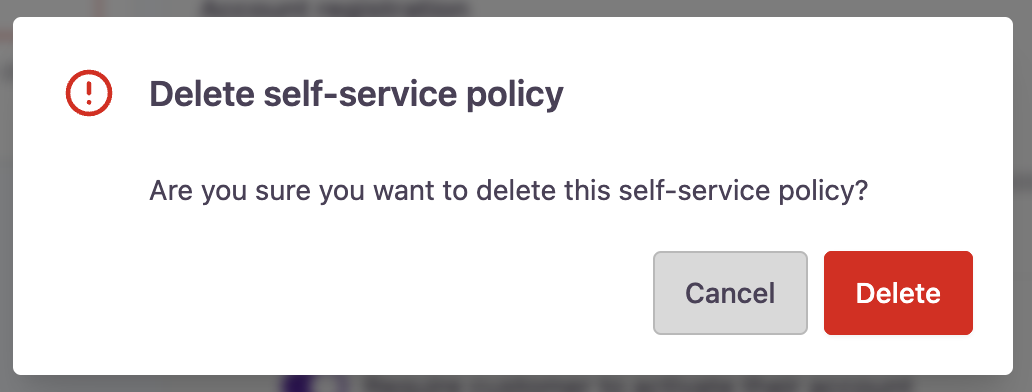
Providing that the policy is not assigned to any existing applications, you will be asked to confirm the deletion of the policy as shown below. Select Delete to permanently remove the policy or Cancel to not delete it.

-
You have now deleted a policy.
Updated 5 months ago
