HYPR
Integration guide for adding HYPR as a passwordless authentication provider
HYPR provides customers with a passwordless login experience using a smartphone, a security key, or the built-in authenticators available for devices running versions of Windows and MacOS that support FIDO protocols.
Prerequisites
You need to configure both a HYPR tenant and a HYPR Keycloak tenant to set up passwordless authentication on the HYPR side. Refer to the HYPR documentation for more details on configuring HYPER.
HYPR tenant
In the HYPR tenant, you will need to:
- Configure a HYPR admin tenant to use with your Strivacity application
- Configure a push provider
- Generate a HYPR application ID
- Generate an access token to be associated with the HYPR application ID
- Have all of the users who will use passwordless authentication in the HYPER identity store
In the HYPR Keycloak tenant, you will need to:
- Configure a valid HYPR Keycloak tenant to associate with your HYPR tenant
- Configure a HYPR Keycloak tenant realm
- Configure a tenant authenticator and execution
- Configure a HYPR Keycloak tenant OAuth client configured and associated with the client ID and secret
- Capture the OIDC auto-discovery URL for the Keycloak tenant you just created
- Have users in the HYPR Keycloak realm that match the usernames found in the HYPR admin tenant
Strivacity
In the Strivacity admin console, you will set up an enterprise login provider and configure it to use the HYPR tenant you configured above. You will then associate that login provider with the applications where you want to use the HYPR passwordless login flow.
Set up an enterprise login provider
Refer to Set up an enterprise login provider page for more details.
-
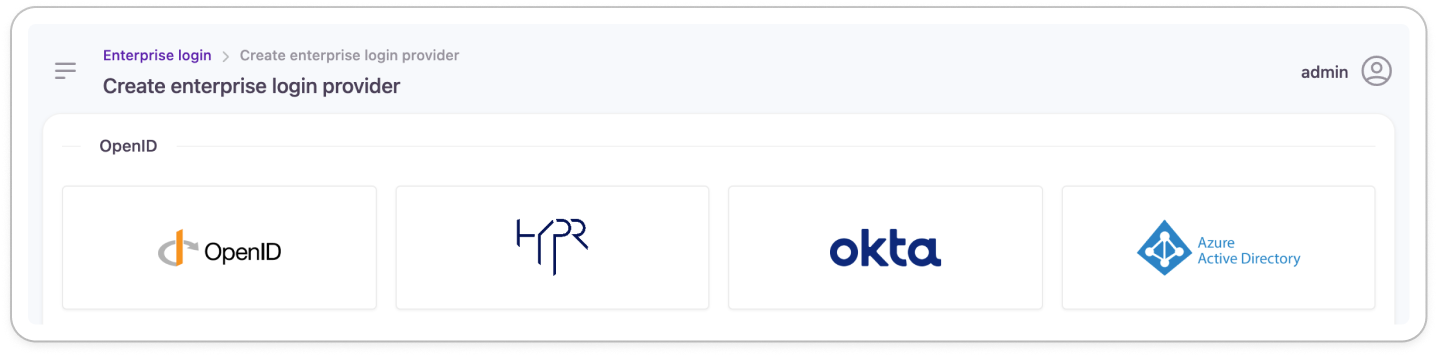
In the Strivacity admin console, navigate to External Login > Enterprise Login and select Create Enterprise Login Provider.
-
Select the HYPR template.
-
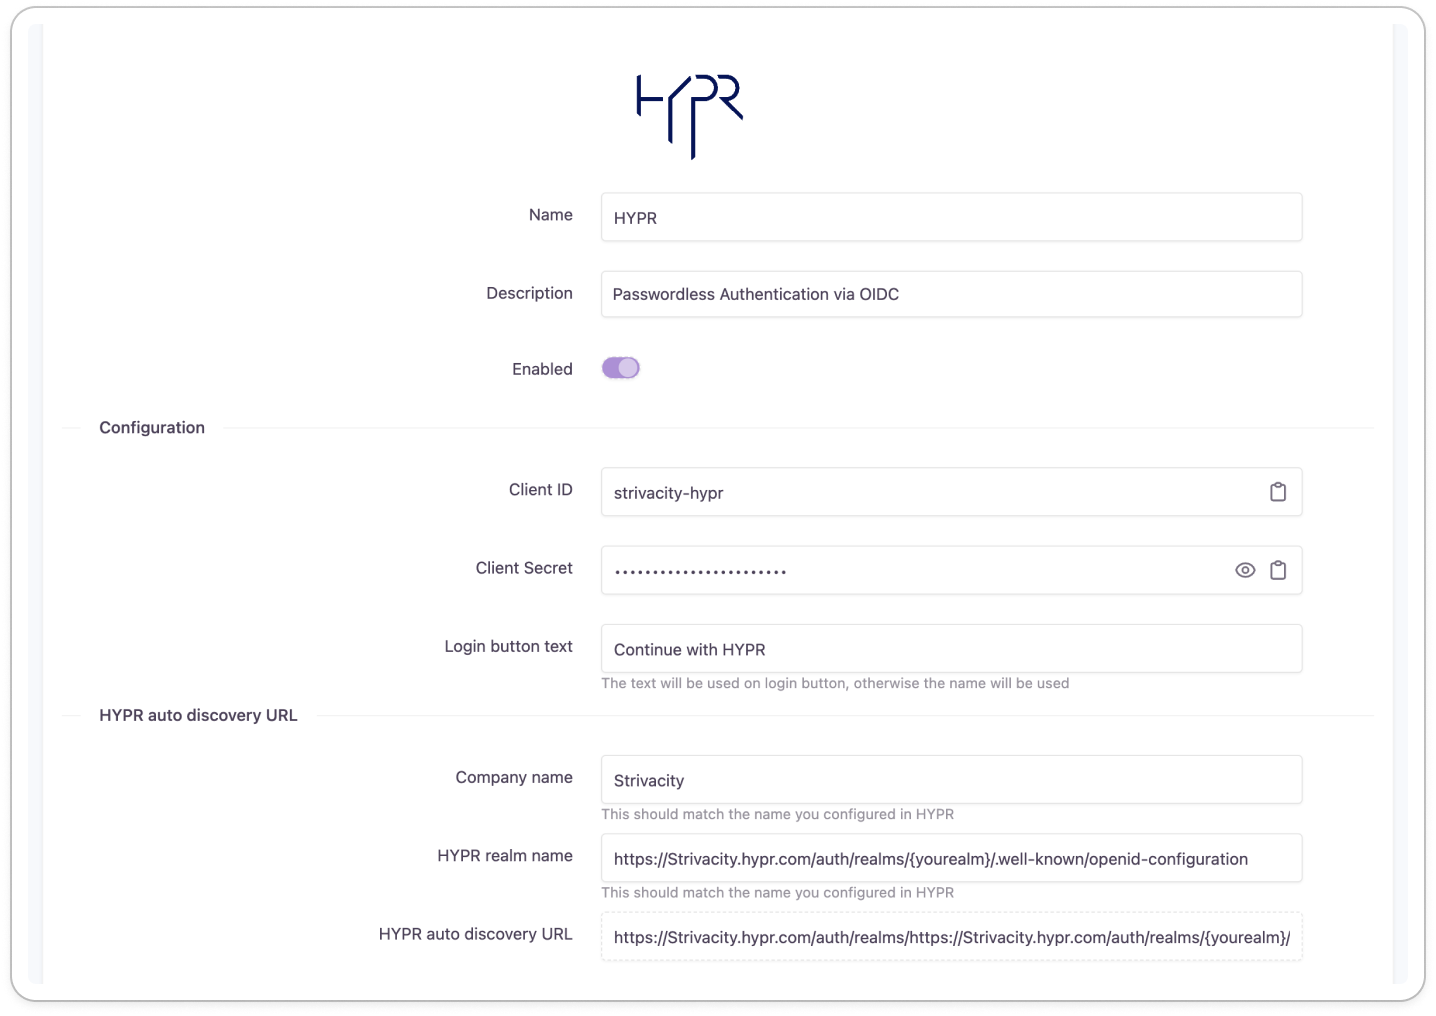
Name the login provider.
-
Define the text to be used on this login provider's button. (This button can be skipped if only one login provider is defined and the appropriate application setting is configured. See the next section).
-
Add an optional description.
-
In the Client ID field, enter the client ID from the HYPR configuration.
-
In the Client Secret field, enter the client secret from the HYPR configuration.
-
Turn on Auto-Discovery.
-
Enter the auto-discovery URL from the HYPR console.
-
Select the appropriate scopes you would like to request from the HYPR ID token.
-
Select whether you'd like to synchronize profile data at each login.
-
Select Save.

You are now ready to associate this login provider with one or more applications in your Strivacity admin console.
Set up an application
Refer to the Application setup page for more details.
- In the Strivacity admin console, navigate to Applications.
- Select the application where you wish to use the HYPR login provider or create a new application.
- Scroll down to Login Providers and enable Interactive Login and Registration.
- Disable Local login.
- Add the HYPR enterprise login provider.
- Allow forwarding customers to an external provider. This allows skipping the enterprise login provider selection screen when there is only one enterprise login provider configured.
- Select Save.
Test the login flow to your application to be sure everything is working as expected.
Updated 4 months ago