Microsoft Azure AD (B2E)
Learn how to integrate Strivacity with Microsoft Azure AD (B2E) so that your enterprise users can log into Strivacity protected applications.
Strivacity can use Microsoft Azure AD (B2E) as a Directory Service and an Identity Provider, enabling any user accounts within Azure to log in to any Strivacity-configured application.
The integration with Azure AD uses Strivacity's Enterprise Login.
There are two steps required to set up your Strivacity instance to use Azure AD as an Identity Provider:
Step 1: Configuring Azure AD with a Registered Application
Step 2: Configuring Strivacity to use Azure AD (as an Identity Provider)
Step 1: Configuring Azure AD with a Registered Application
- Login into portal.azure.com.
- Select Azure Active Directory.
- Select App Registrations, as seen below:
.png)
- Click 'New registration' and enter the information as shown in the table below and click Register.
.png)
| Field Name | Value/Description |
|---|---|
| Name | Enter a user-friendly display name for the application |
| Supported Account Types | This defines the scope of who can use the application. You will need to determine this based upon your own use case |
| Redirect URI | This will be the callback URI to your Strivacity instance, in the format of https://[Strivacity instance URL]/provider/continue |
- The details for the newly created Strivacity application will now be displayed as shown below:
.png)
- Next, select Certificates and Secrets from the left-hand menu. The Certificates and Secrets page will be displayed, as shown below:
.png)
- Next, select '+ New client secret'
.png)
- Upon clicking the Add button, the new client secret information will be displayed, as shown below:
.png)
Make note of the Value field as this is the actual client secret you will use on the Strivacity side. This value will only be accessible when you initially create the secret. Do not use the ID/Secret ID field.
- This completed the setup and configuration of Azure AD with a registered application for Strivacity to use. You can now proceed to step 2, below.
Step 2: Configuring Strivacity to use Azure AD (as an Identity Provider)
Now that Azure AD (B2E) has been configured to use Strivacity as an external application, we now need to set up Strivacity to use Azure AD as an (external) Identity Provider.
- Start by logging into the Admin Console using an admin account
- From the left-hand menu, select Identities, then Enterprise Login
- From the Social Login screen, click the + Create Enterprise Login Provider button from the top right-hand corner
- From the Create Enterprise Login Provider screen click the Azure Active Directory icon as shown below:
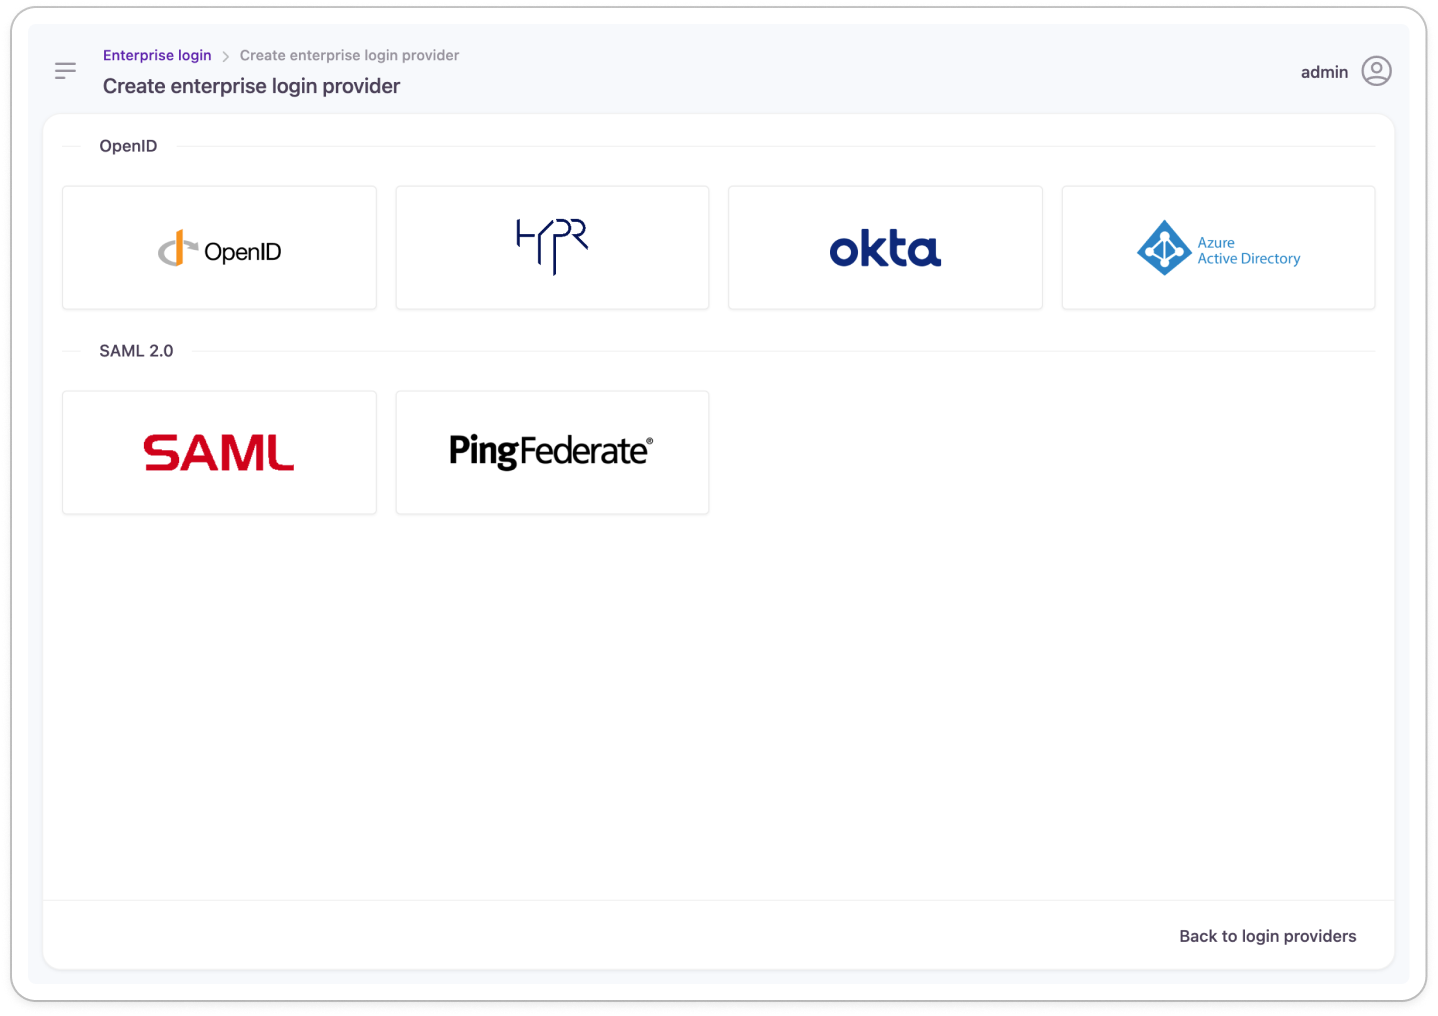
- The Create Azure Active Directory screen will now be displayed as shown below:
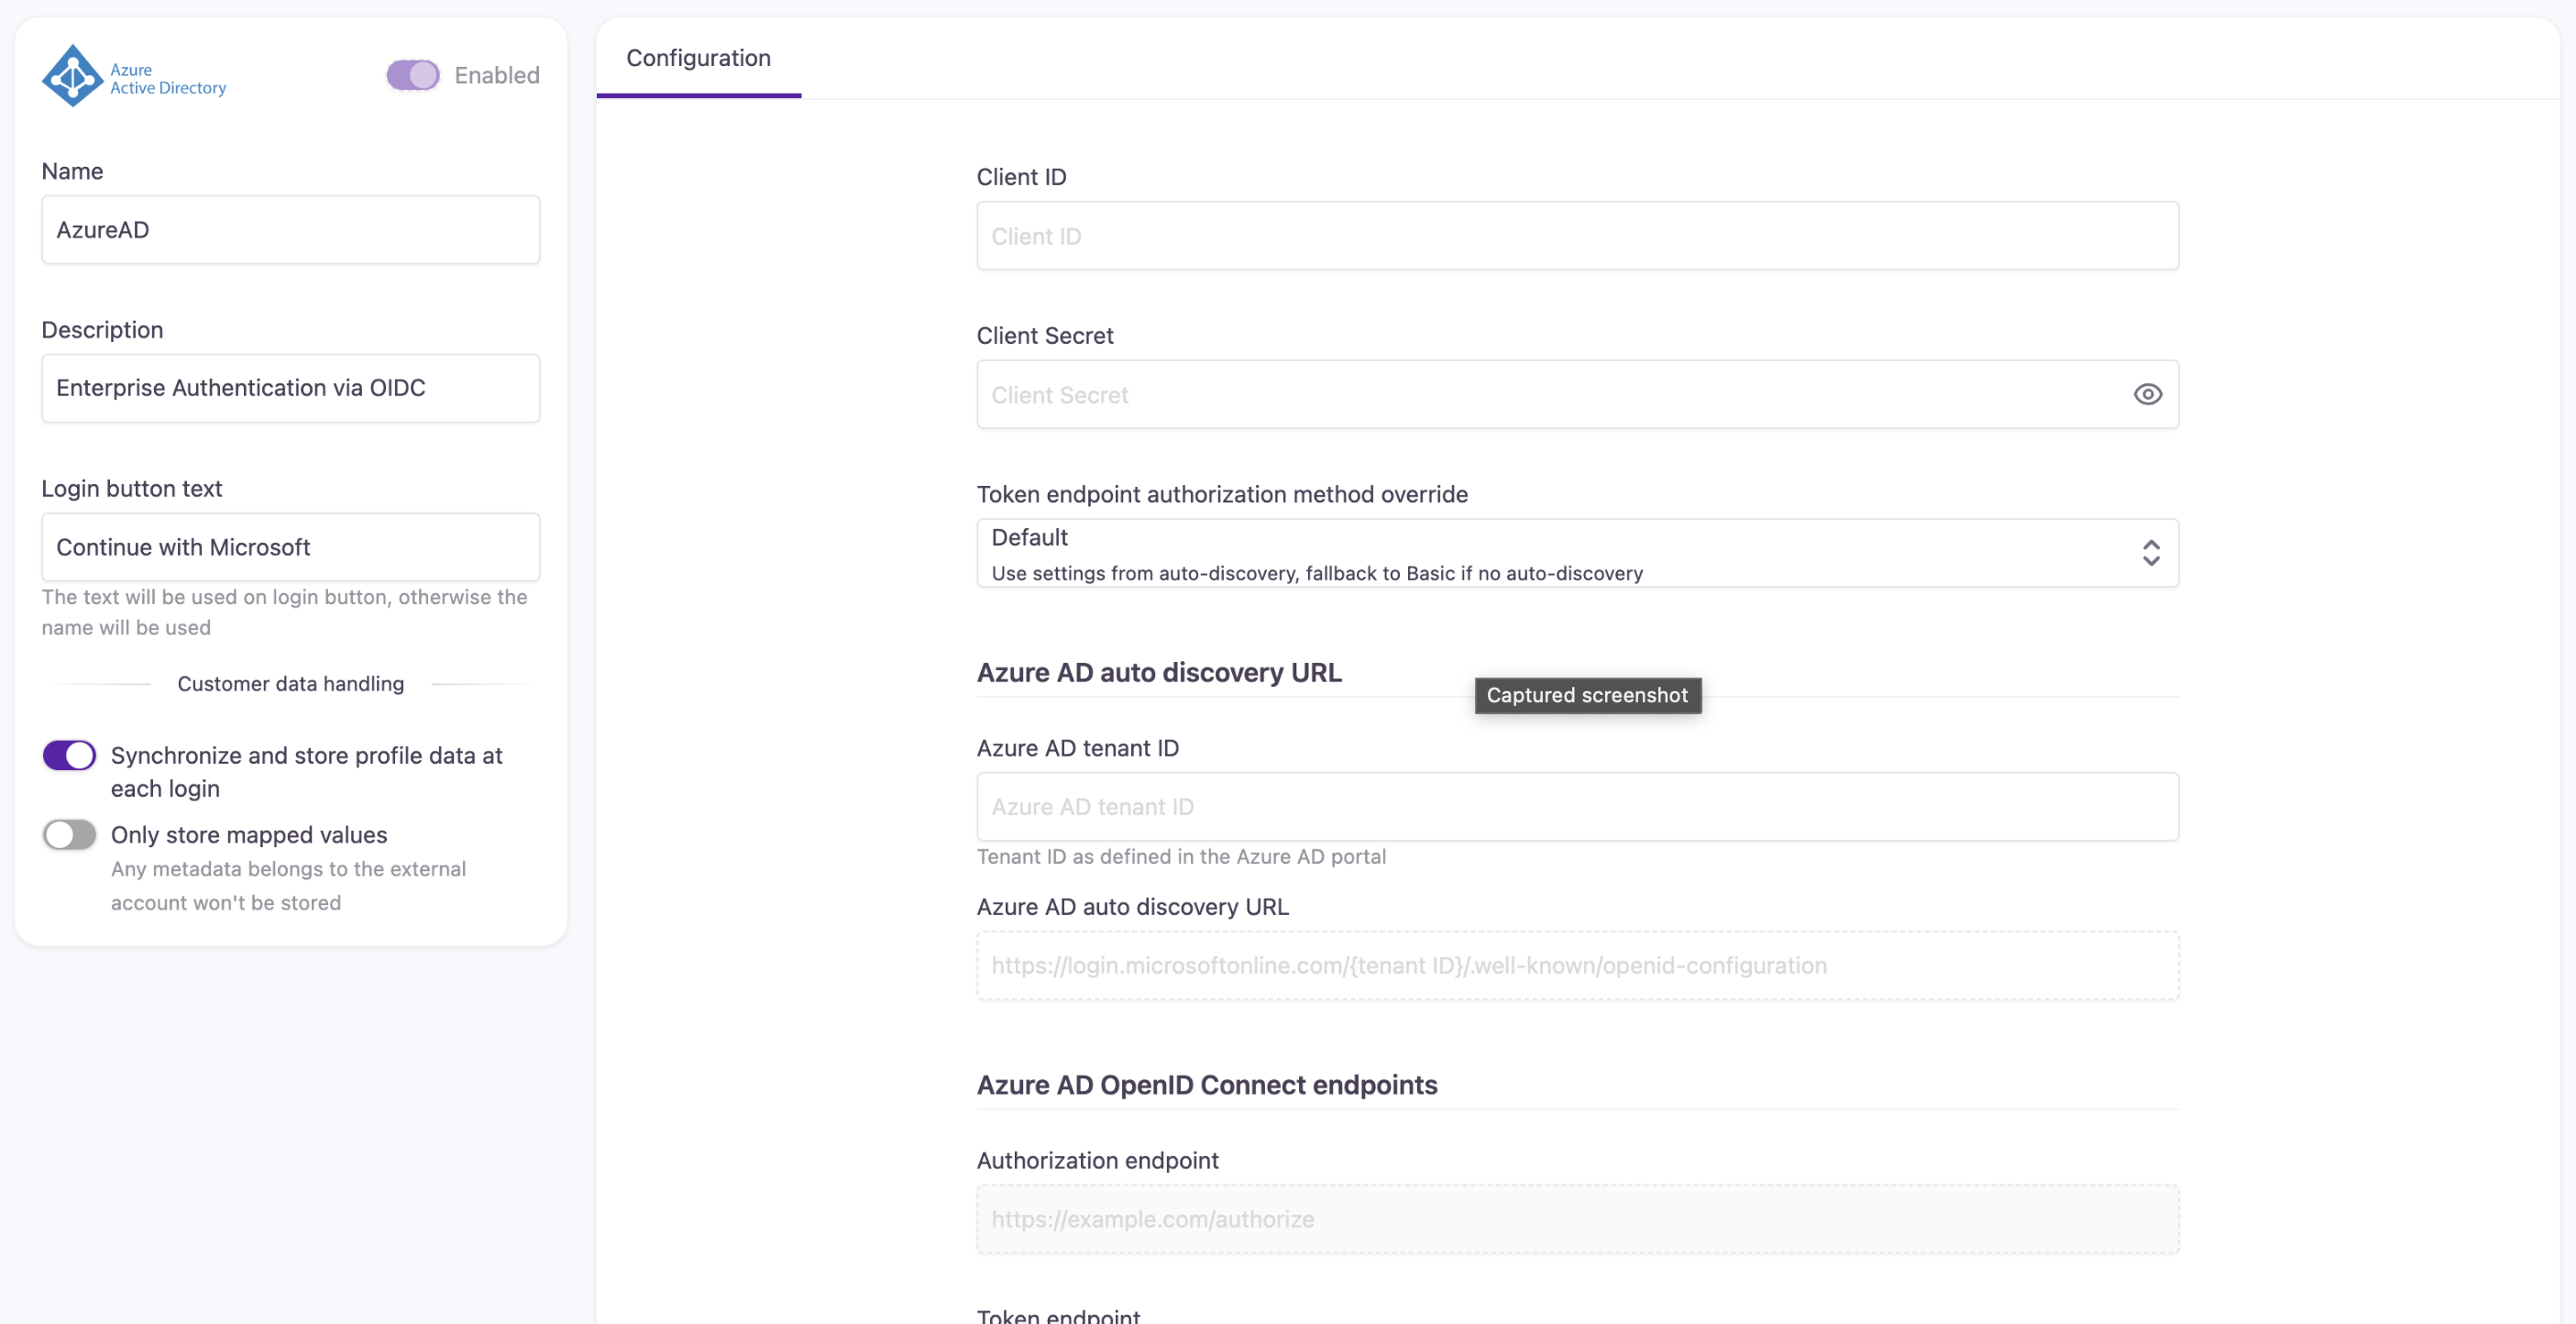
- Once Client ID, Client Secret, and Azure AD tenant ID are filled, Strivacity will auto-discover the extra metadata needed.
- Map the claims according to your Azure AD usage.
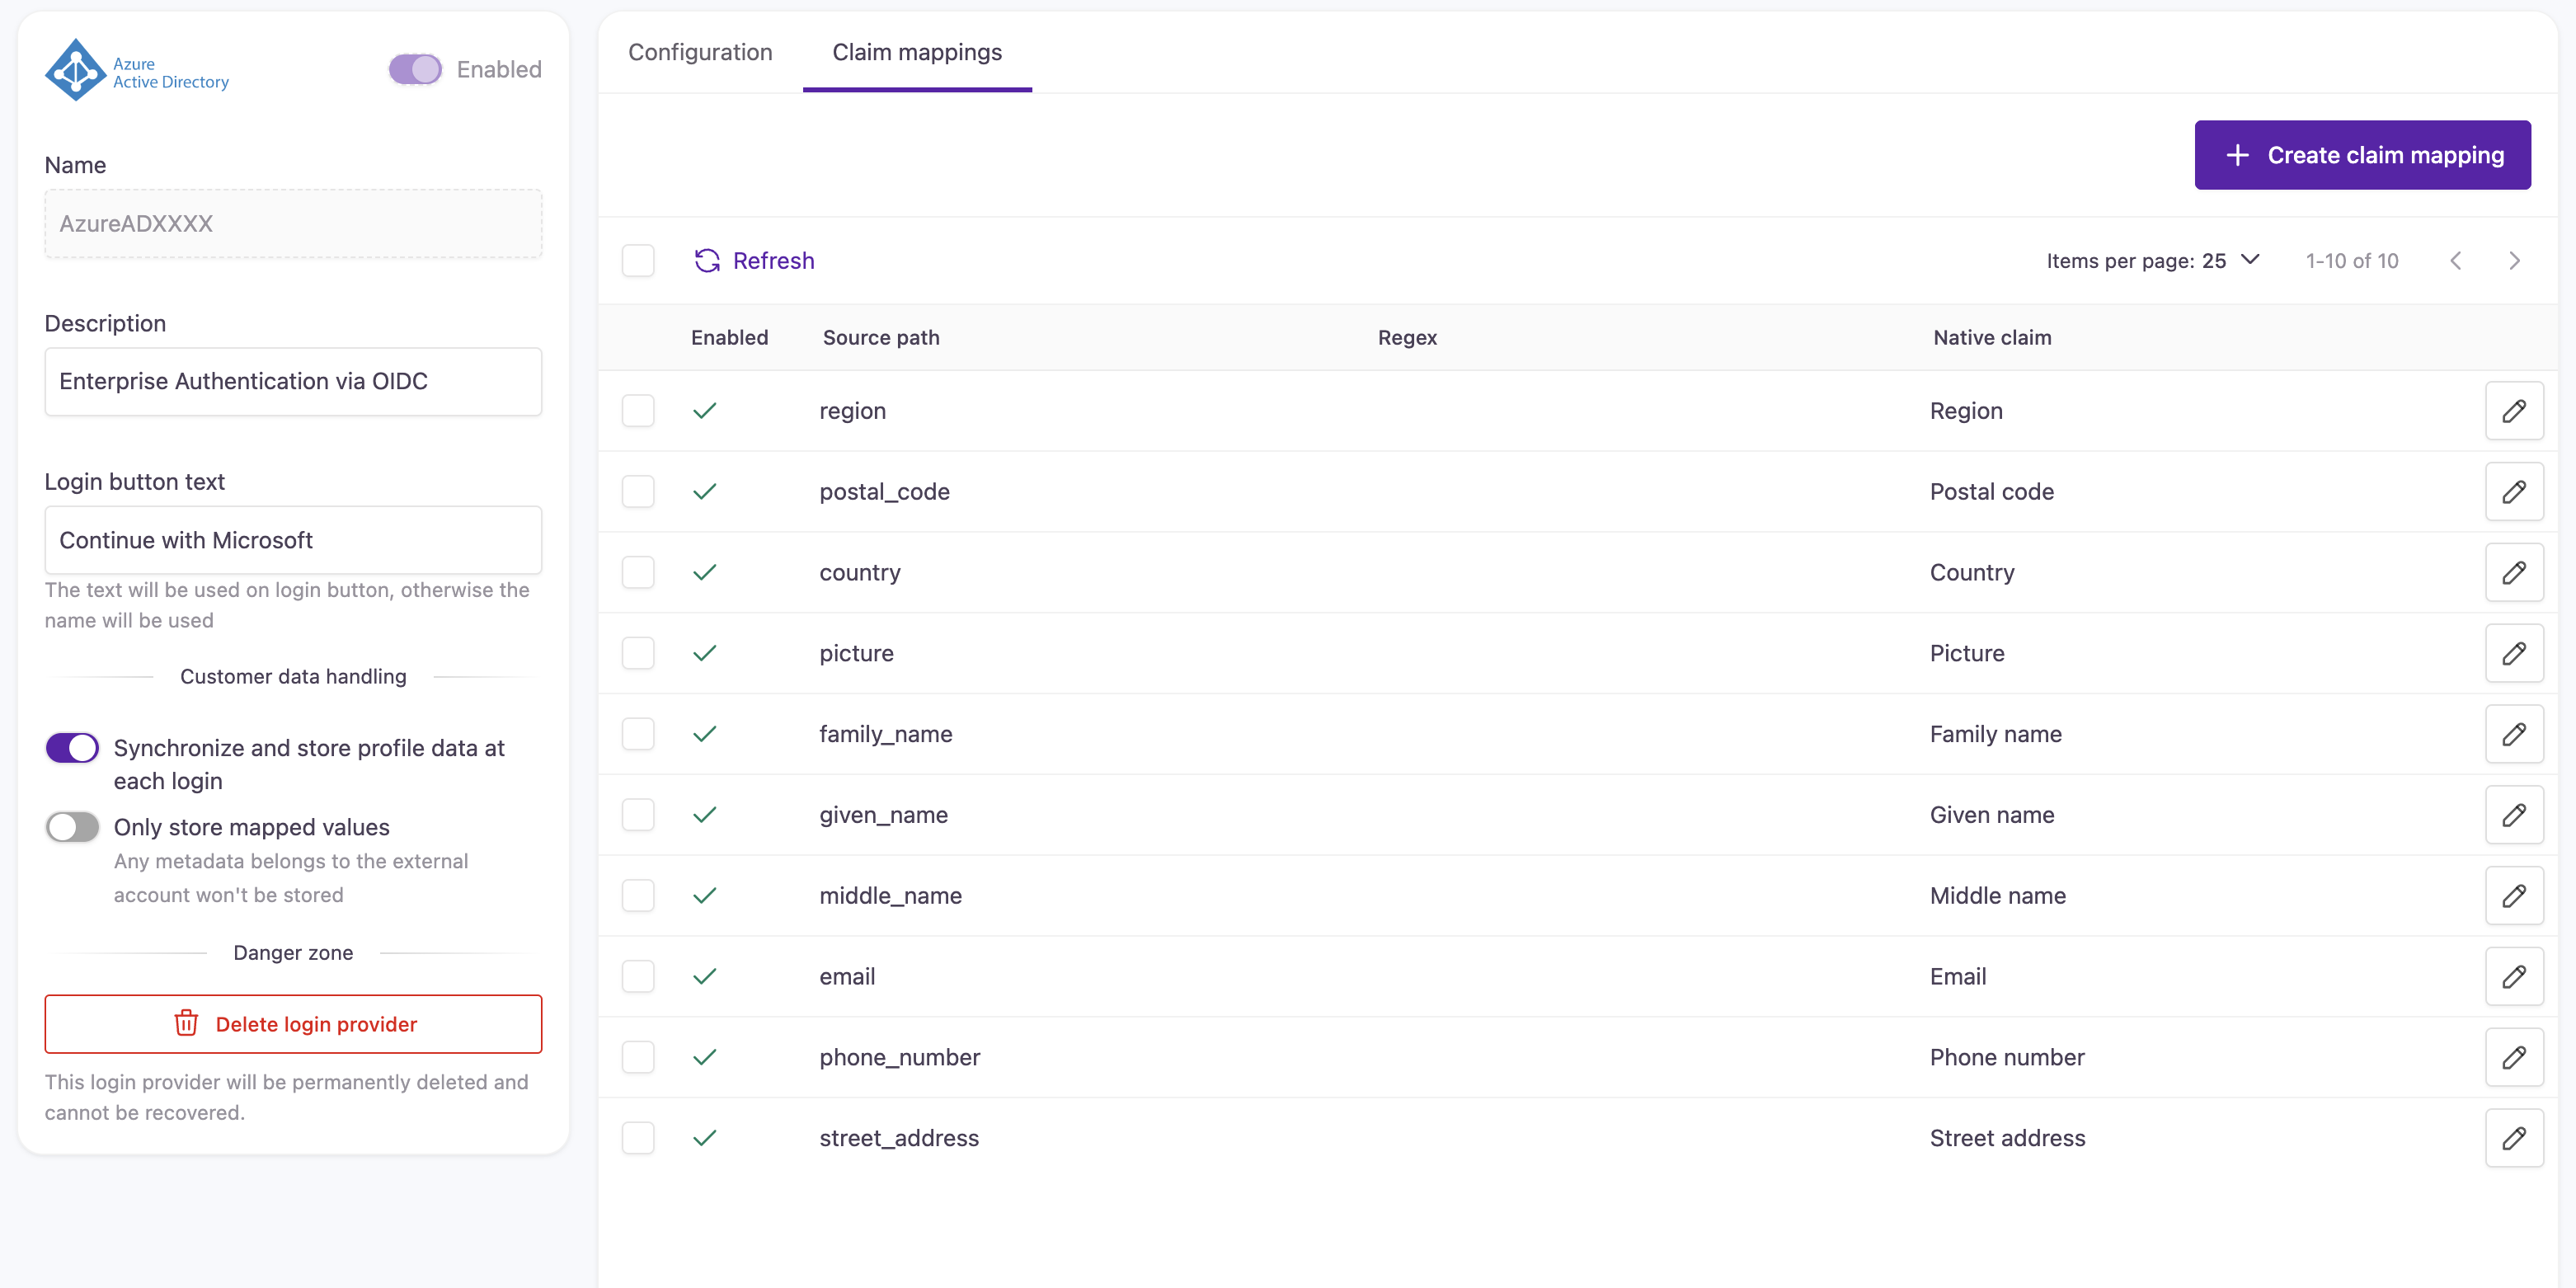
The e-mail claim, very often the source path (meaning the claim Azure AD is sending to Strivacity) needs to change to "upn"
The table below provides guidance on how to complete and use these fields:
| Field Name | Description |
|---|---|
| Name | Define a name for this Enterprise OIDC Login Provider. This name is used to refer to this provider throughout Strivacity. |
| Login Button Text | This is the text that is displayed on the login button on the log-in screen. If no custom text is displayed here then the name will be used. |
| Description | Define a description to help other Strivacity admins understand what this provider is used for. |
| Client ID | The Client ID was previously automatically generated by Azure AD during Step 1.5 above. Microsoft refers to this as the Application (client) ID. |
| Client Secret | The Client Secret was created in Step 1.8 above. Be sure to use the Value field, as noted. |
| Azure Tenant ID | The Azure Tenant ID was previously automatically generated by Azure AD during Step 1.5 above. Microsoft refers to this as the Directory (tenant) ID. |
| Auto Discovery | The Azure AD (B2E) auto-discovery URL should be entered using the following format: <https://login.microsoftonline.com[TenantID]/.well-known/openid-configuration. The Tenant ID is available from within the Azure Portal. |
| Authorization Endpoint | The Authorization Endpoint will be displayed here based on auto-configuration from the auto-discovery URL. |
| Token Endpoint | The Token Endpoint will be displayed here based on auto-configuration from the auto-discovery URL. |
| Issuer | Any Issuer Information will be displayed here based on auto-configuration from the auto-discovery URL. |
| Userinfo Endpoint | The Userinfo Endpoint will be displayed here based on auto-configuration from the auto-discovery URL. |
| Scopes: OpenID | The default OpenID Connect scopes can be enabled or disabled. |
| Scopes: Extra | Any additional scopes can be added here. |
| Customer Data Handling | If you choose to synchronize and store any profile data at each login, then Strivacity will retrieve and store this information which will be visible to the customer in the My Account page and to any Strivacity admins when managing the customer identity. |
Updated 5 months ago