ServiceNow
The Strivacity and ServiceNow integration supports OpenID Connect based SP-initiated Single-Sign-On and SP-initiated Single-Sign-Out workflows with ServiceNow.
This integration provides the following benefits to your ServiceNow implementation
- Adaptive Multi-factor Authentication workflows in front of your ServiceNow portal experiences based around OpenID Connect
- Self-Service Registration, Account Recovery and Account Management
- Leverage the Strivacity Identity Store for the storage of all of your customer or partner accounts
- Easy rebranding and customization of your customer facing experiences
There are three steps required to setup a your ServiceNow instance with Strivacity, along with a third optional step:
Once configured, there are two ways in which you may wish to provide access to ServiceNow to your customers:
Step 1) Setup an Application within Strivacity
To create an Application, follow these simple steps.
- Start by logging into the Admin Console using an admin account.
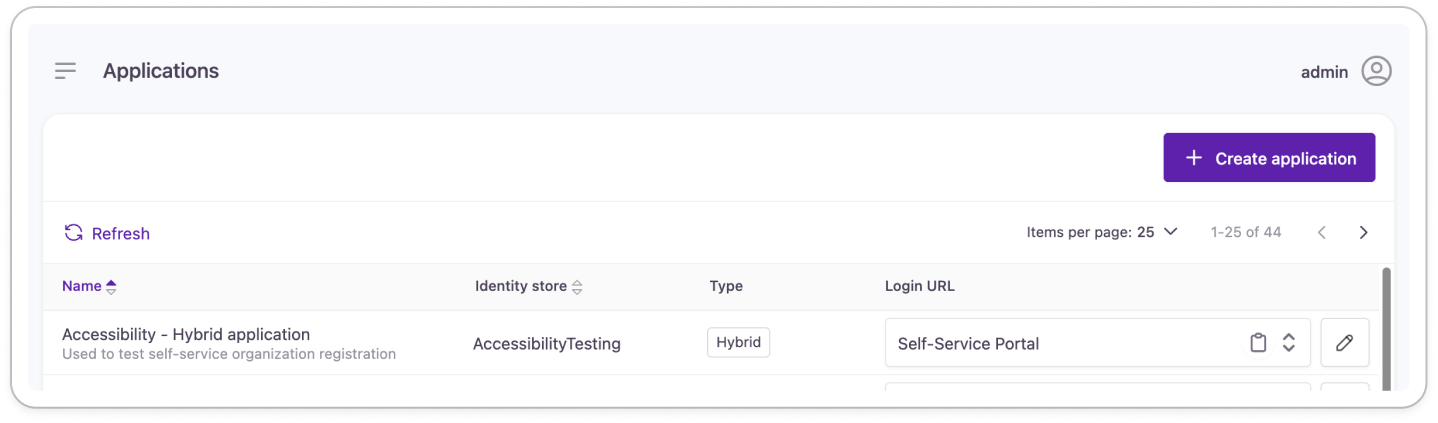
- From the left-hand menu, select Applications.
- If you're just getting started with Strivacity then the applications list will be empty. If any existing applications have been configured then they will be listed here.
- Create a new application, click + Create Application button from the top right hand corner as shown below:
- The table below provides guidance on the purpose/required values for the fields on this page.
Once you have filled out all of the fields, click the Save button at the bottom of the page.
Basic Information
| Field Name | Description |
|---|---|
| Name | Define a name for this application. This name is displayed in the Applications listing and used to refer to this Application throughout Strivacity |
| Description | You can use this field to add any description or useful information that you may need for your Application. |
| ClientID | The Client ID is automatically generated when you save the Application at the end of this process. You will use the ClientID in step 2 of this process when configuring ServiceNow. |
| Client Secret | The Client ID is automatically generated when you save the Application at the end of this process.You will also use the Client Secret in step 2 of this process when configuring ServiceNow. |
| Token Endpoint Authentication Method | Set this value to Post - so that Strivacity will understand that ServiceNow will be posting to it during authentication. |
Application Properties
| Field Name | Description |
|---|---|
| Identity Store | You can choose to leave this as default. Here is where you can choose which Identity Store you would like to use with this application. |
| Adaptive MFA Policy | You can choose to leave this as default. Here is where you can choose which Adaptive MFA Policy you would like to use with this application. |
| Self-Service Policy | You can choose to leave this as default. Here is where you can choose which Self-Service Policy you would like to use with this application. |
| JWT Signing Policy | This should remain at the default of RS256 |
| Login URL | This should be https://[FQDN of your Strivacity instance]/login |
| Allowed Callback URLs | The following Callback URLs should be configured: https://[ServiceNow instance FQDN]/navpage.do and https://[ServiceNow instance FQDN]/sp |
Available pluginYou can add the ServiceNow CRM integration plugin from Strivacity's plugin library that handles looking up users before registration.
Step 2) Configuring your ServiceNow instance
You will need the ServiceNow Paris release on your ServiceNow instance to take advantage of the OpenID Connect integration
Prior to configuring the integration, you will need the ServiceNow prerequisite 'Integration - Multiple Single Sign-On Installer' installed - the process for this is covered in steps 1 through 7 below.
- Log into your ServiceNow instance using a Systems Administrator role.
- Next, go to Filter navigator in the top left hand corner and search for plugins and then search for SSO on the plugins page as shown below:
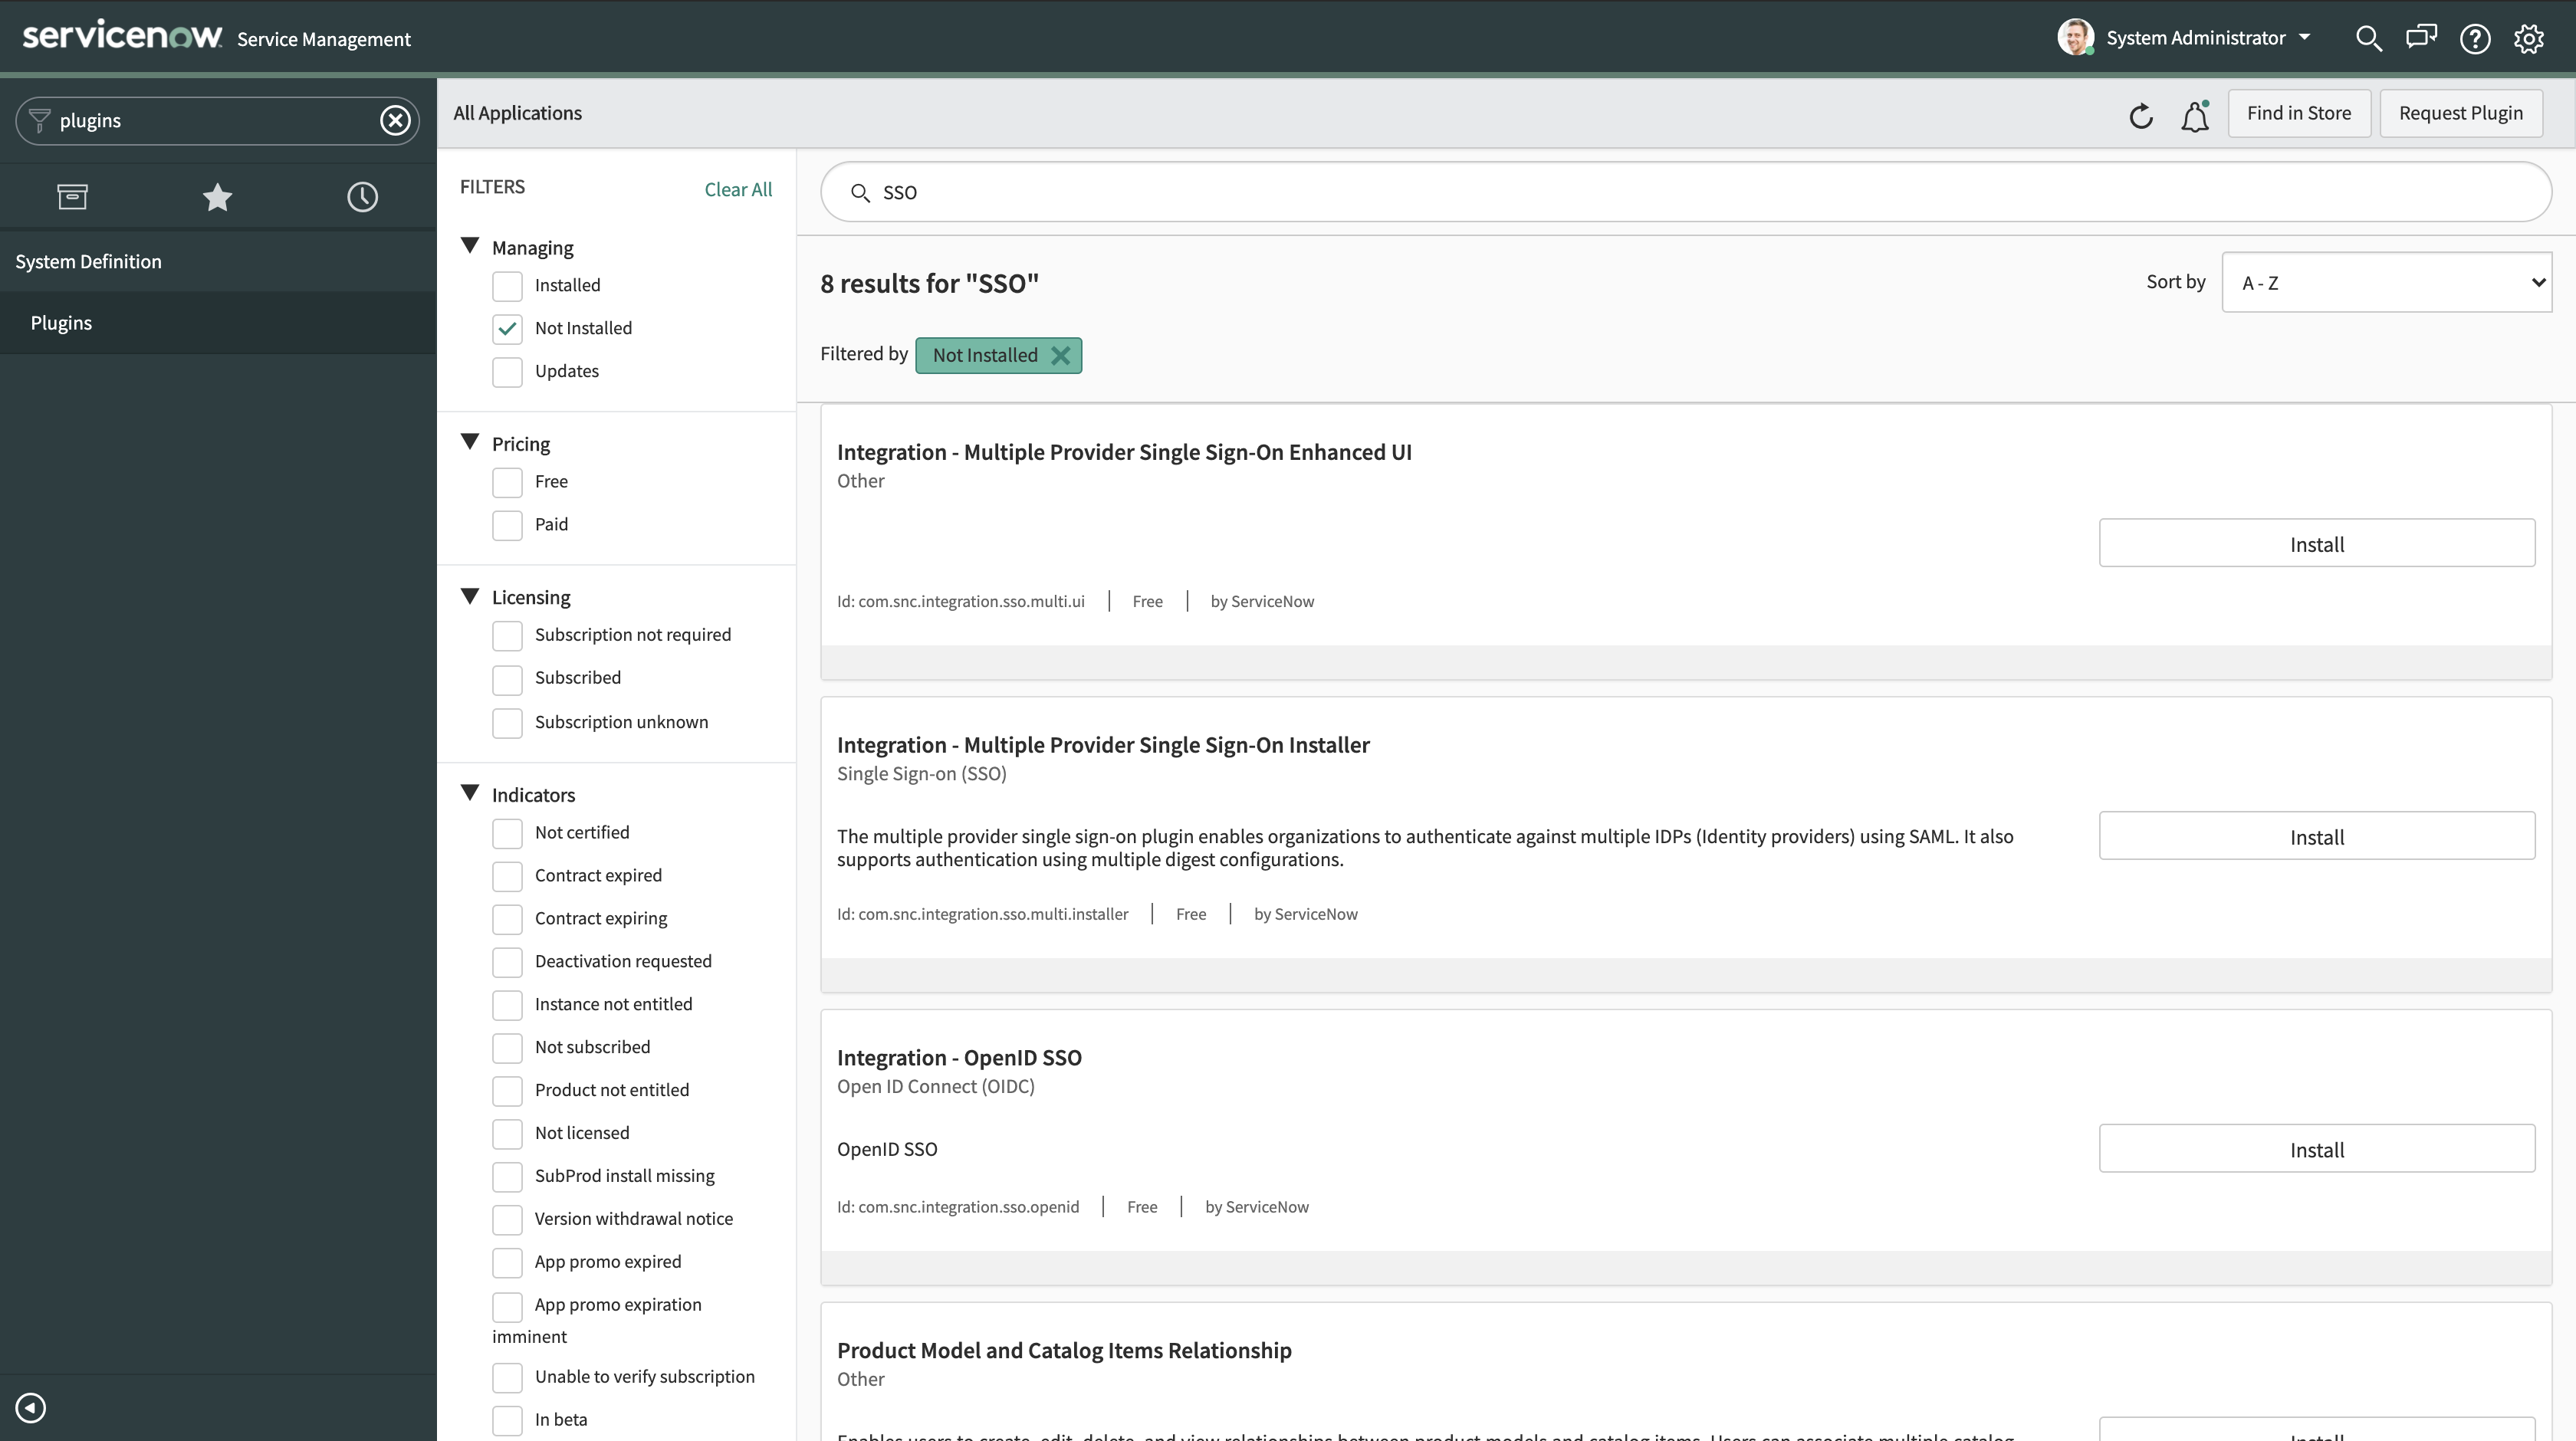
- Next, locate Integration - Multiple Provider Single Sign-On Installer from the search results and click the Install button as shown below:
.png)
- You will be prompted to Activate Plugin as shown below. Click the Activate button to continue.
.png)
- The Plugin Activation progress bar will be displayed as ServiceNow activates the plugin, as shown below:
.png)
- Next, click the Close and Reload Form button on the Plugin Activation window as shown below:
.png)
- Once the form has reloaded from step number 6 above, go back to the Filter navigator and type SSO. From the search results click Properties under Multi-provider SSO - Federations then click Administration.
The Customization Properties for Multiple Provider SSO page will now be displayed as shown below:
.png)
- .elect Yes under Enable multiple provider SSO and click the Save button in the top right hand corner.
- Next, click Identity Providers from the left hand menu. All Identity Providers within your ServiceNow instance will be listed as shown below:

- Now, click on the New button from the top left menu to create a new Identity Provider
- Under the What kind of SSO are you trying to create? click OpenID Connect as shown below:
.png)
- The Import OpenID Connect Well Known Configuration page will be displayed as shown below. The table below shows all of the values that are required. Once you've filled these in, click the Import button.
.png)
| Field Name | Value |
|---|---|
| Name | Here you can enter the friendly name of Strivacity |
| Client ID | Here you will need to copy the Client ID from the Application that you created in Step 1 in the Strivacity admin console and paste it into this field |
| Client Secret | Here you will need to copy the Client Secret from the Application that you created in Step 1 in the Strivacity admin console and paste it into this field |
| Well Known Configuration URL | Here you will need to specify the following URL where you will need the fully qualified domain name for your Strivacity instance.
Note: This URL has to be reachable from your ServiceNow instance |
- Your ServiceNow instance is now going to use the well known configuration URL (along with the Client ID and Client Secret) to communicate with Strivacity and setup the OIDC relationship between the two systems. Upon successfully doing this, the OIDC Identity Provider page will now be displayed as shown below:
.png)
- Next, change the ServiceNow Homepage URL to
https://[FDQN to your SErvieNow instance]/sp, as shown below:
.png) 15. Next, click Show as Login option. In the SSO Label field you can type 'Strivacity' and if desired you can use the Strivacity Icon URL which is: https://strivacity.com/icons/favicon.png. The configuration should look like the screenshot below:
15. Next, click Show as Login option. In the SSO Label field you can type 'Strivacity' and if desired you can use the Strivacity Icon URL which is: https://strivacity.com/icons/favicon.png. The configuration should look like the screenshot below:
.png)
Once complete, you can click the Update button from the top right hand menu.
- Next, on the OIDC Provider Configuration Tab, click the Strivacity named OIDC Provider that you named in step 12. This is shown in the screenshot below:
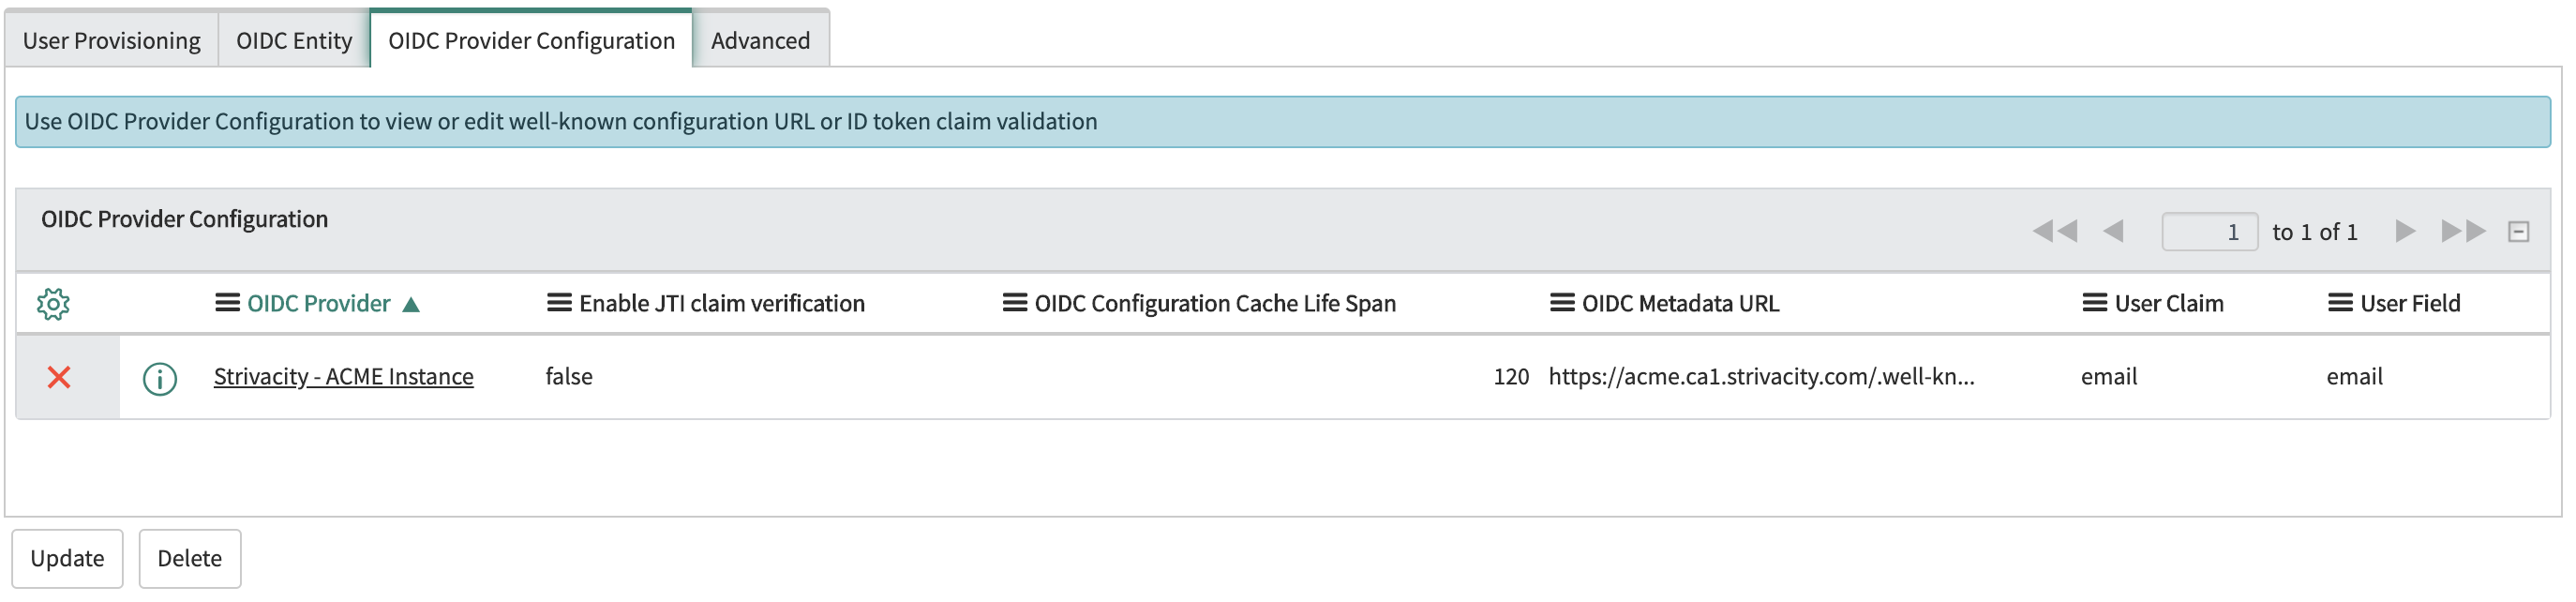
- Within the OIDC Provider Configuration for your Strivacity named OIDC Provider, the following settings should be made per the table below. Once these changes have been made, click the Update button.
| Field Name | Value |
|---|---|
| User Claim | username |
| User Field | User ID |
.png)
- This completes the integration of Strivacity with ServiceNow. You now have two options available for login depending on how you would like your customers/users to login.
1. Logging in directly using Strivacity's Log in Component
Your customers or employees can directly log in via Strivacity's log in component by simply linking to the following (persistent) URL. For instance if you were providing a link on your website or portal to ServiceNow secured by Strivacity, this is the URL that you would use.
https://[ServiceNow instance FQDN]/login_with_sso.do?glide_sso_id=[ClientID]
Where the ClientID is the Strivacity Client ID used
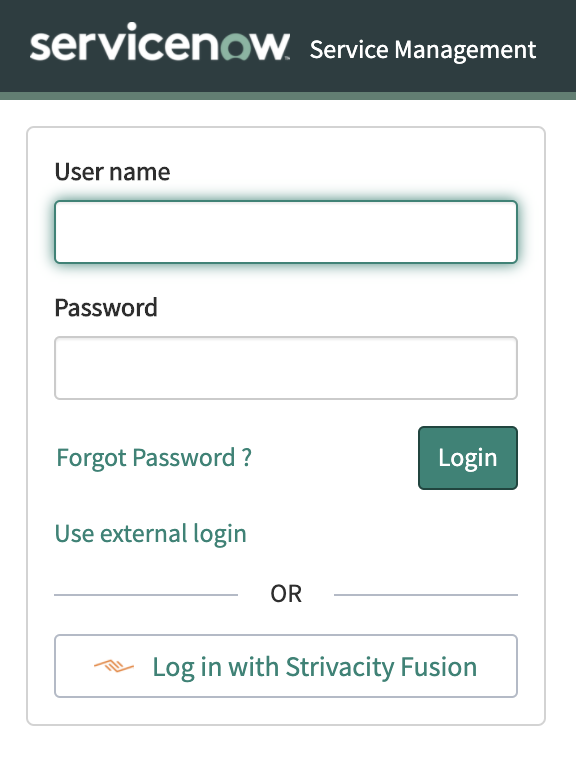
2. Logging in via the ServiceNow Service Management Login Screen
Since Strivacity is setup as a login provider with ServiceNow, you will see the Log in with Strivacity button on the login screen if for any reason you need any customer or employees to log in this way.
You can access this through directly navigating to the URL of the service now instance via your browser.
Step 3) Adding Self-Service Account Management to ServiceNow's Service Portal (optional)
Adding Self-Service Account Management to ServiceNow's Service Portal provides all of Strivacity's self-service to ServiceNow accounts, including:
- Ability to update any profile/account information
- Add account verification email addresses and phone numbers
- Enroll and Manage Multi-Factor Authentication
- Change Password
Follow these steps within ServiceNow to setup this integration:
- Log in to Service Management as a System Administrator
- Using the filter navigator, search for service portal, and then on the left hand menu under Service Portal Configuration click on Menus on as shown in the screenshot below:
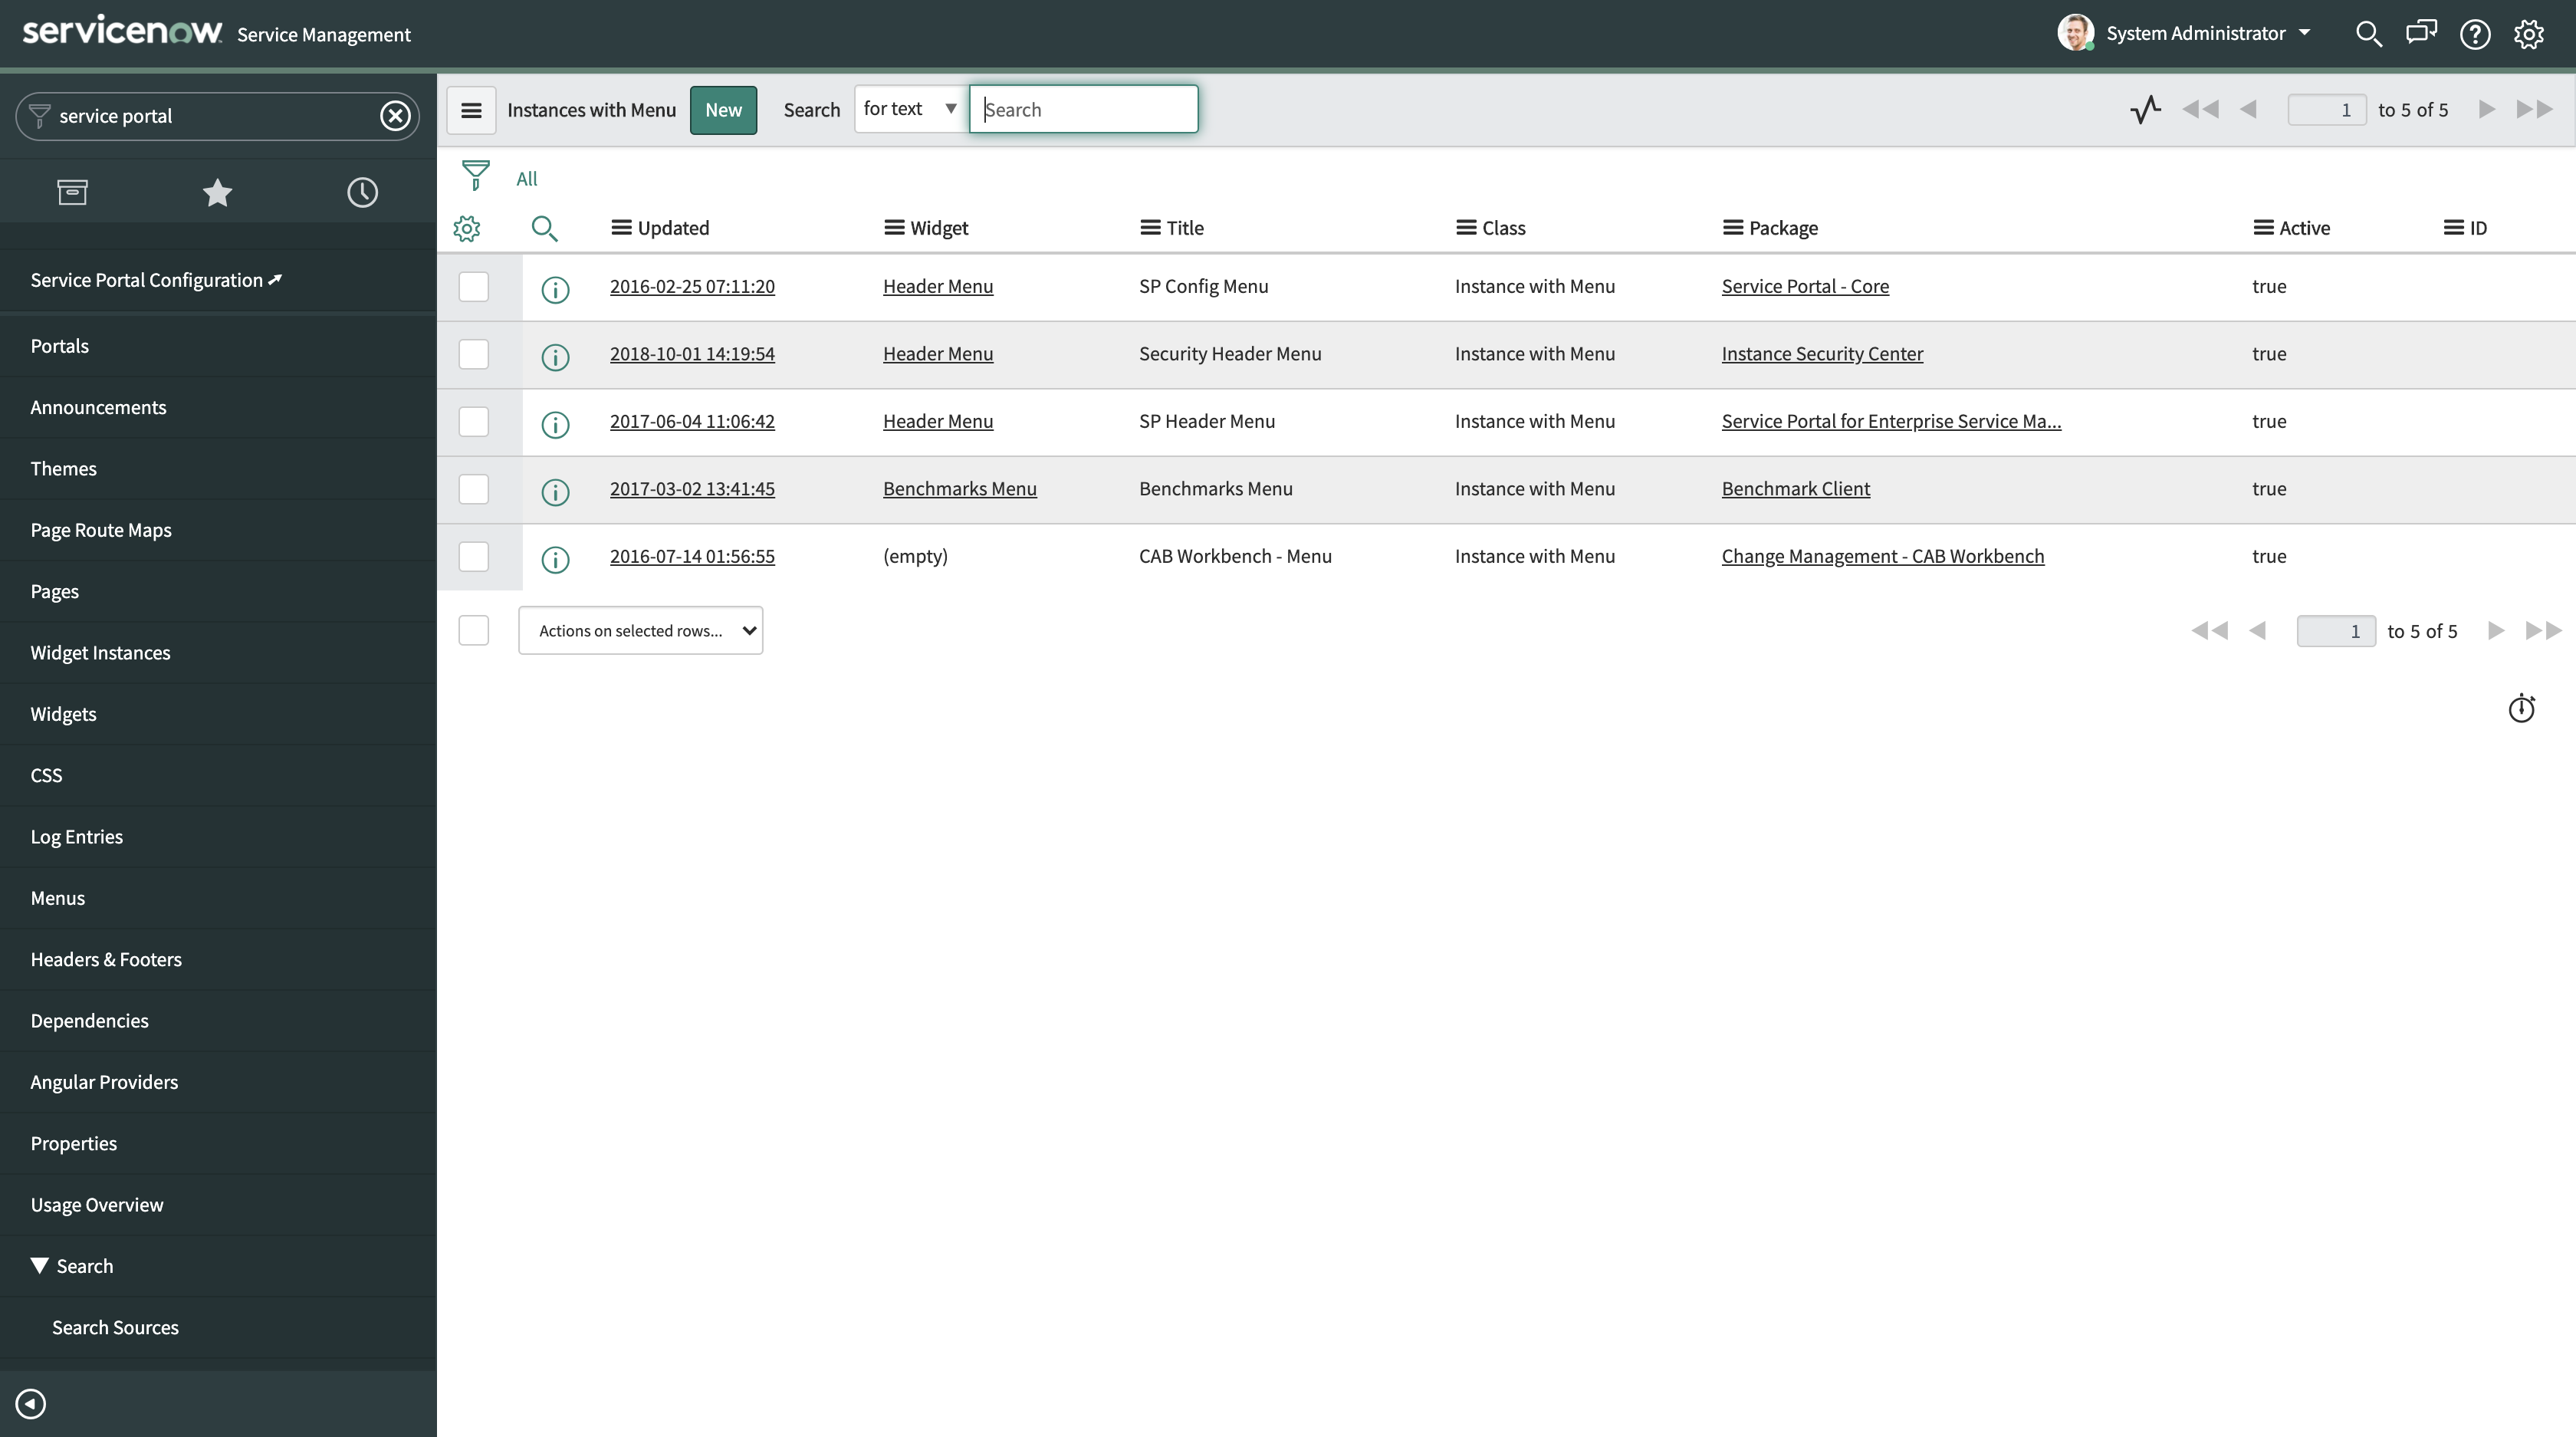
- Next, looking at the Package column, click on Service Portal for Enterprise Service Management. A file listing will be shown per the screenshot below:
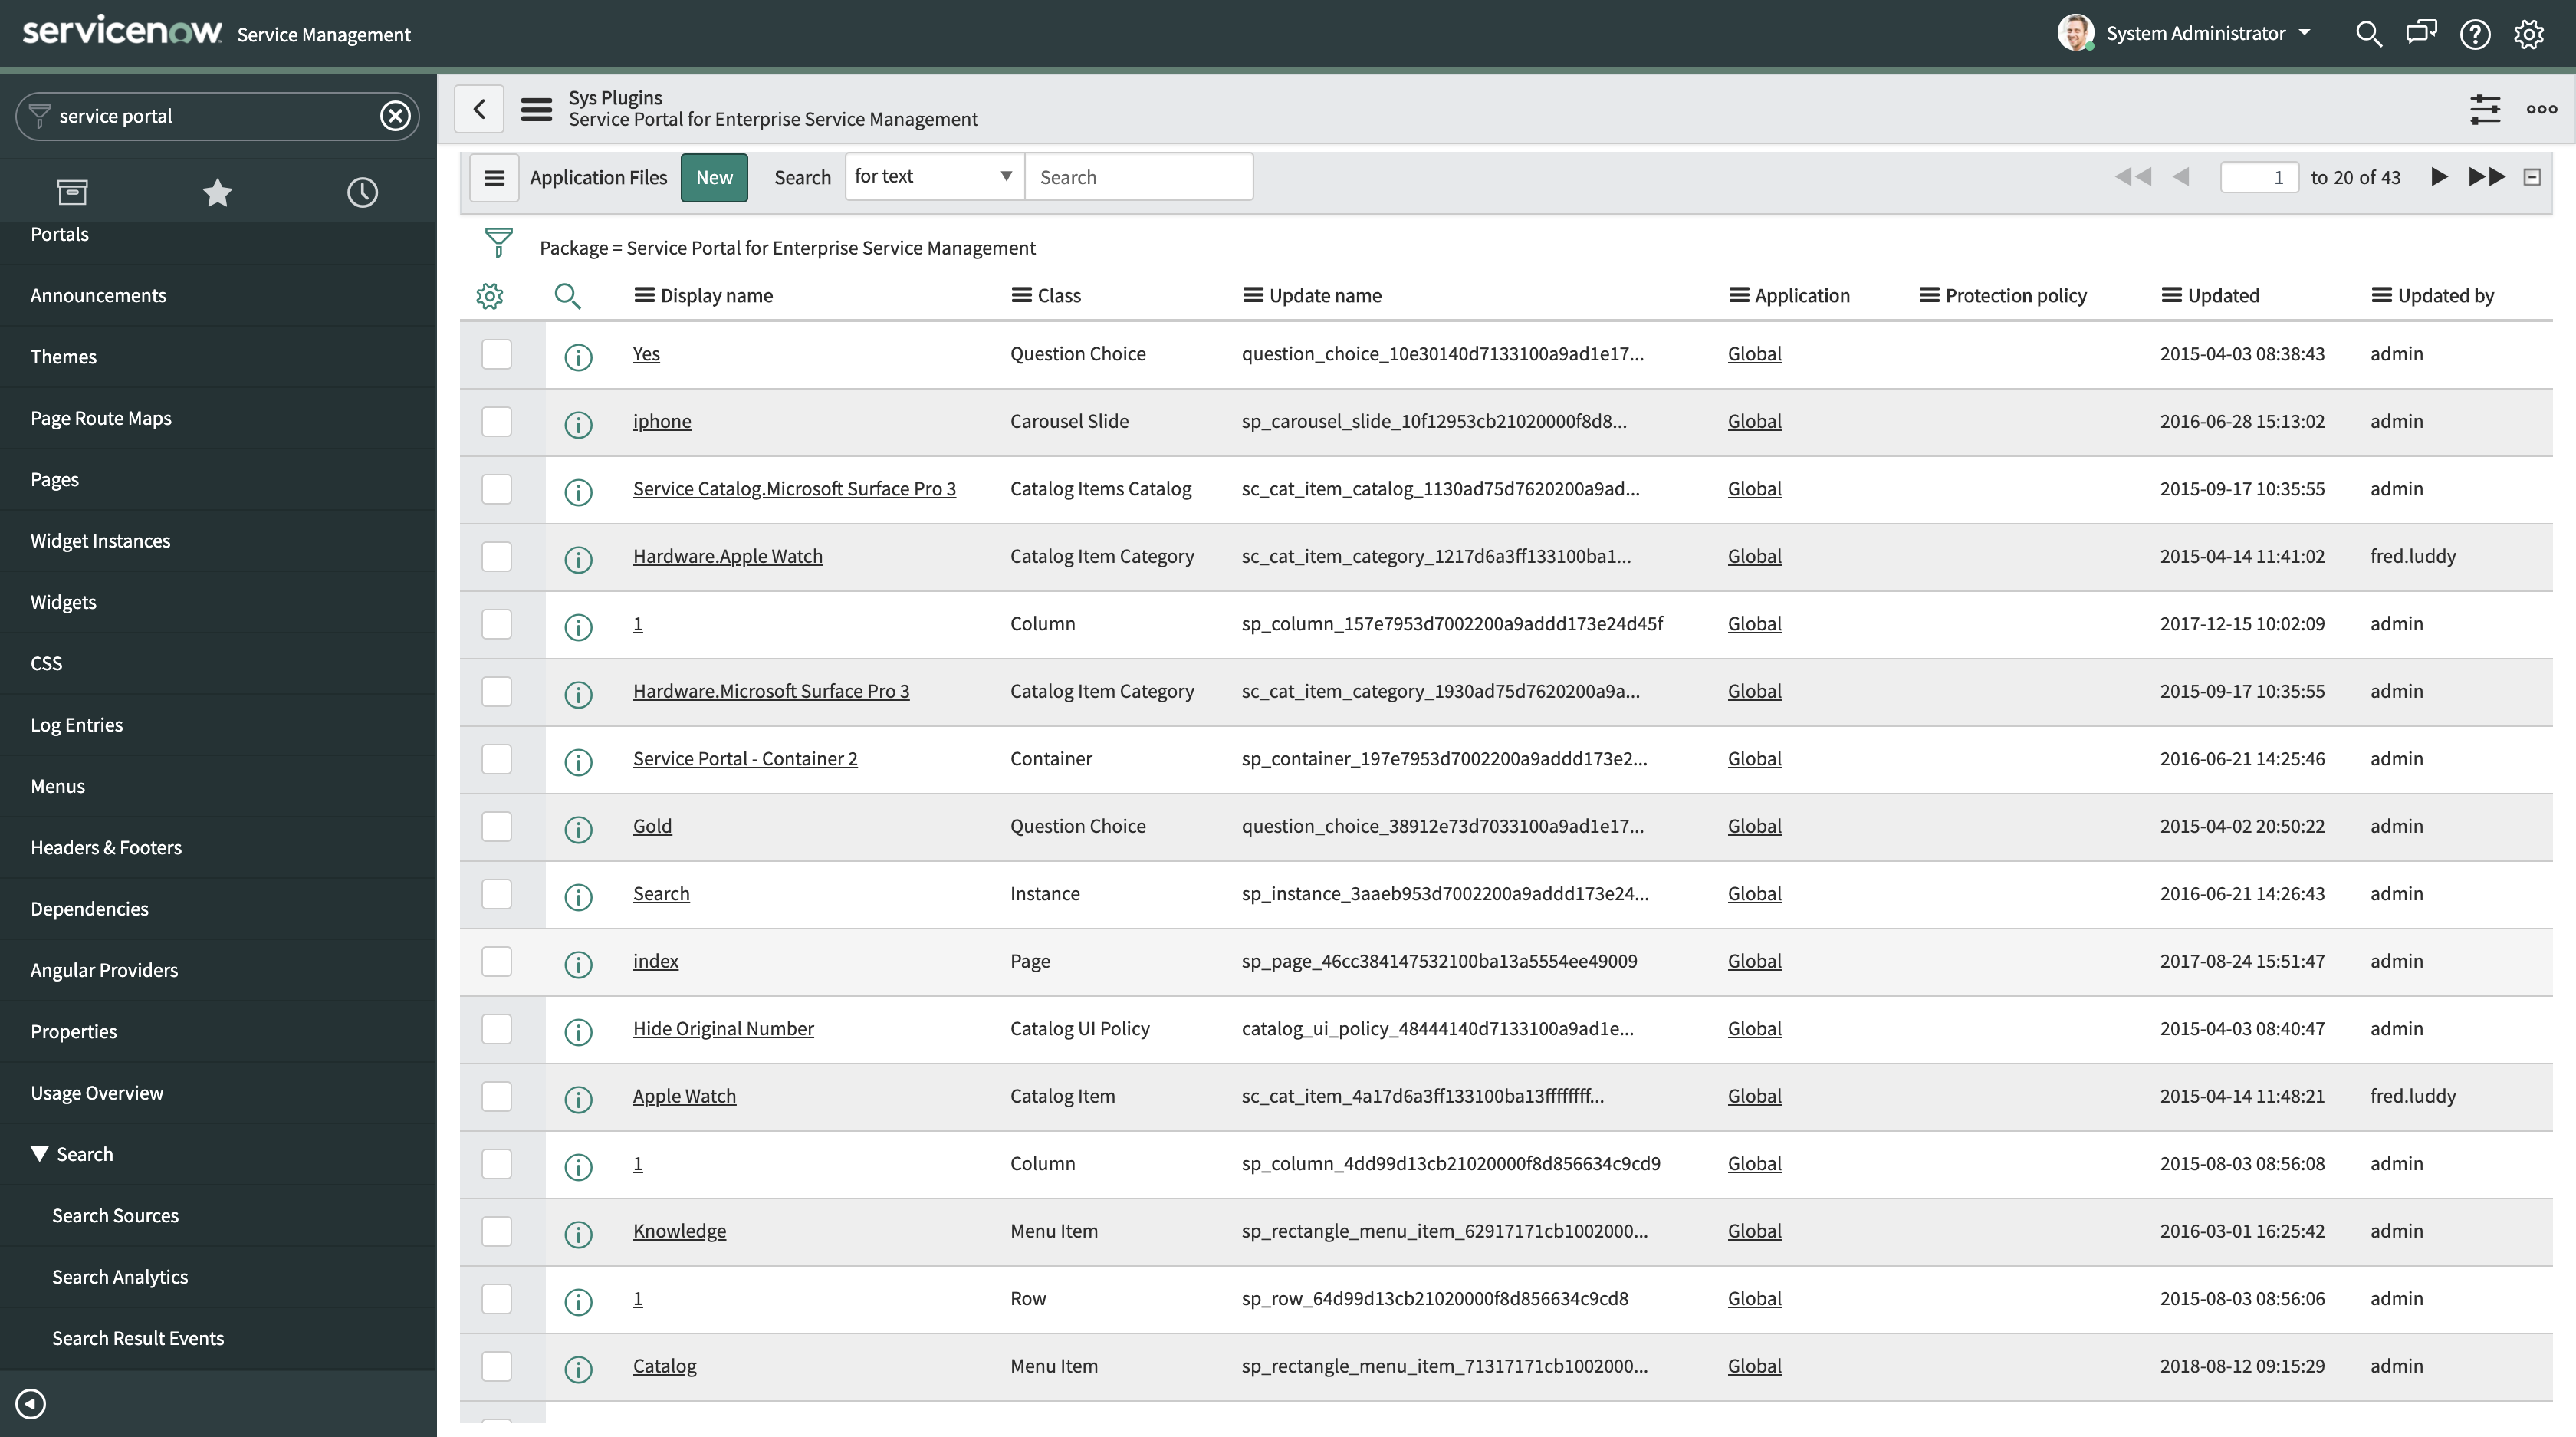
- Now locate and click the index page from the file listing. You will now be shown a page editor like in the screenshot below:

- For simplicity, we're going to edit the Get Help icon and link, however here you can use the extensibility that is ServiceNow and create your own new menu item if you wish.
- To edit the existing Get Help icon and use this for self-service, click Get Help. The edit page will now be displayed as shown below:
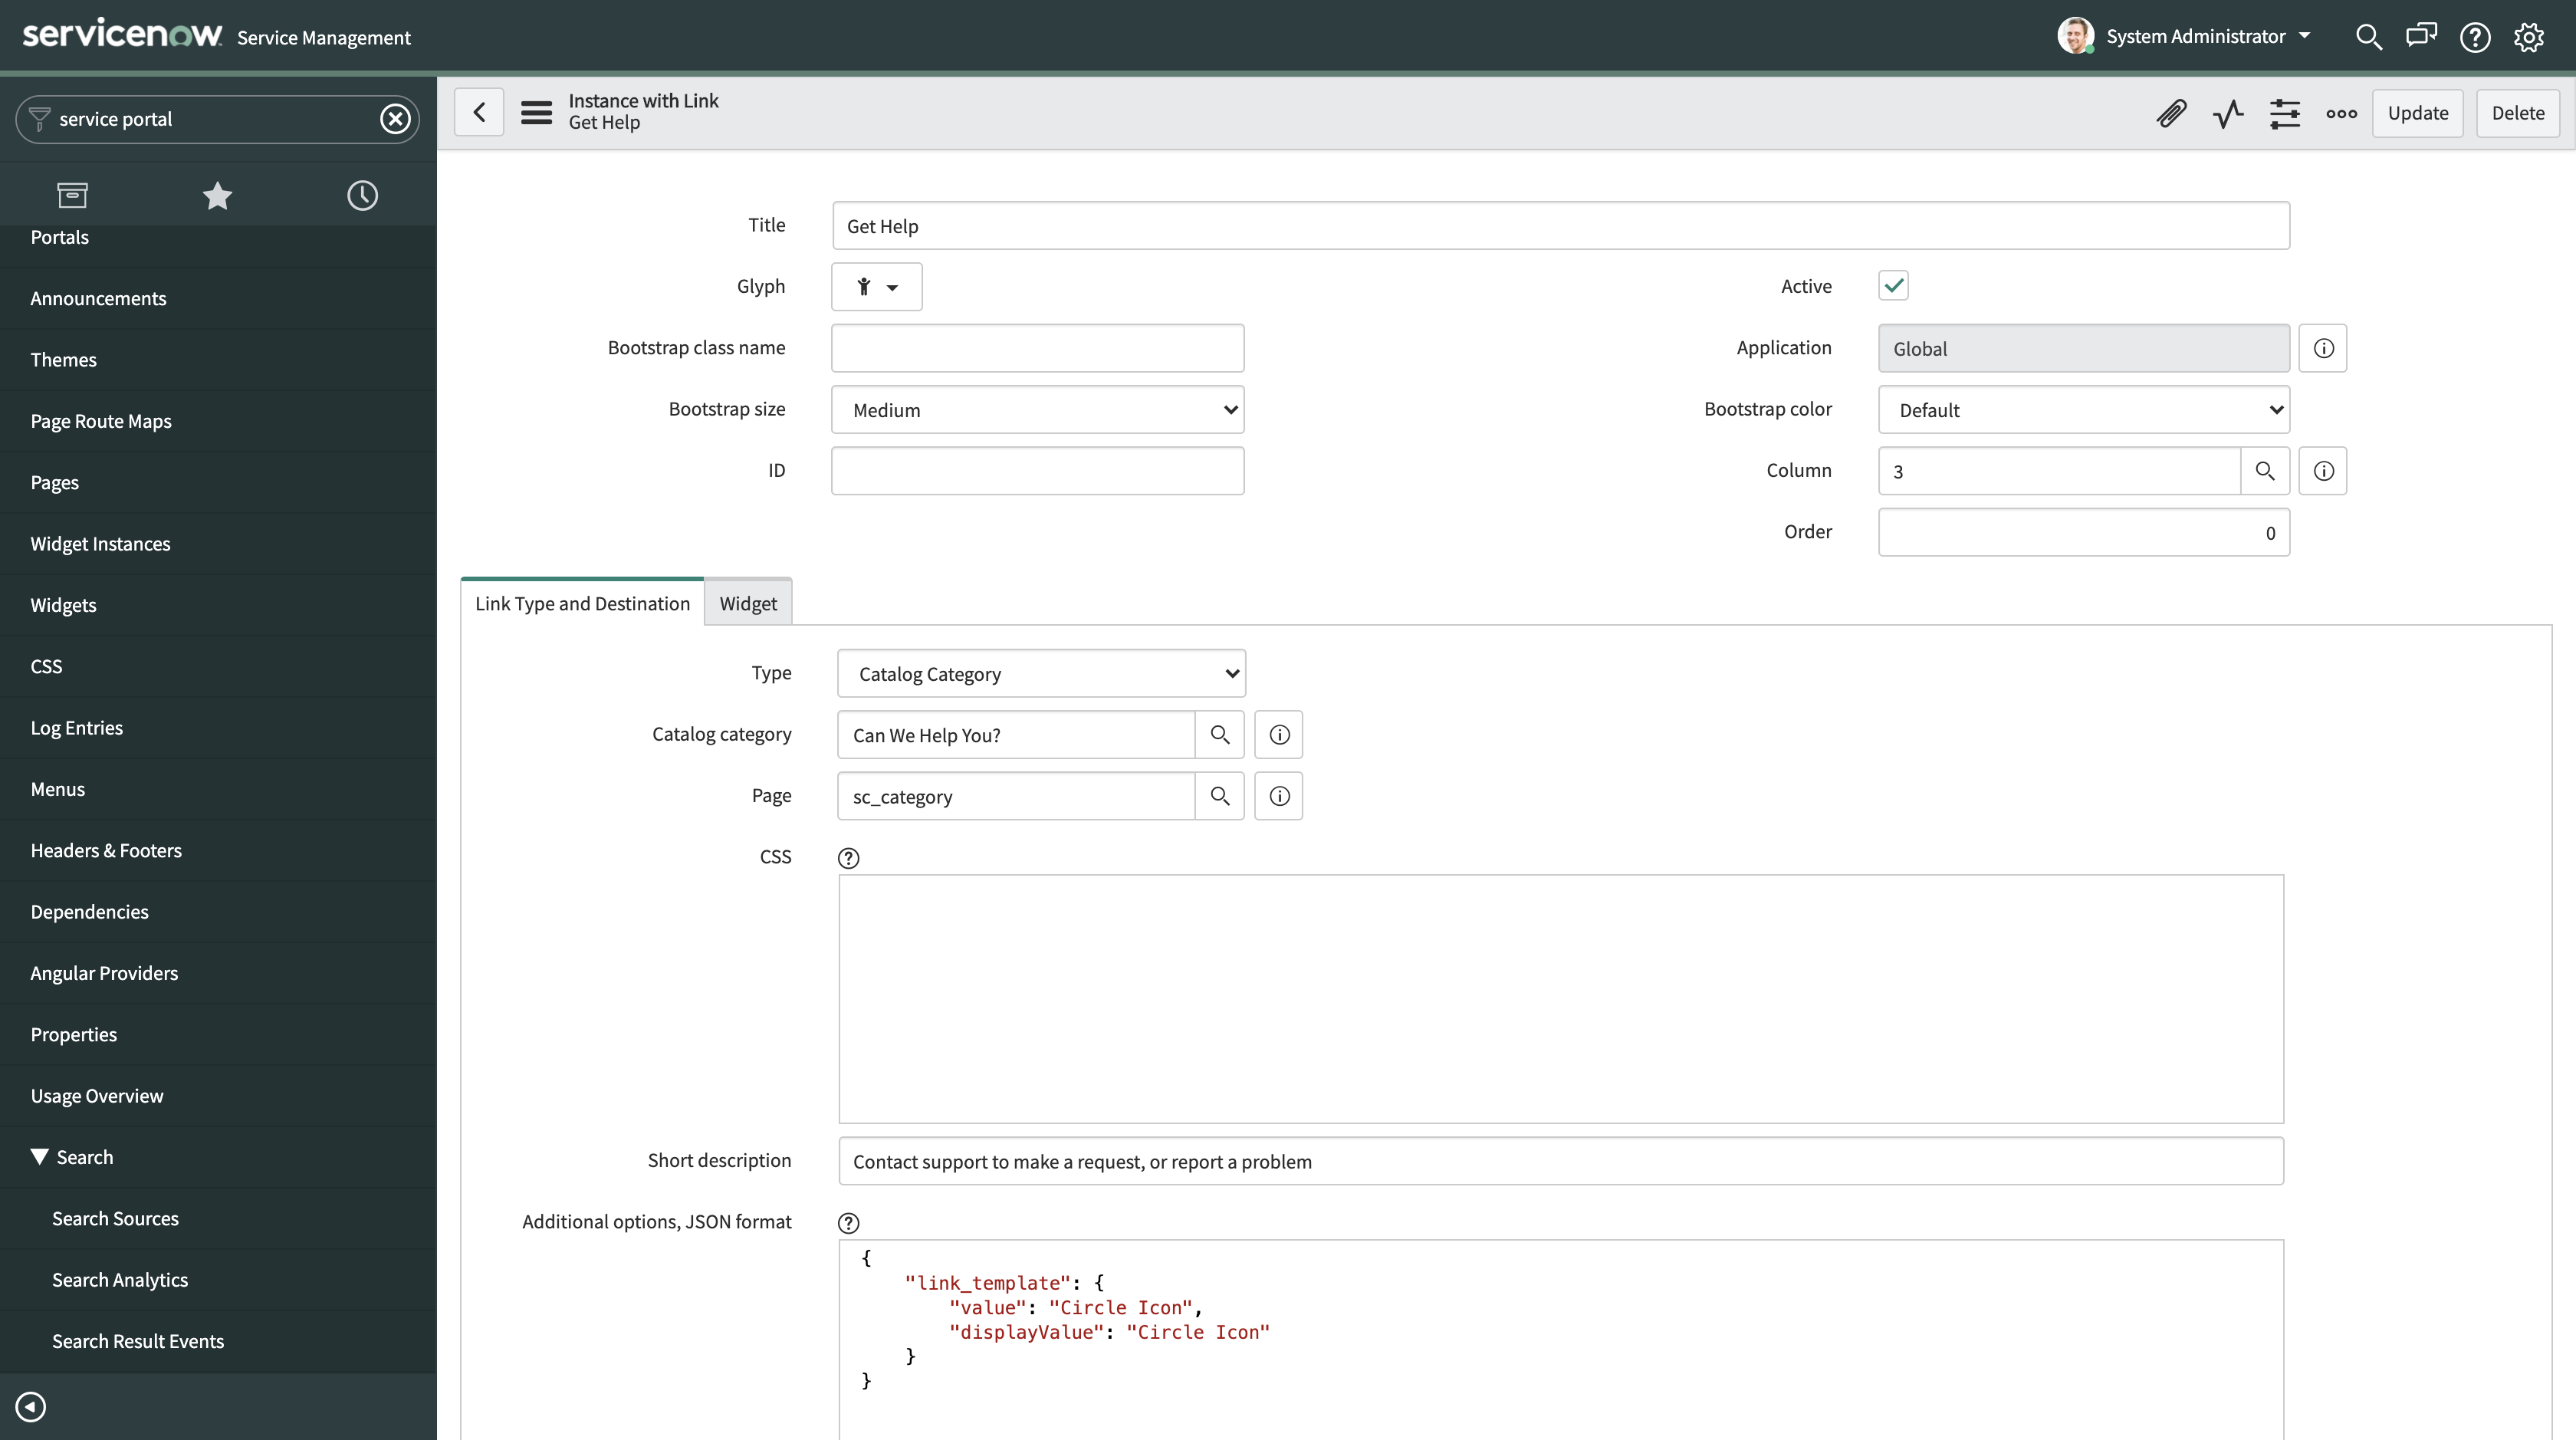
- Next, locate the following fields and modify their values per the table below:
| Field Name | Value |
|---|---|
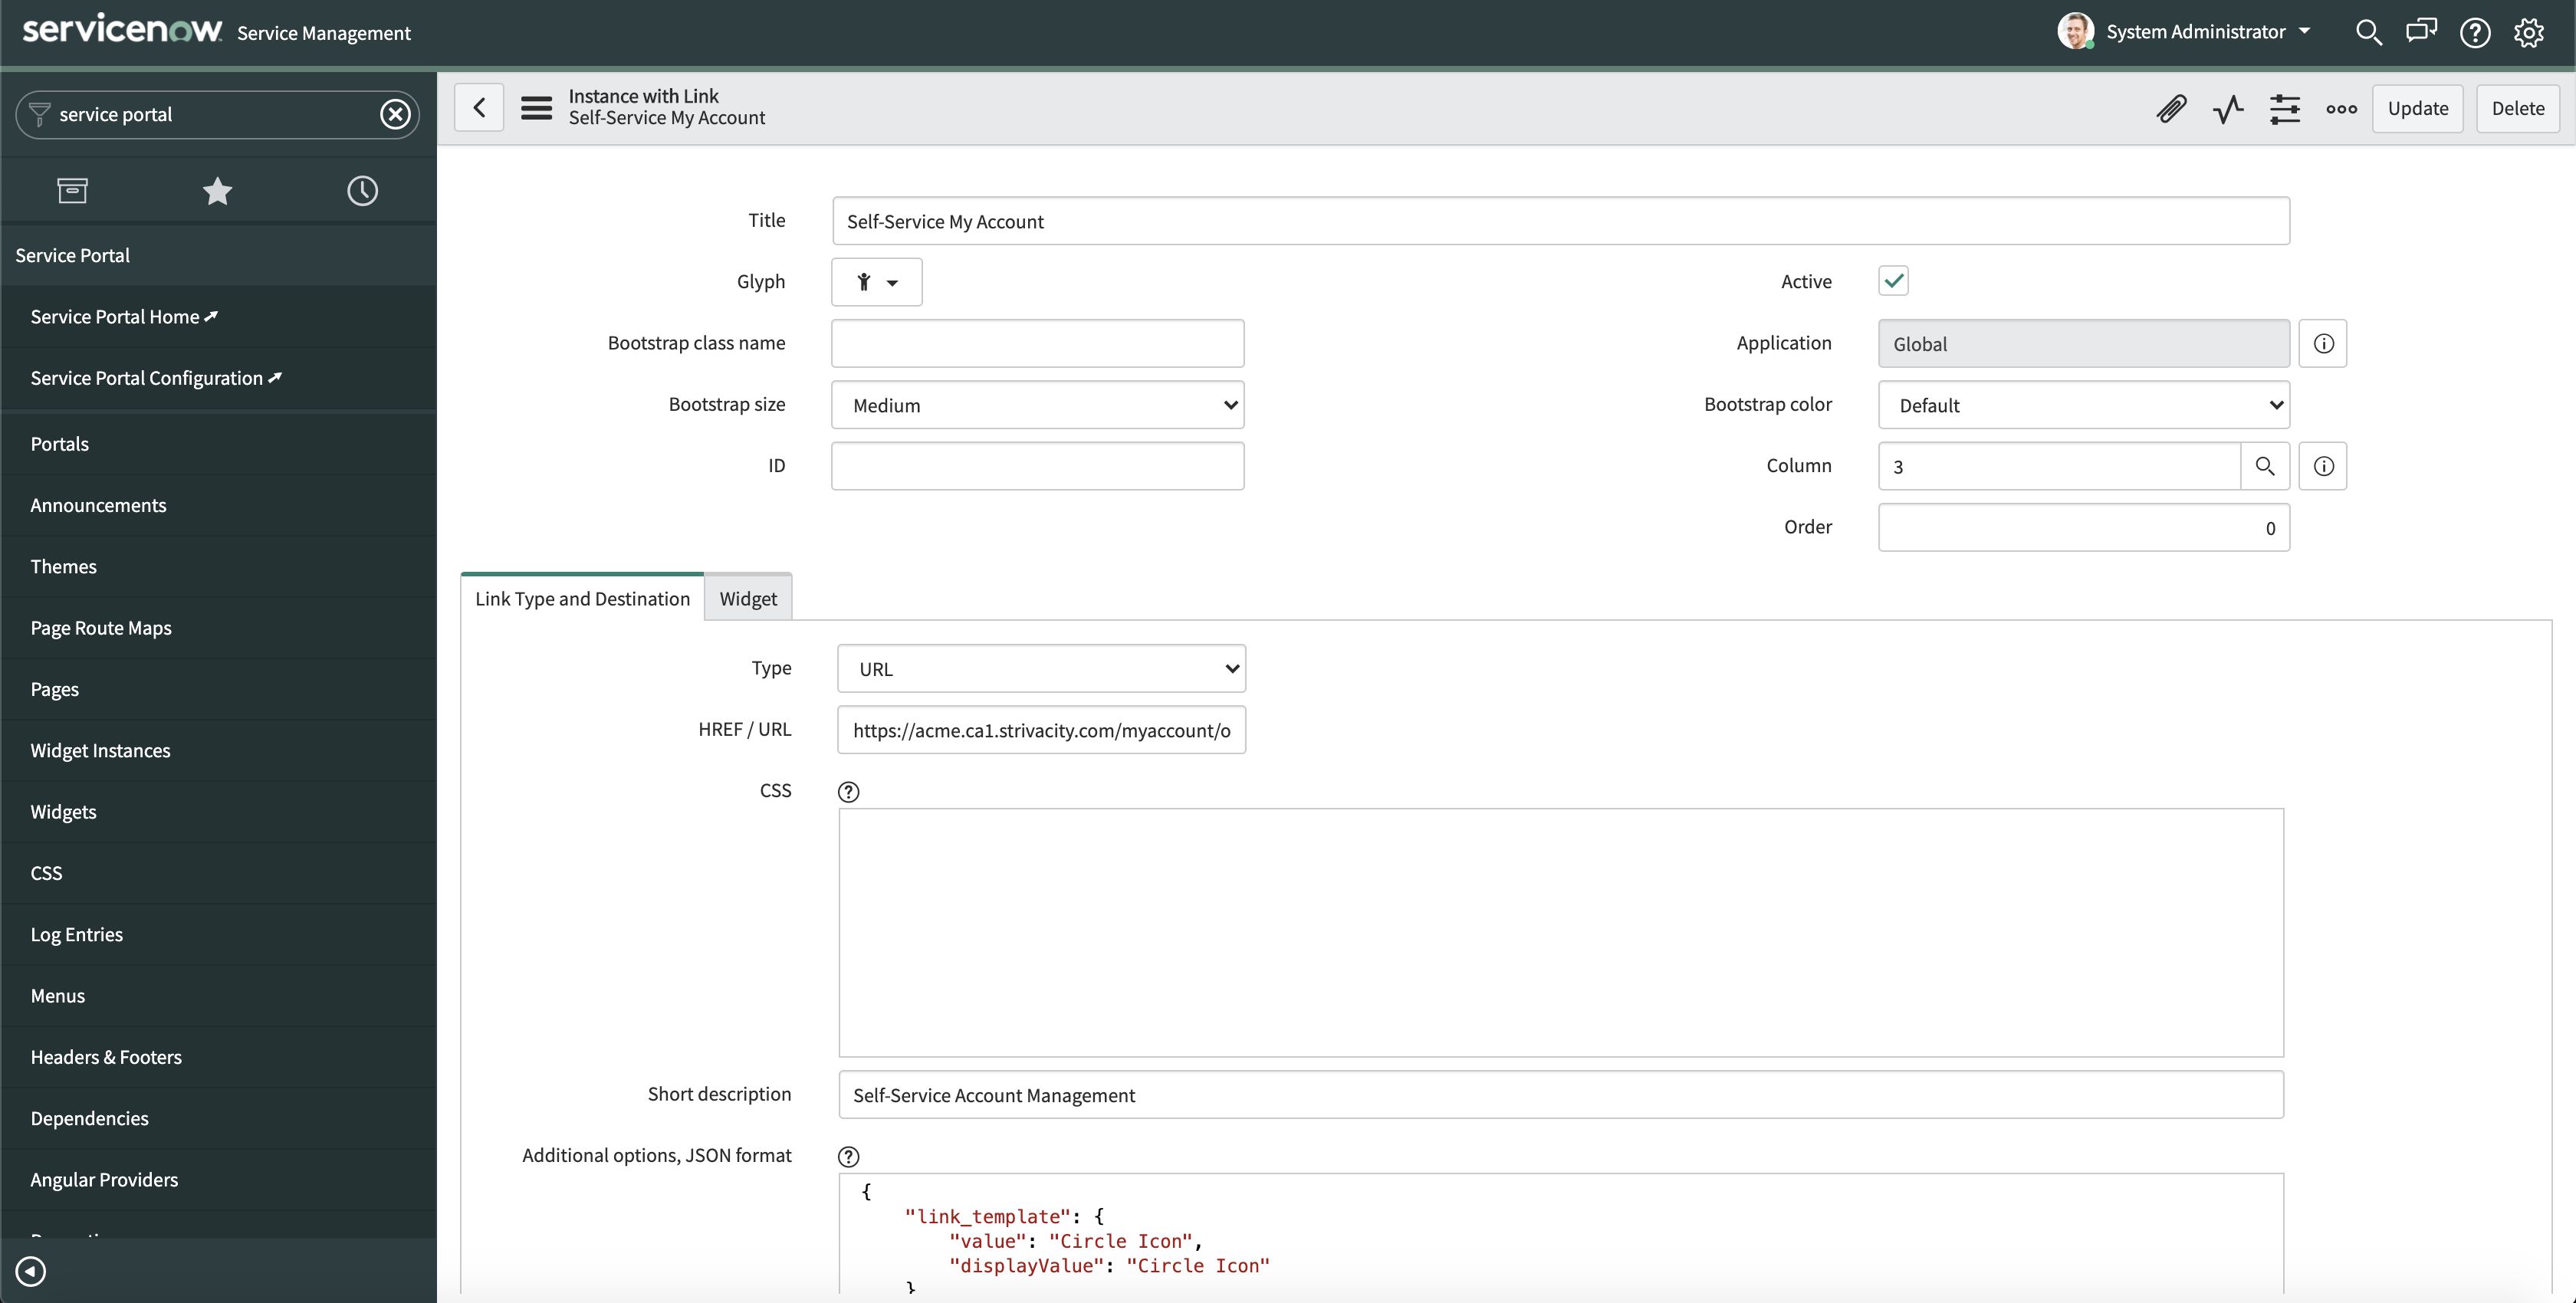
| Title | Self-Service My Account |
| Type | URL |
| HREF/URL | https://[Strivacity FDQN]/myaccount/oauth2/authorization/[ClientID] |
- Now, click the Update button in the top right hand corner. You will now be returned to the page edit as shown in the screenshot below. Click Update again from the top right hand corner.
- If you now log-in using a customer account the Self-Service My Account link will now be displayed in the ServiceNow Service Portal Portal page, as shown in the screenshot below.
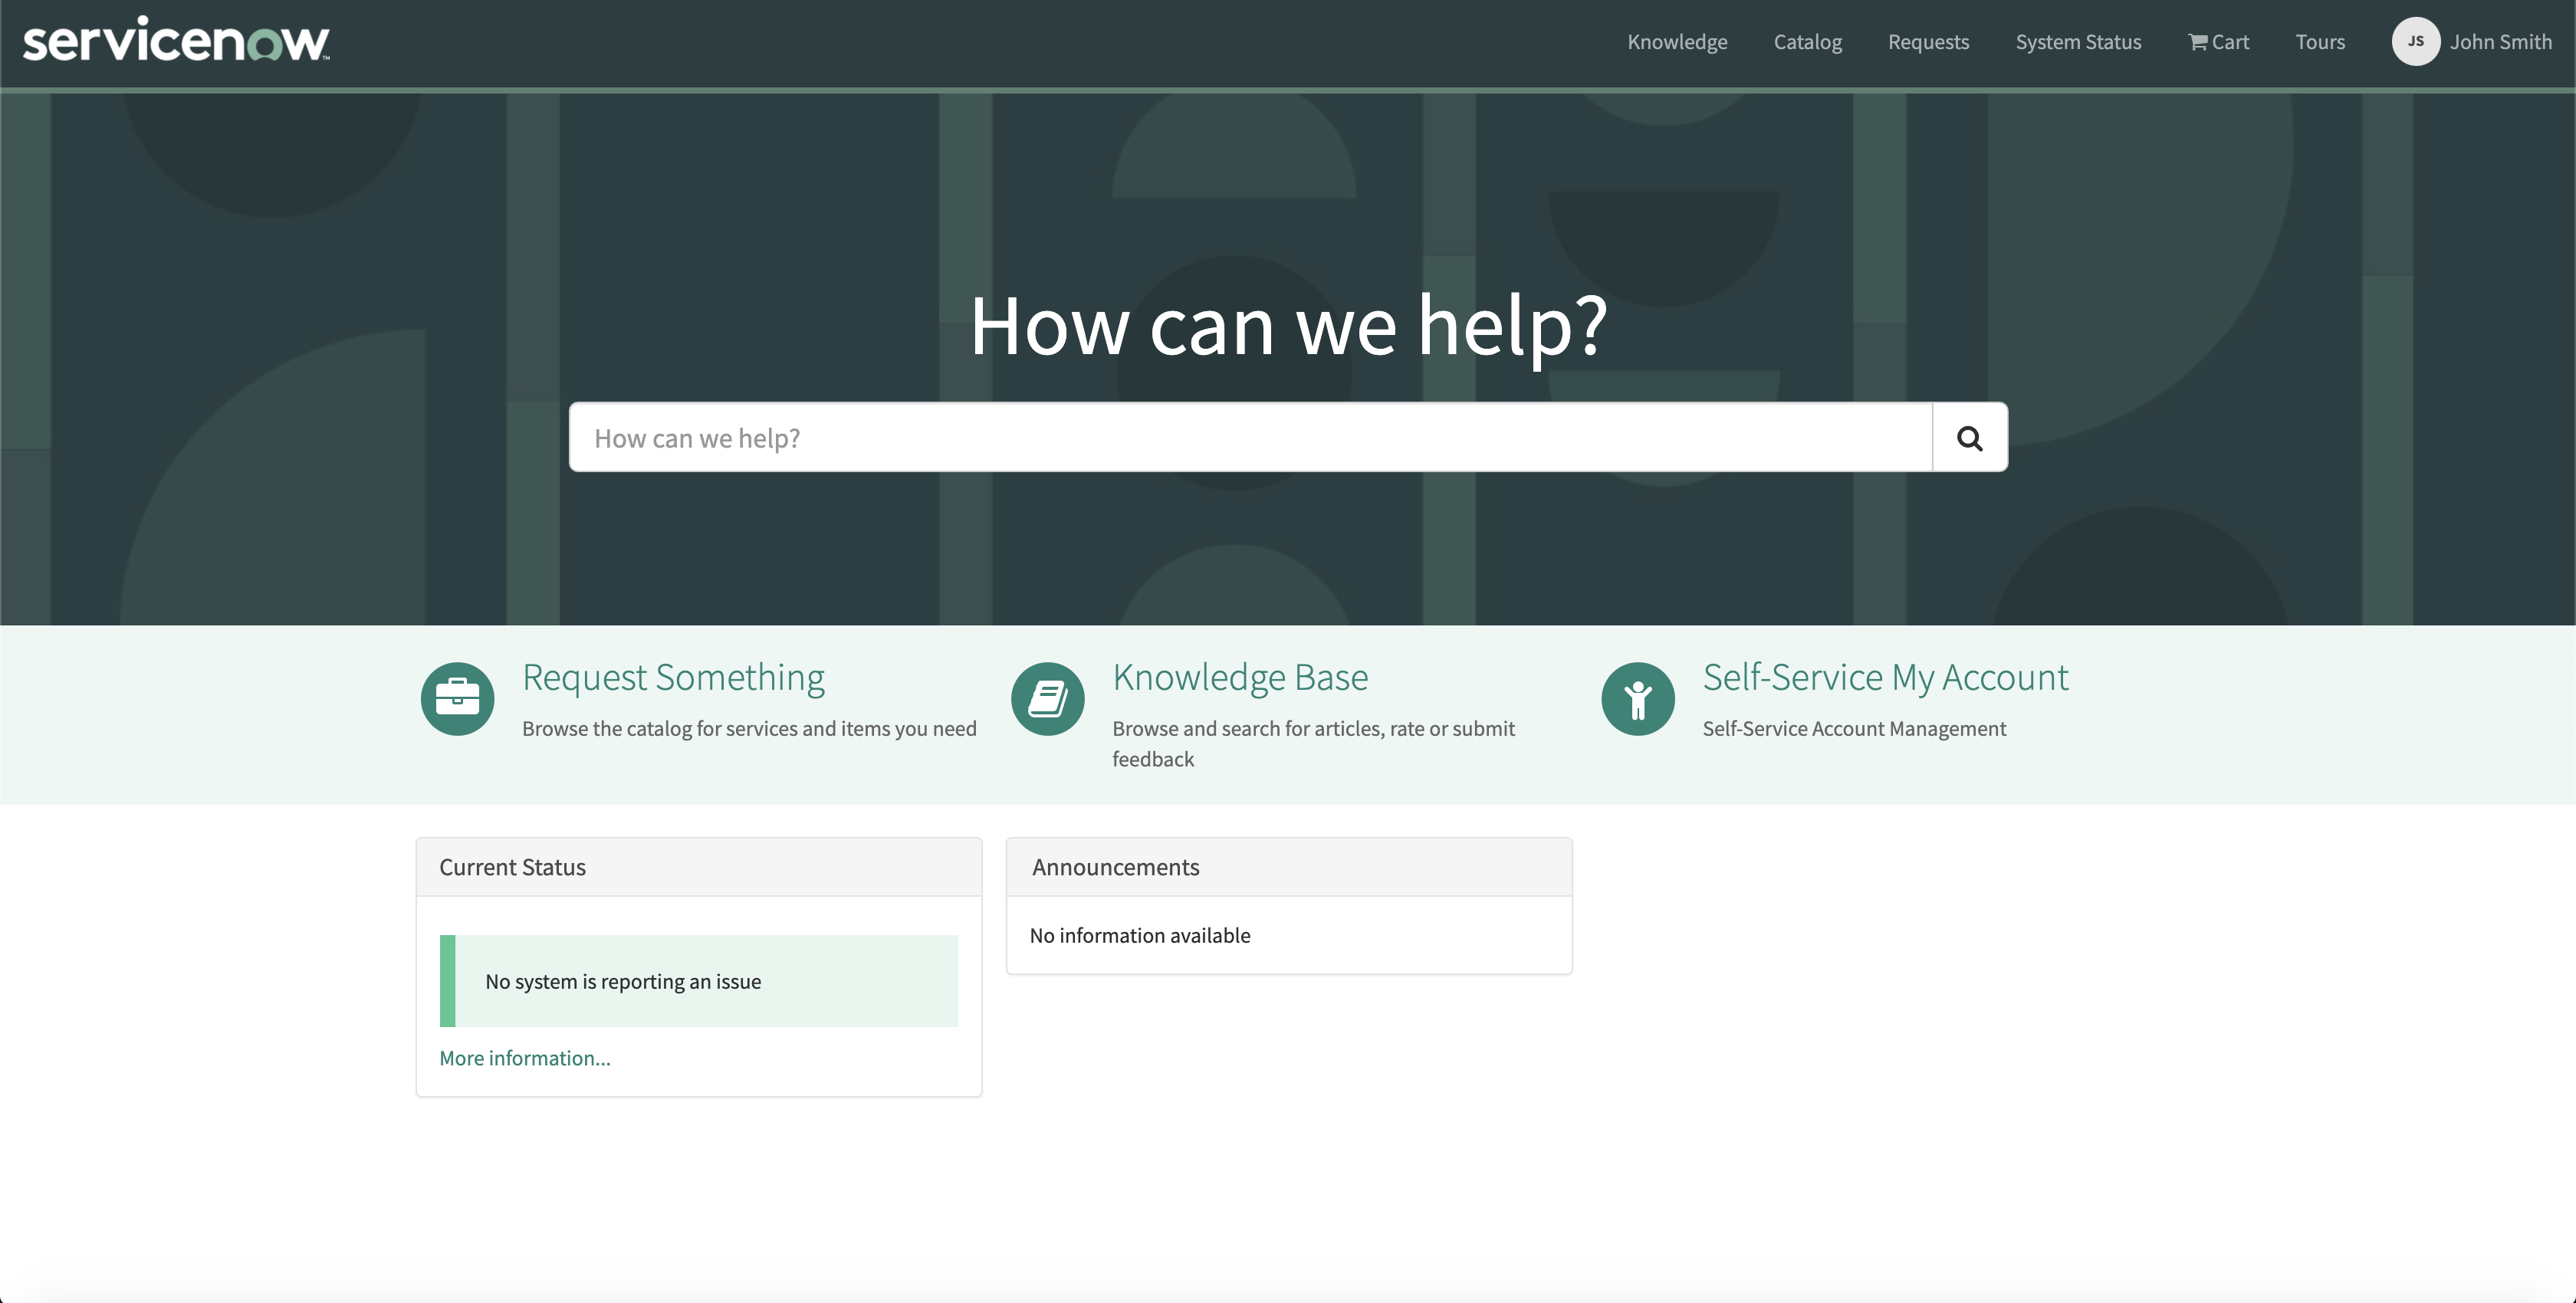
This completes the integration of the Strivacity Self-Service Account Management component with ServiceNow.