Facebook login setup
Strivacity supports social authentication using external identity providers such as Facebook. This allows customers to log in to your application using their existing Facebook identity.
Overview
There are two steps required to set up your Strivacity instance to use Facebook as a social login provider:
- Configuring Facebook login in Facebook for Developers
- Configuring Facebook login in Strivacity
You will need the following information to complete this setup:
- Your Strivacity instance address (required by Facebook and is easily available from Instance information in the Admin Console).
- The URL to your organization's Privacy Policy (required by Facebook).
- The URL of your website/application's Terms of Use (required by Facebook).
Step 1: Configuring Facebook login in Facebook for Developers
To set up and configure Facebook for use as a social login provider, follow the steps outlined below.
Ensure that you perform this step using your personal Facebook account and not a Facebook business account, otherwise Facebook will not allow you to create a Facebook application.
- Go to Facebook for Developers, select Getting Started in the upper right-hand corner of the screen, and log in using your existing Facebook account or create a new one.
- Once you've logged in using your Facebook account, select My Apps in the upper right-hand corner of the screen.
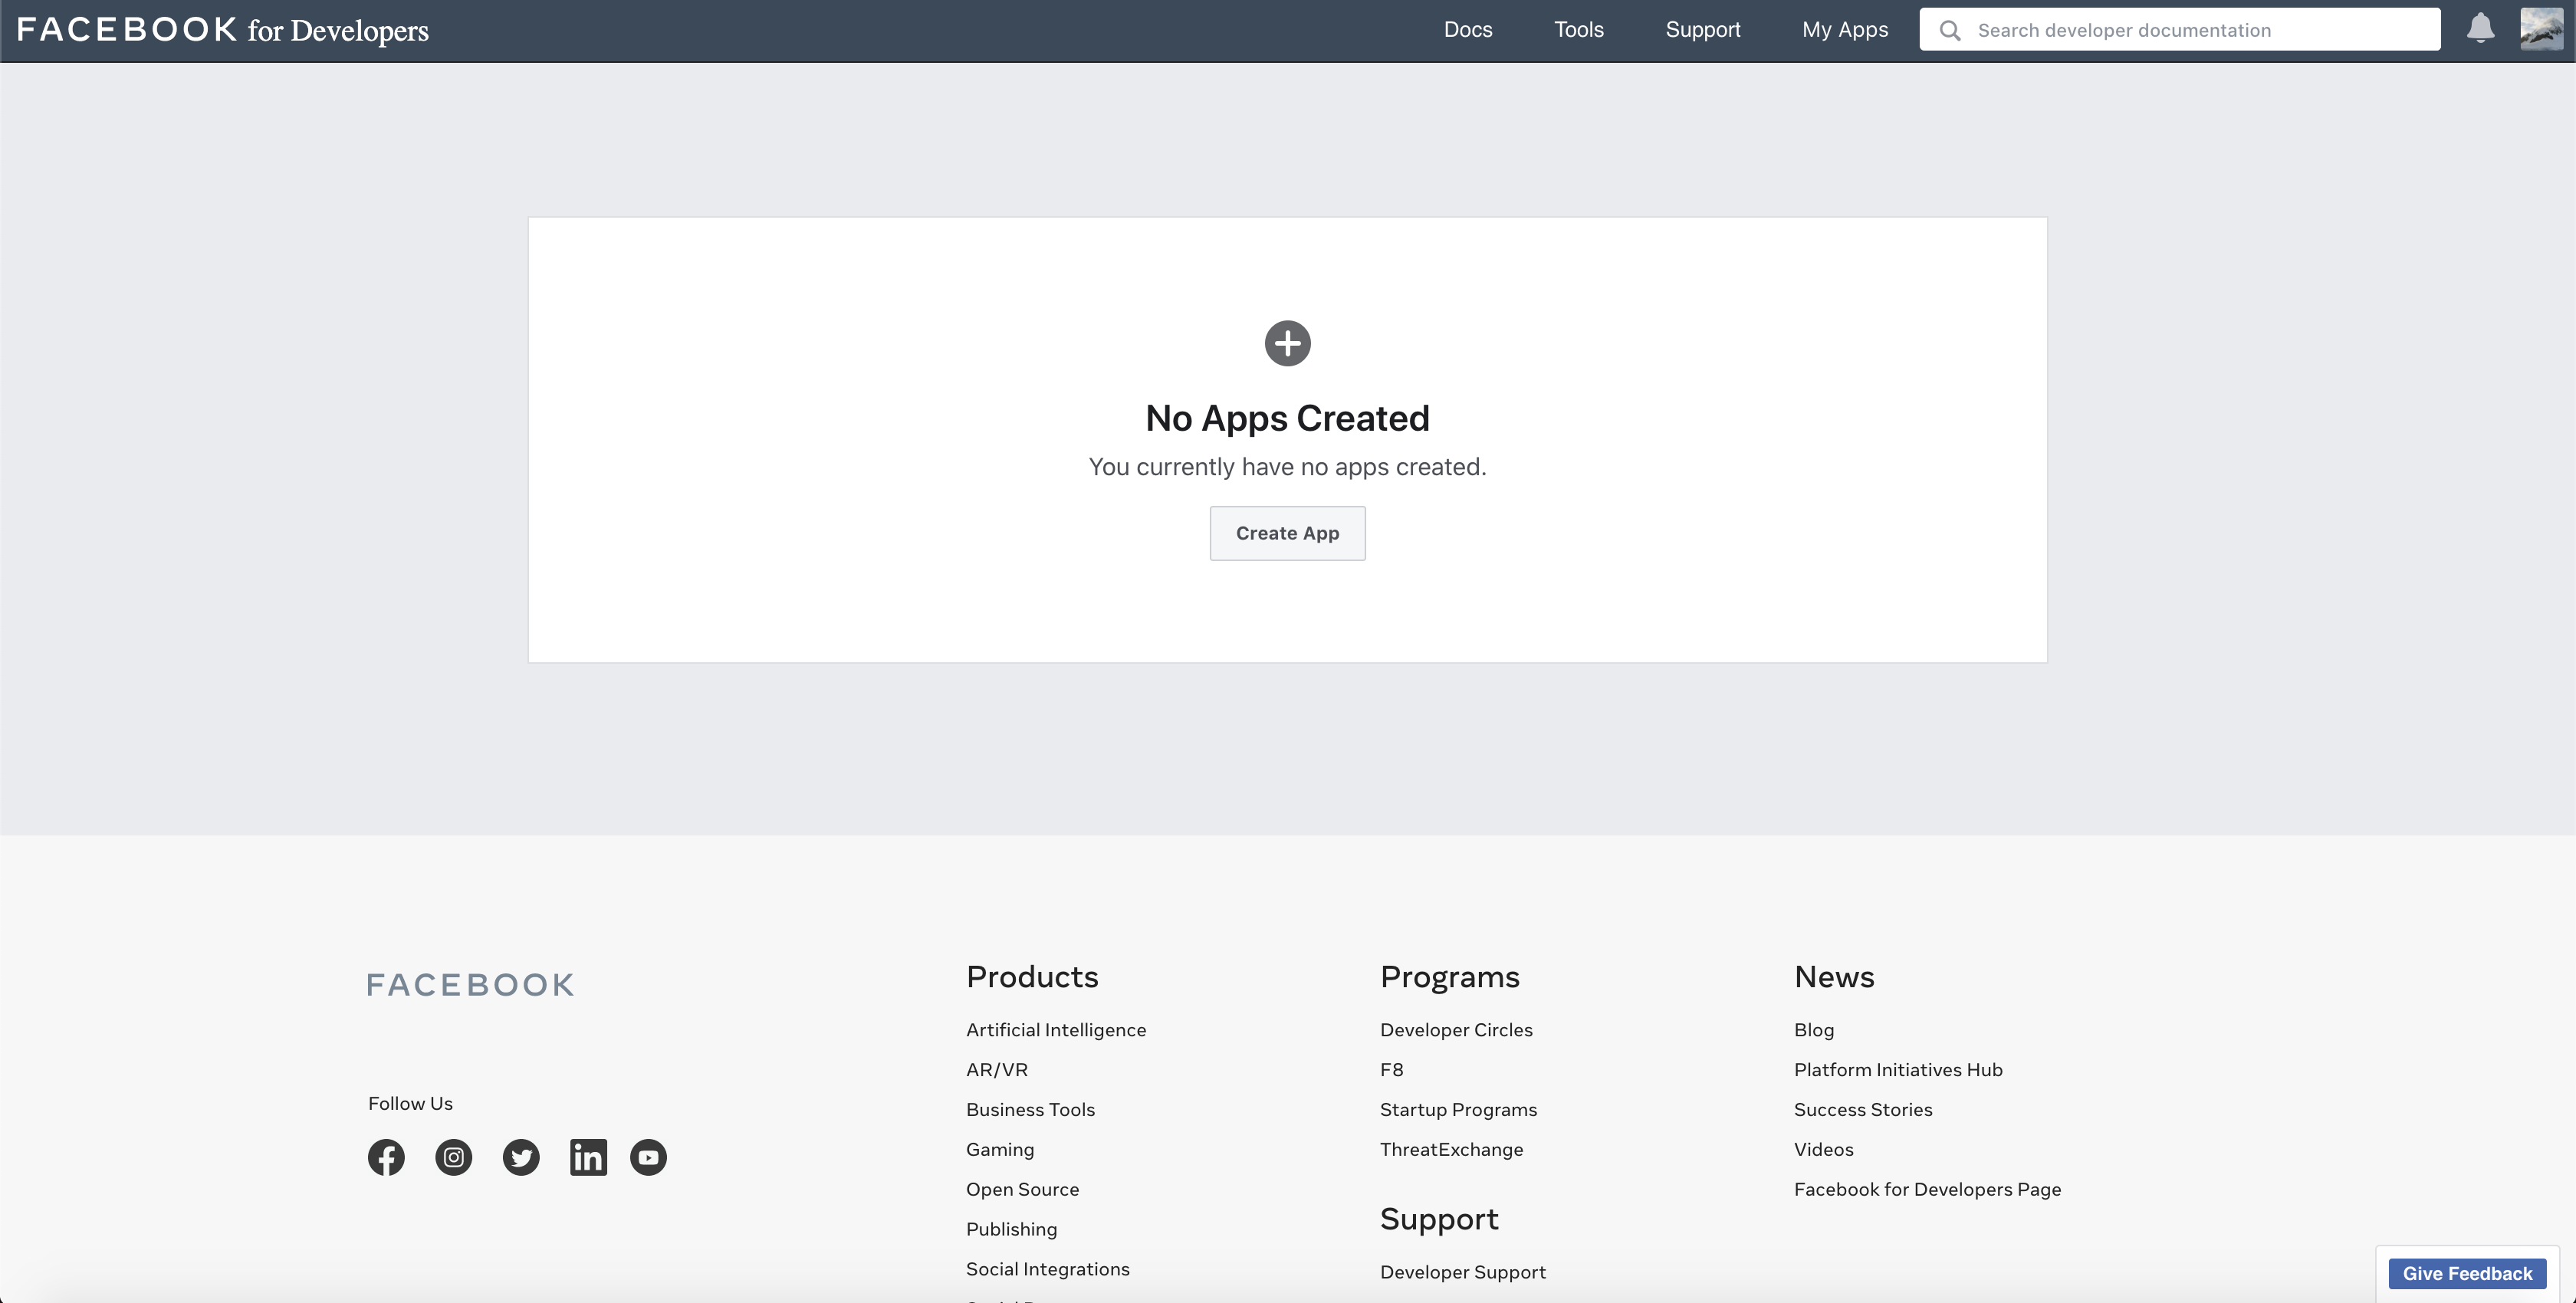
- Select Create app from the Facebook for Developers screen:
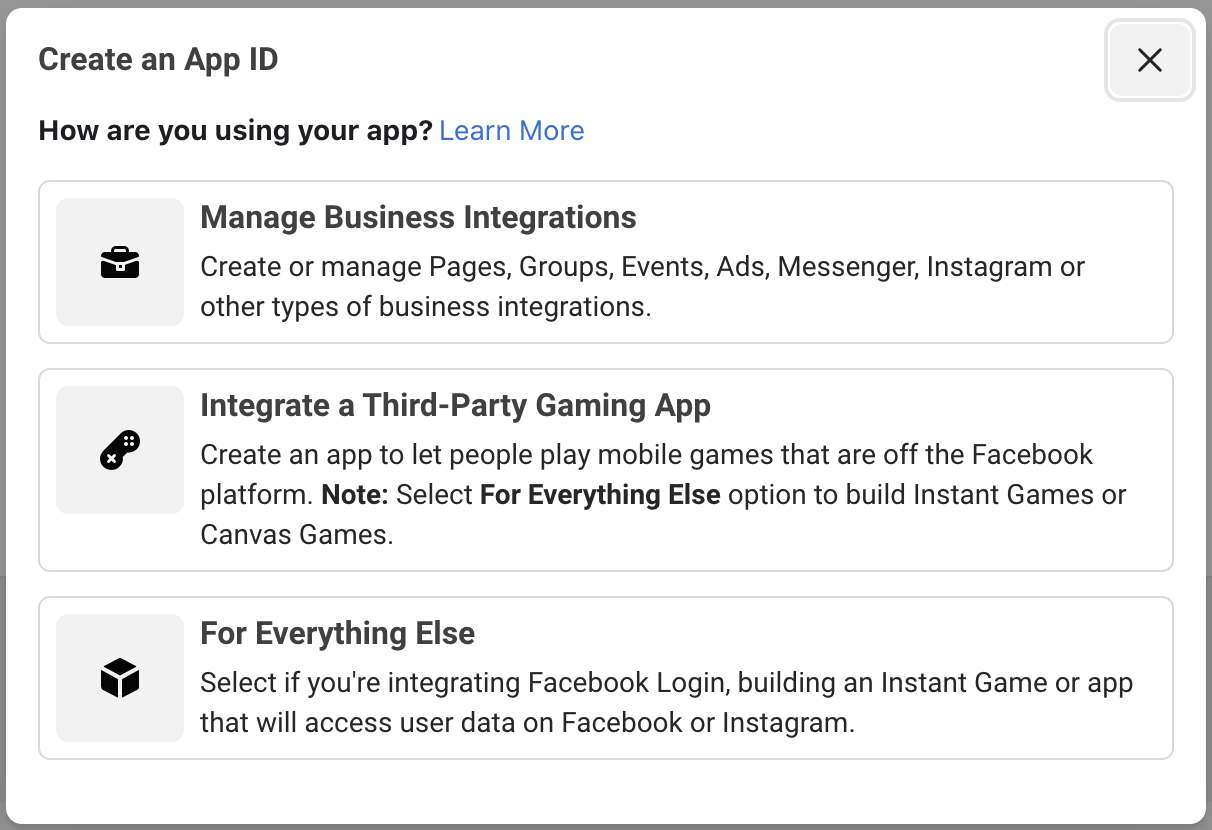
- Next, select For Everything Else from the Create an App ID menu as shown in the screenshot below:
- Next, enter an App Display Name and confirm your App Contact Email and Business Manager account information, as shown below. Once completed, select Create App ID.
.png)
- You may now be asked to complete a security check. After that, select Submit.
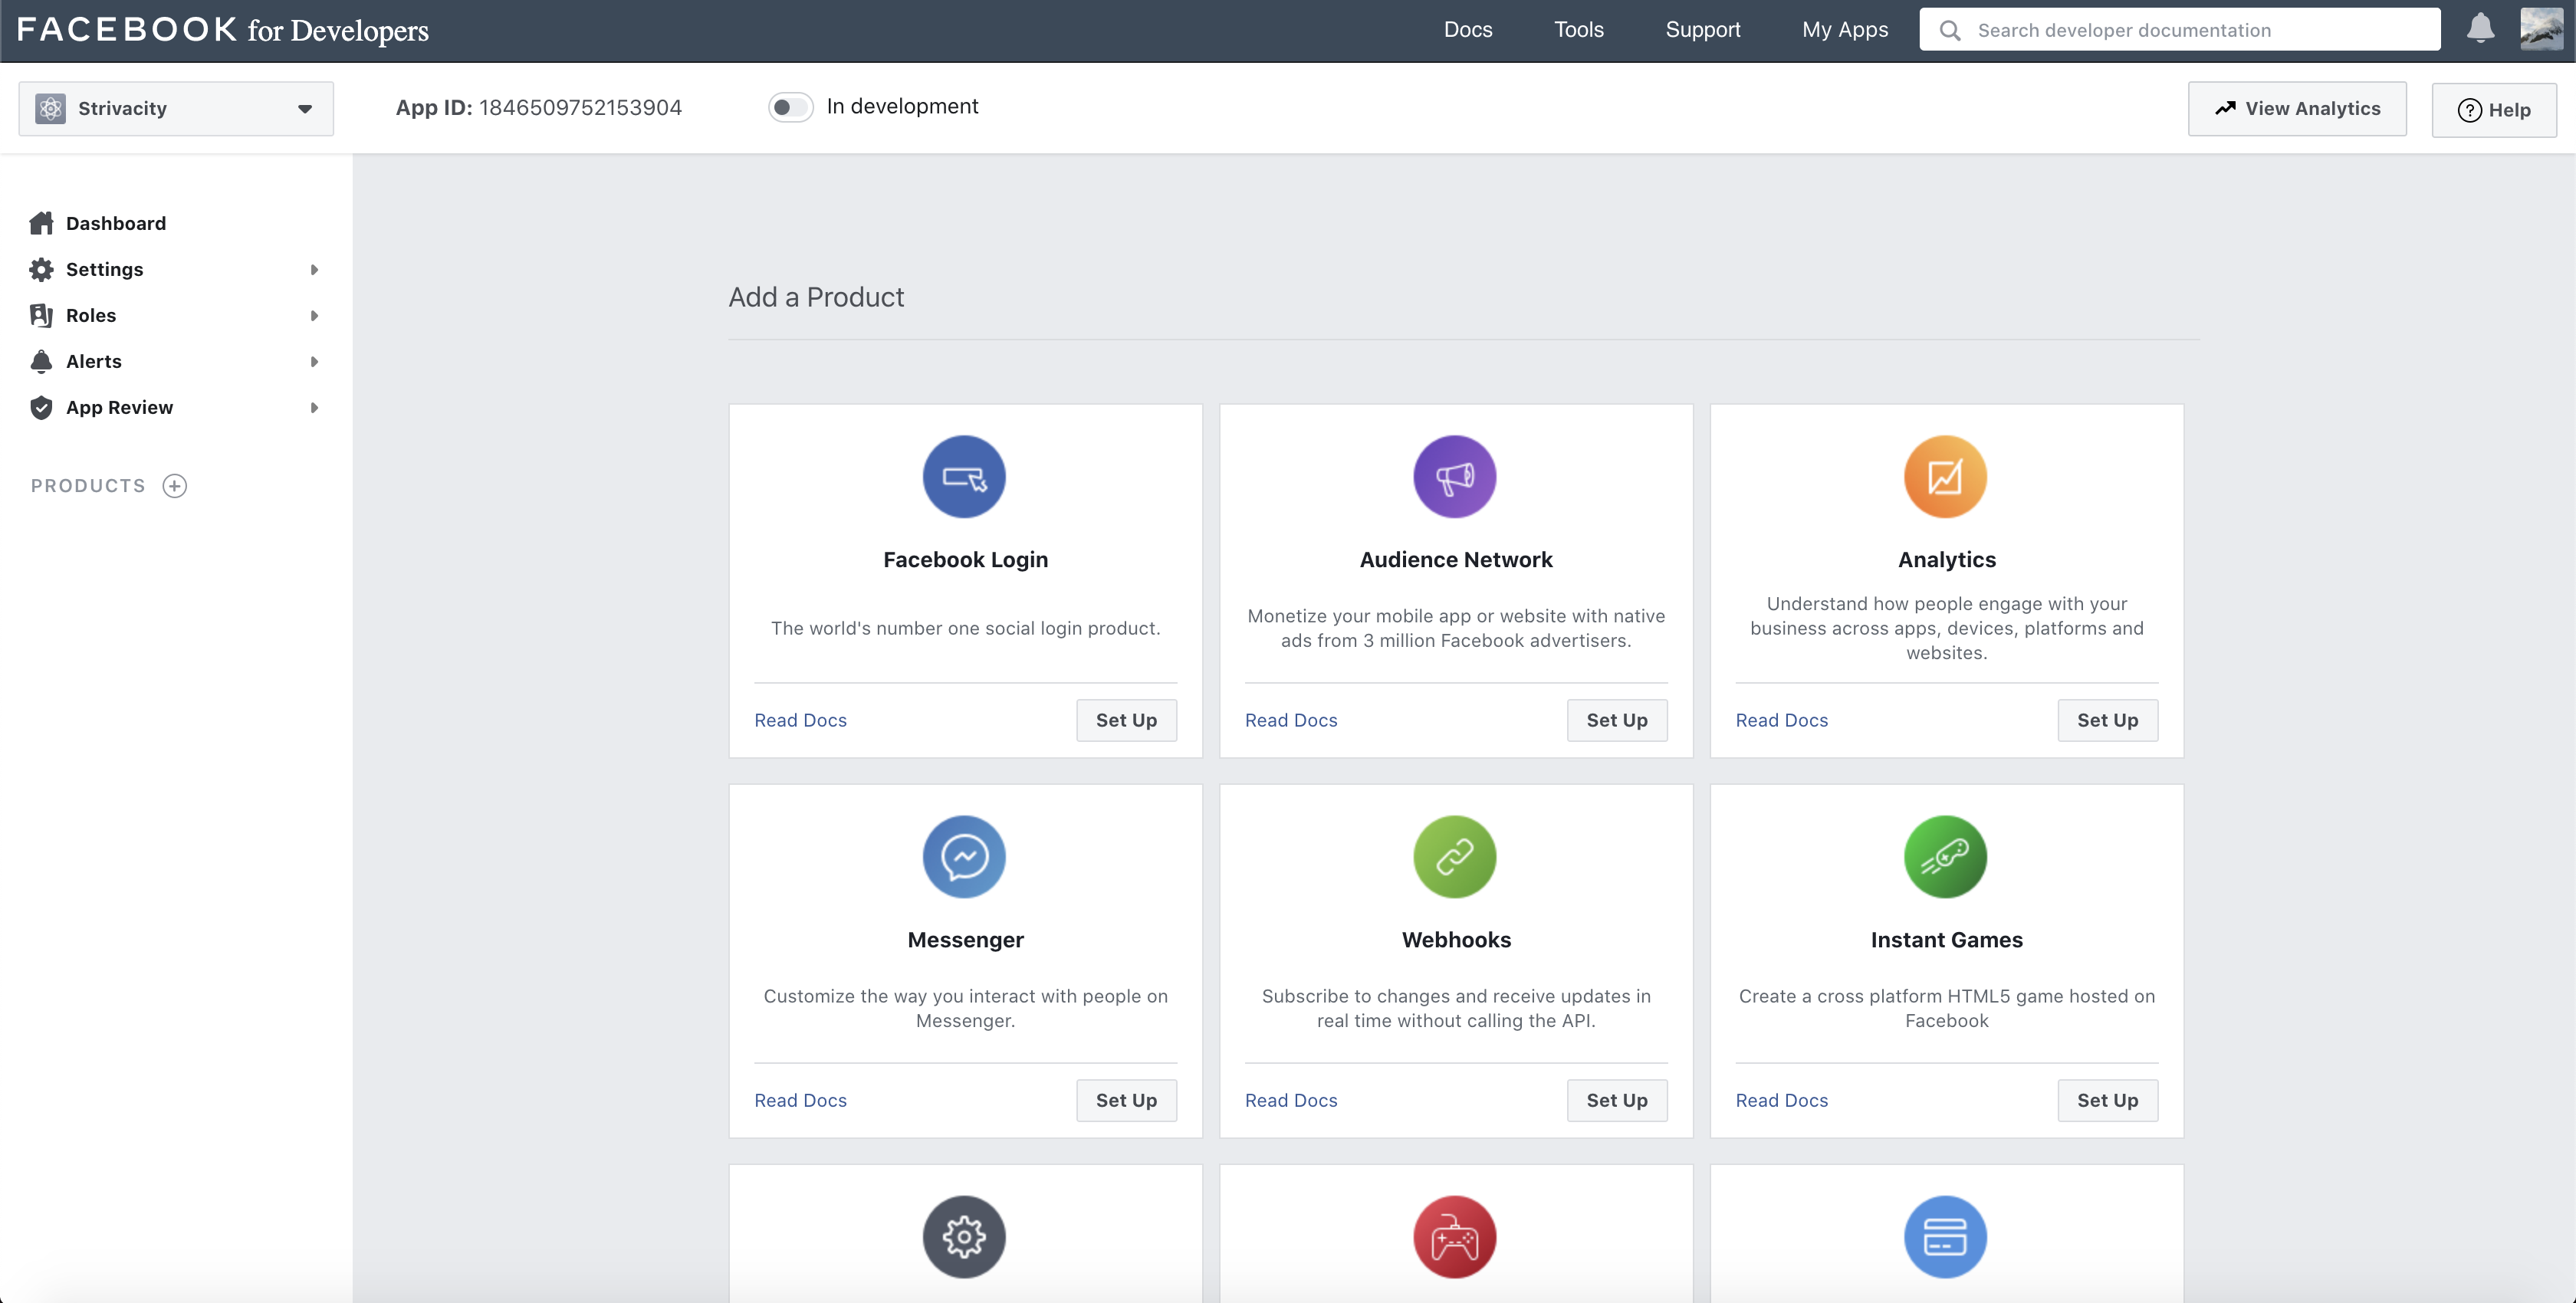
- The Application screen will now be displayed. Choose Set Up in the Facebook Login tile.
- From the left-hand menu, choose Products > Facebook Login > Settings.
Configure the following options as shown below, then select Save Changes.
| Setting | Value |
|---|---|
| Client OAuth Login | Yes |
| Web OAuth Login | Yes |
| Valid OAuth Redirect URIs | [The URI of your Strivacity instance]/provider/continue |

- From the left-hand menu, go to Settings > Basic.
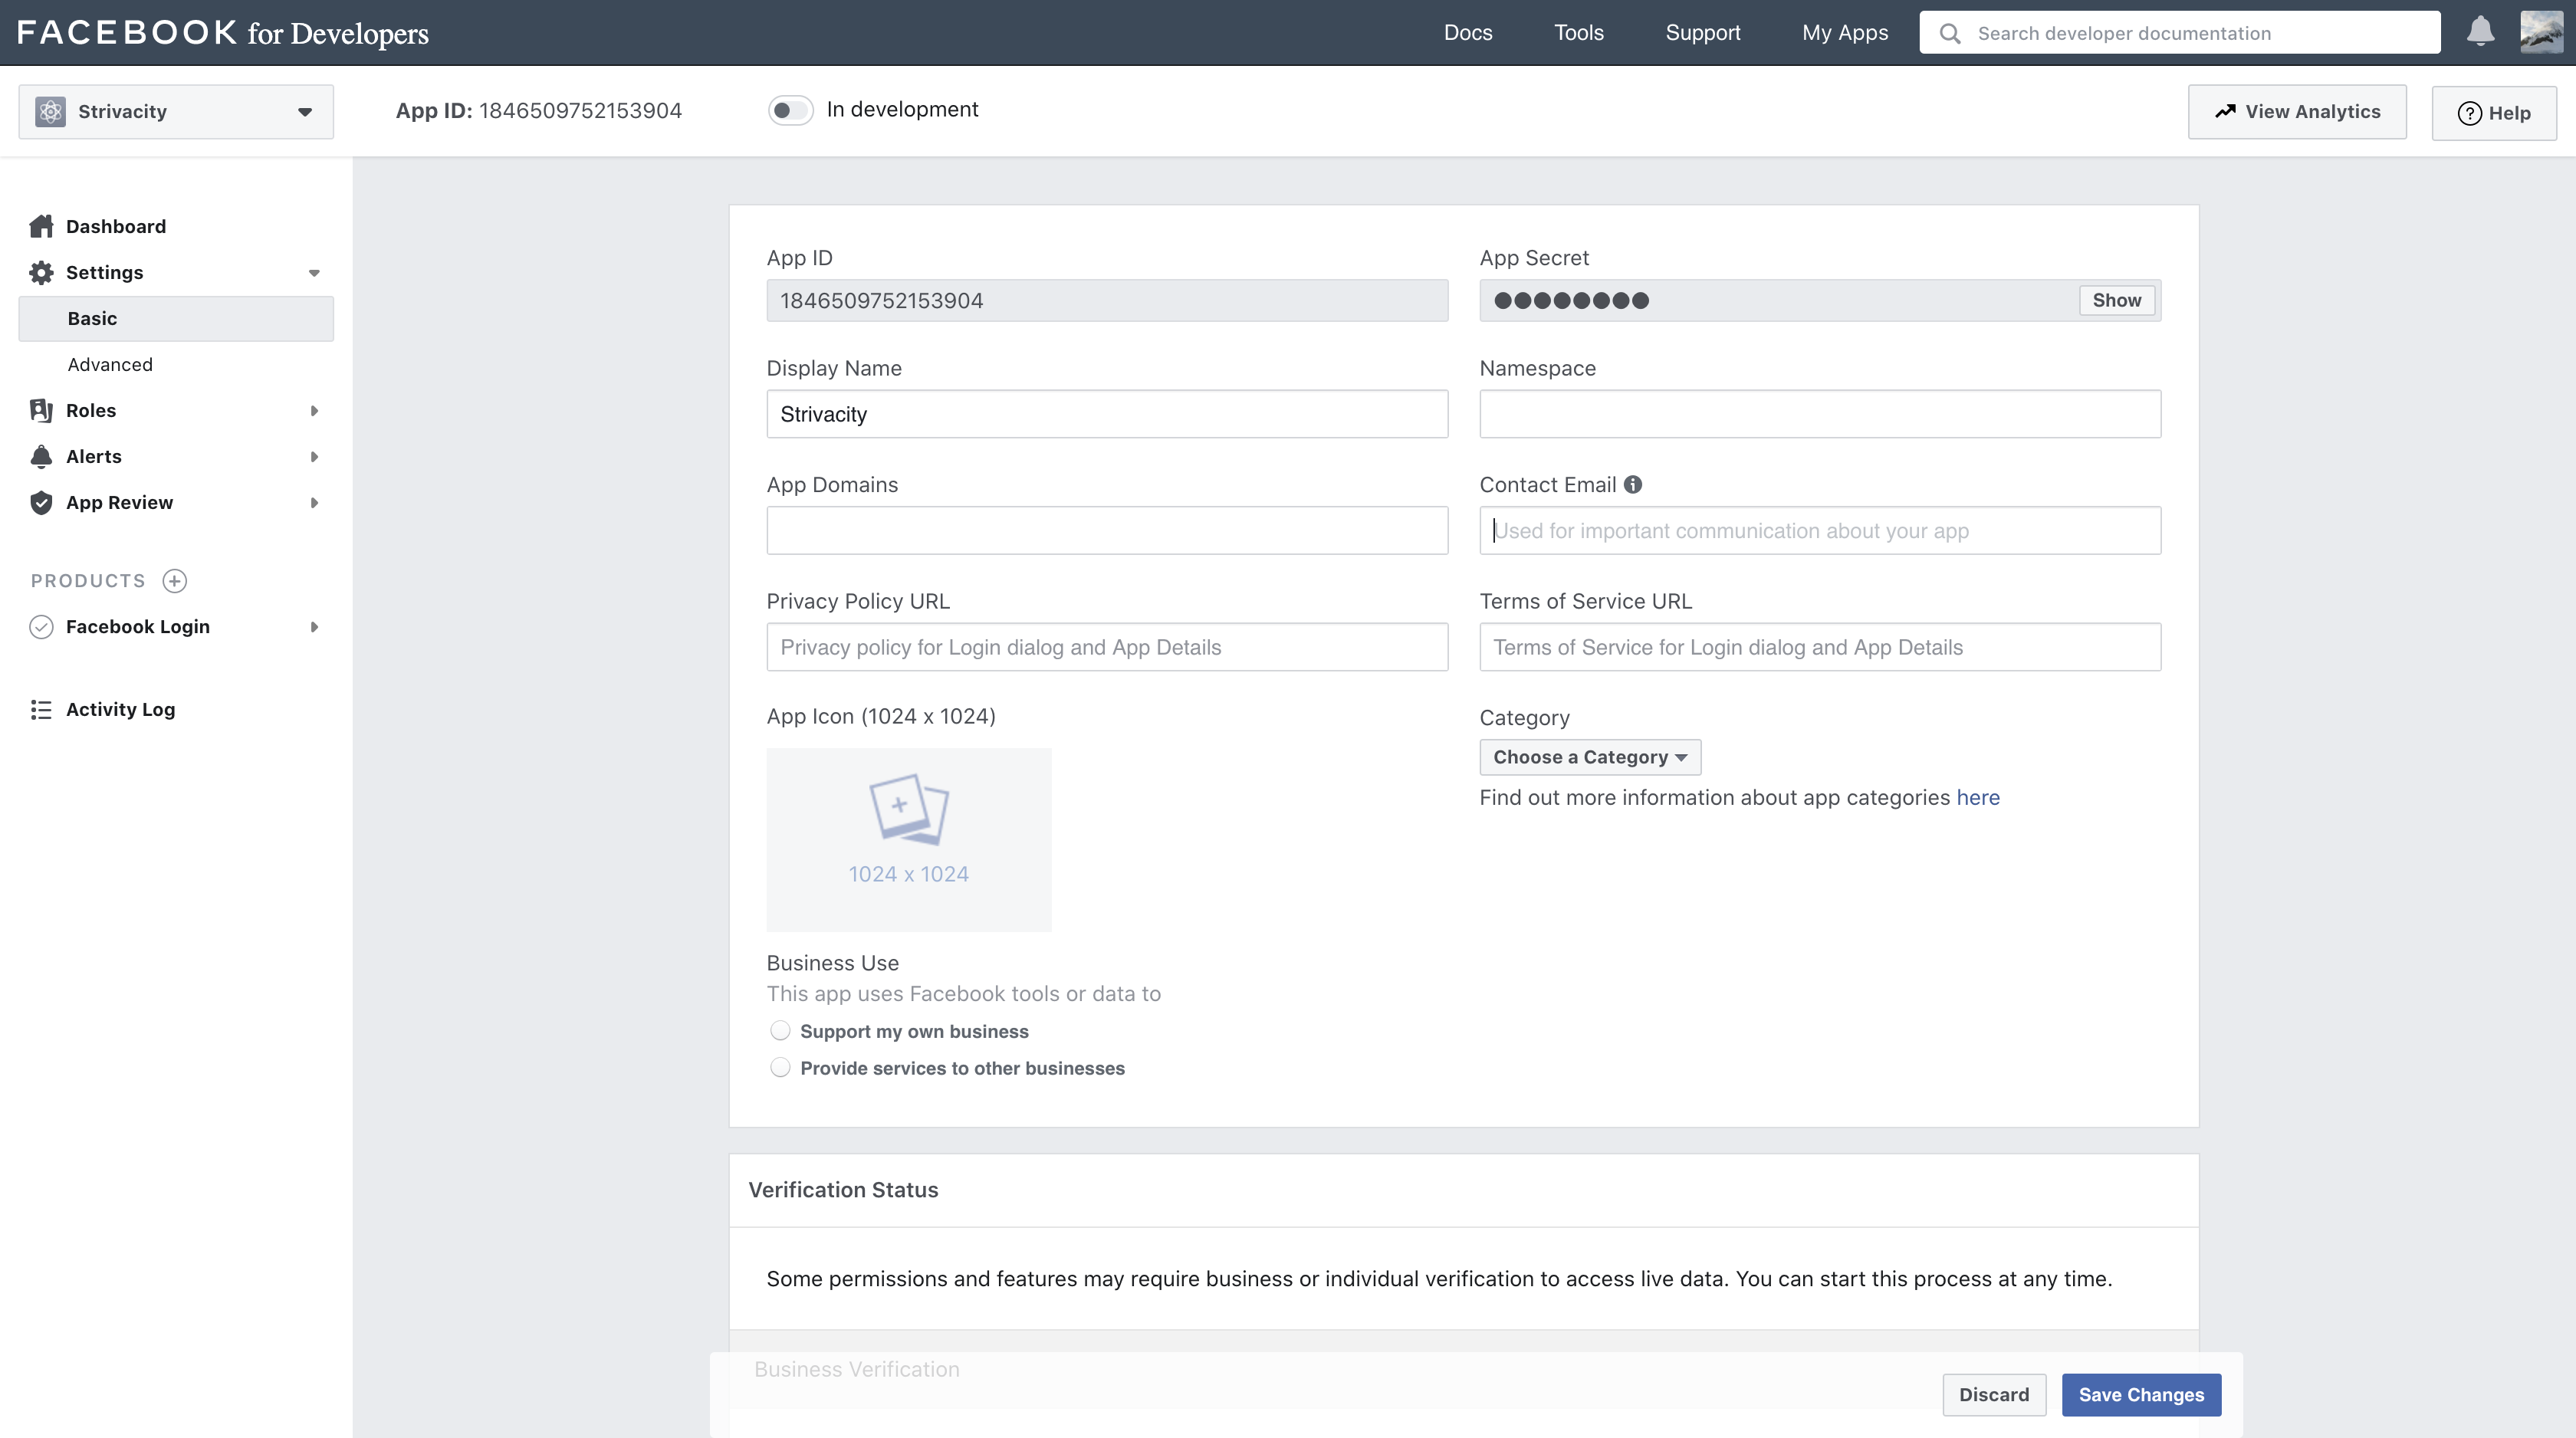
Configure the following options in the table below and then choose Save Changes.
| Setting | Value |
|---|---|
| Application Status | Live |
| App Domains | Instance address |
| Privacy Policy URL | URL to your Privacy Policy |
| Category | Select the appropriate business category for your brand |
| Business Use | Support my own business |
- You will now need to copy and paste the App ID and App secret values into the corresponding fields for the Facebook login provider in the Strivacity Admin Console. Select Save to finish the Facebook configuration.
See Step 2 below for instructions on how to now set up Facebook as a social login provider within the Admin Console and complete the setup.
.png)
Step 2: Configuring Facebook login in Strivacity
Following these steps will finalize your setup for using Facebook as a social login provider with Strivacity (and your application).
-
Start by logging into the Admin Console using an admin account.
-
From the left-hand menu, select Identities > Social login.
-
On the Social login screen, choose Create in the top right-hand corner.
-
On the Create login provider screen, select Facebook.
-
A configuration screen is displayed.
-
Next, copy the App ID and App Secret you located in step 10 during setting up Facebook for Developers, and paste the respective values into the App ID and App Secret fields.
-
Select the Scopes to request from Facebook. By default, Strivacity requests access to the Facebook public profile and can optionally request the customer’s email address.
-
Enable Synchronize and store profile data at each login to ensure customer data is kept up-to-date inside your application. If you choose to synchronize and store this social profile data at each login, Strivacity will retrieve and store this information, which will be visible to the customer on their My Account page and to any Strivacity admins when managing the customer's identity.
-
You can also define Additional parameters that are included in the authorization request sent to Facebook. These parameters allow you to control provider-specific authentication behavior. For example, some providers support parameters such as
prompt=loginto force re-authentication instead of reusing an existing session.
Updated 3 months ago