Managing group membership
Here, you can learn how to manage group memberships on account and group levels.
You can manage group memberships in Strivacity in two ways:
- Group-level You can add or remove accounts from a group.
- Account-level You can manage which group(s) the account should be a member of.
Managing group membership via a group
-
Navigate to Groups in the Admin Console.
-
Select the identity store you need from the drop-down.
Groups are created on an identity-store basis. Every group available in the selected identity store will be listed.
-
Select a group to enter for editing.
-
Switch to the Members tab. The current members of the group will be listed.
-
Select Add Members.
You will be directed to the Add members page. From here, you can choose between two ways of adding accounts to the group:
Add members in bulk
-
Select the accounts you'd like to add to the group.
-
Choose Add to continue. A dialog will open asking you to confirm your action.
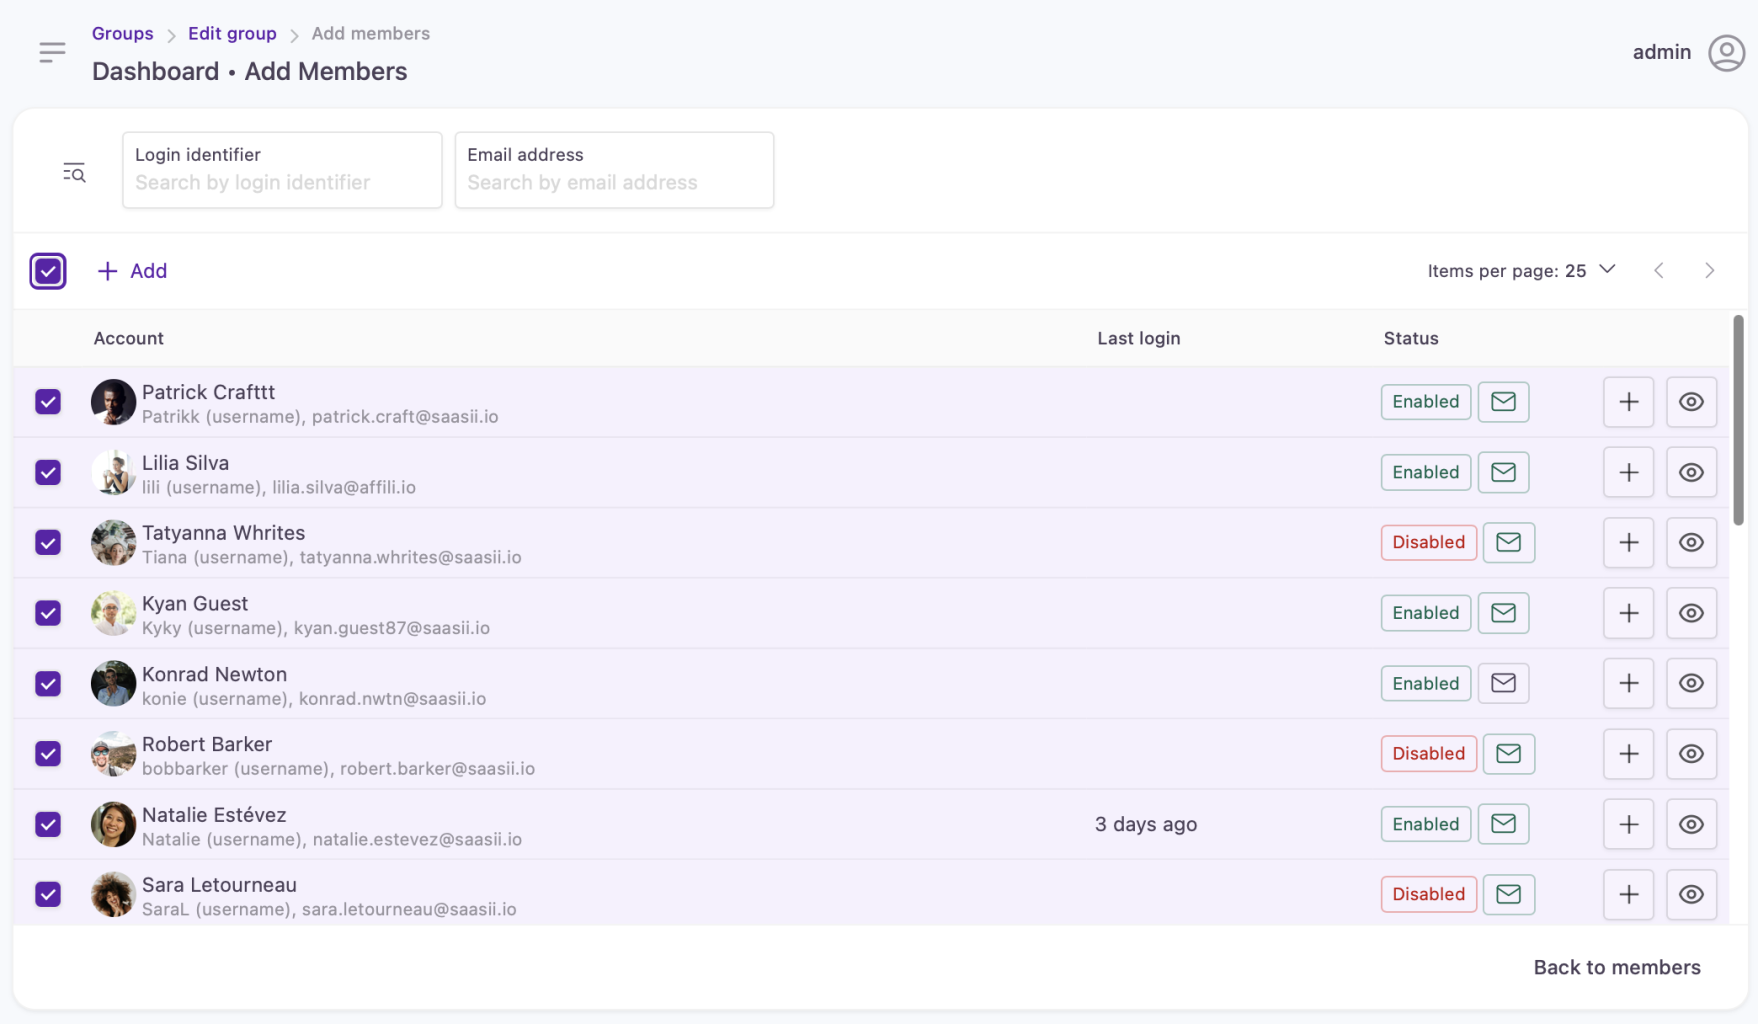
Selecting accounts for group membership
- Select Add to finish adding the identities to the group. You'll receive a status message confirming the addition of the members. You can return to the group member listing with the Back to group members button.
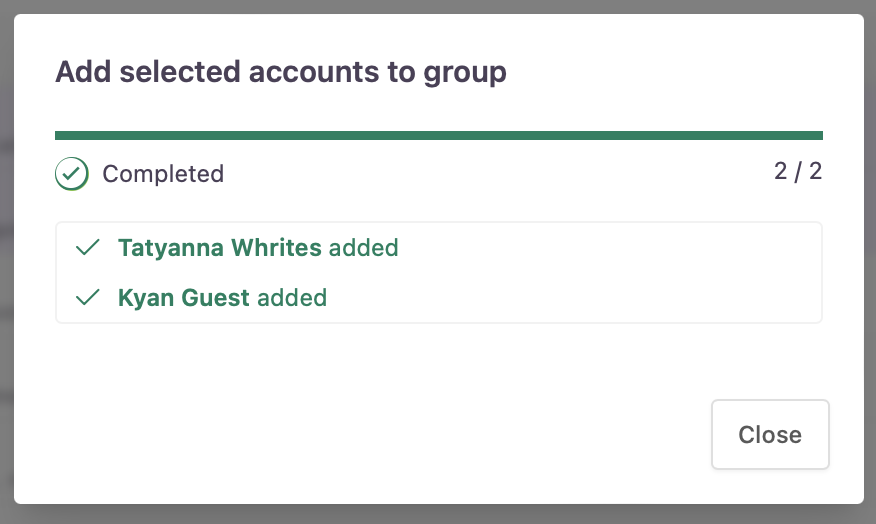
Group membership successfully assigned
Add members one by one
- Select an account on the Add Members page. The summary of the account will show up.
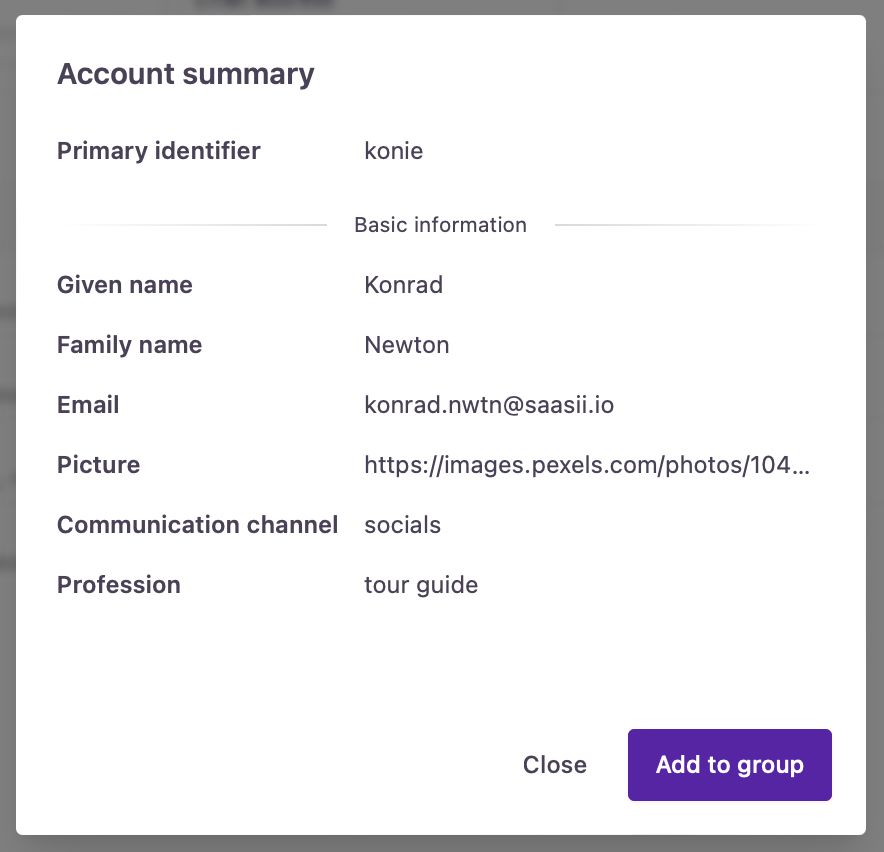
Account summary
- Click 'Add to Group' to add the account. You'll receive a confirmation message at the top of the screen. You can return to the group member listing with the Back to group members button.
Remove members
-
Navigate to the Members tab of a selected group.
-
Select the accounts you'd like to remove from the group.
-
Choose Delete.
-
A dialog will open asking you to confirm your action. You can do so by selecting Remove. At the end of the process, you will receive a status message.
-
Select Done to finish.
Managing group membership for an account
- Navigate to Account management.
You can find accounts by identity stores. To switch between identity stores, you can use the drop-down on the right of the Accounts page.
-
Select the account you want to manage.
-
In the account's profile, switch to the Groups tab. Every group that the account is a member of is listed here.
Add group membership
- Select Add to group.
- A new screen will appear where you can choose from the available groups. You can select groups using the dropdown.
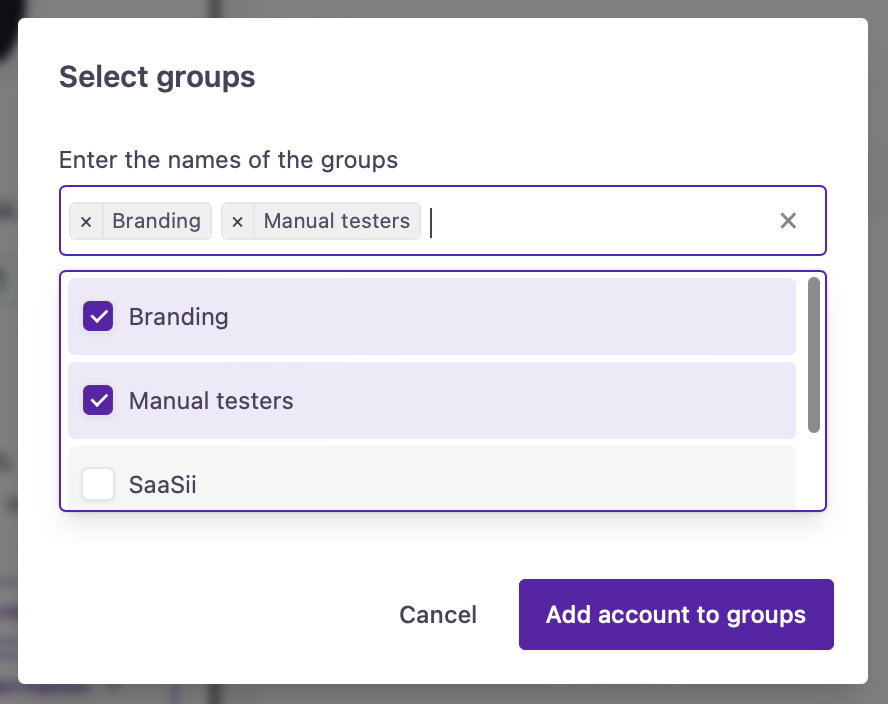
Group selection
- Select Add account to groups to grant the memberships for the account.
- You'll receive a confirmation message at the top of the screen. The list of groups that the account is a member of will be updated.
Remove group memberships
Remove an account from a group
- You can use the trash can icon to remove the account from a group in an instant.
- A dialog will open asking you to confirm your action. You'll receive a confirmation message at the top of the screen.
Remove an account from multiple groups
You can also remove an account from multiple groups at once.
-
Select the groups you want to remove the account from.
-
Select Remove. A dialog will open asking you to confirm your action.
-
Choose Remove to confirm.
-
You'll receive a confirmation message at the top of the screen. The list of groups that the account is a member of will be updated.
Updated 5 months ago