Transmit BindID
Integration guide for using Transmit BindID as a passwordless authentication provider.
Objective
Provide passwordless customer authentication for your application by integrating with Transmit Security's BindID ("BindID") authentication tool.
Overview
Integrate with BindID to reduce friction in your authentication experience without compromising security.
BindID offers a portable authentication solution that combines device-based FIDO biometrics with the OpenID Connect ("OIDC") protocol.
BindID uses device biometrics, such as built-in fingerprint scanners, or the native biometrics of mobile apps to authenticate. BindID identifies customers by email address and can tie multiple authenticating devices to the same customer account. BindID offers alternative email-based authentication methods if a customer's device doesn't support FIDO. Ultimately, customers will use the strongest authentication method available for their trusted device.
On your side, you only need to request authentication, BindID handles the rest: beyond authentication, BindID can register customers and enroll their authenticating devices, and can also manage account recovery.
BindID also allows you to transition gradually existing customers from credential-based to device-based authentication.
Concepts
Authenticating device: a customer-owned device, such as a mobile, desktop, or even a browser that supports FIDO biometric authentication or is capable of authentication via a PIN or passcode.
Test application: the application you want to integrate with BindID.
Tenant: the software instance where you access the admin console of the service.
Prerequisites
General
- General understanding of the OIDC Authorization Code Flow grant type
- A test application you want to protect using Strivacity's passwordless integration kit leveraging BindID
To demonstrate the integration process, the test application will be Strivacity's robust customer self-service management utility. The process will look mostly the same for any other application.
BindID
- Customer authenticating device e.g. a desktop or mobile device which is
- connected to the Internet
- has the ability to scan QR codes
- has FIDO-based device biometrics or mobile apps with native biometrics
- Up-and-running BindID developer tenant
- BindID’s sandbox auto discovery URL (as of 3/4/22): https://signin.bindid-sandbox.io/.well-known/openid-configuration
Strivacity
- Up-and-running Strivacity instance
- Redirect URI where customers are redirected after successful authentication:
https://<yourStrivacityInstanceID>.strivacity.com/provider/continue - A Strivacity application
- The application's self-service URL for reference
Configuration steps
Set up your BindID tenant
- Sign up for a BindID developer tenant.
Click ‘Try Now’ and submit your details. You will receive an activation link at your email address.
- Follow the activation link and complete onboarding to set up and access your BindID developer tenant.
You will be asked to enroll in your biometric authenticator or an alternative method like your device's screen lock.
- After successful onboarding, you will be logged into the admin console.
Create a BindID application
- Go to Applications in the BindID admin console.
You will find some default applications. Those are not needed for this integration.
- Add a new application.
Application and client names are mandatory. These names will not appear anywhere in your application.
- Capture the Client ID and secret.
- Add the redirect URL.
The redirect URL has to contain your Strivacity instance ID and the following endpoint:
https://<yourStrivacitytenantID>.strivacity.com/provider/continue
- Optional Set up a fallback method in case biometric authentication is not available on a customer’s authenticating device.
Add BindID as an external login provider to Strivacity
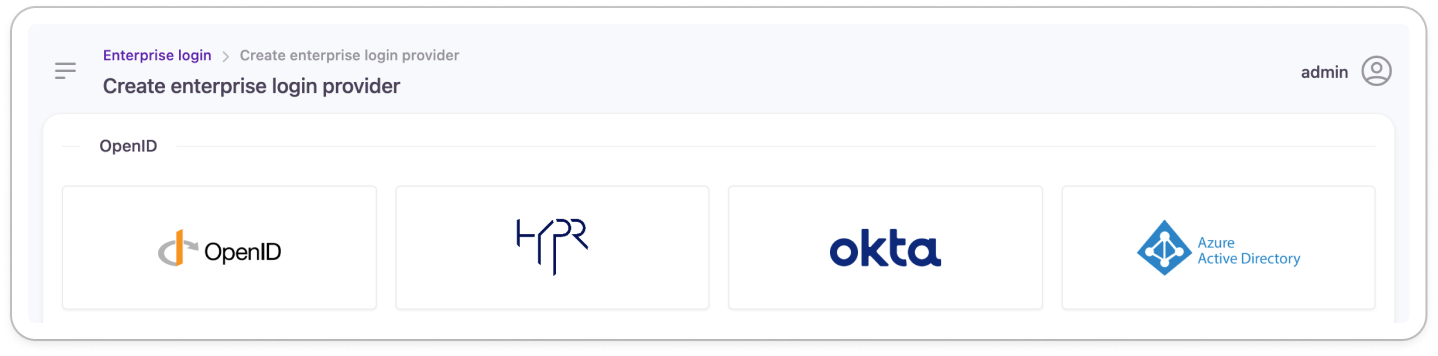
- Go to Enterprise Login and add a new provider.
- Continue with OpenID.
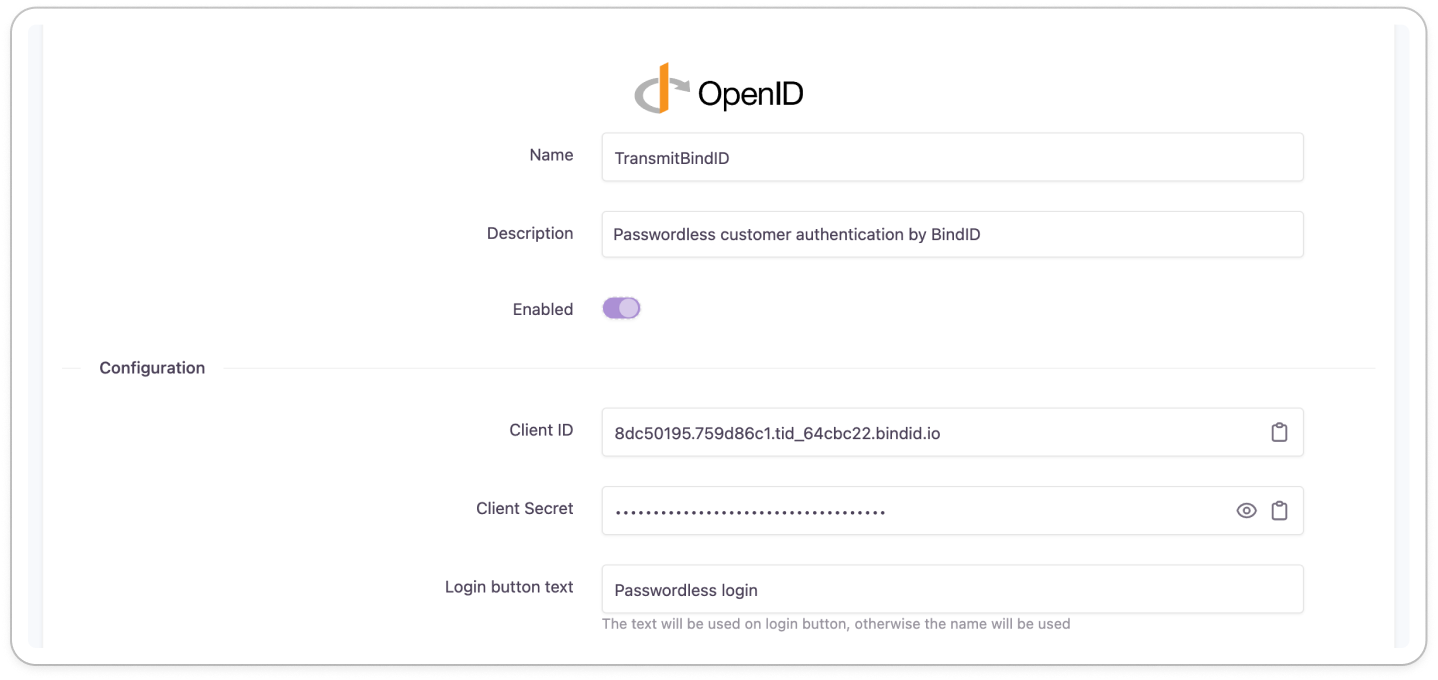
- Add the name, the text for the login button, and a description.
- Insert the Client ID and secret obtained from the BindID application.
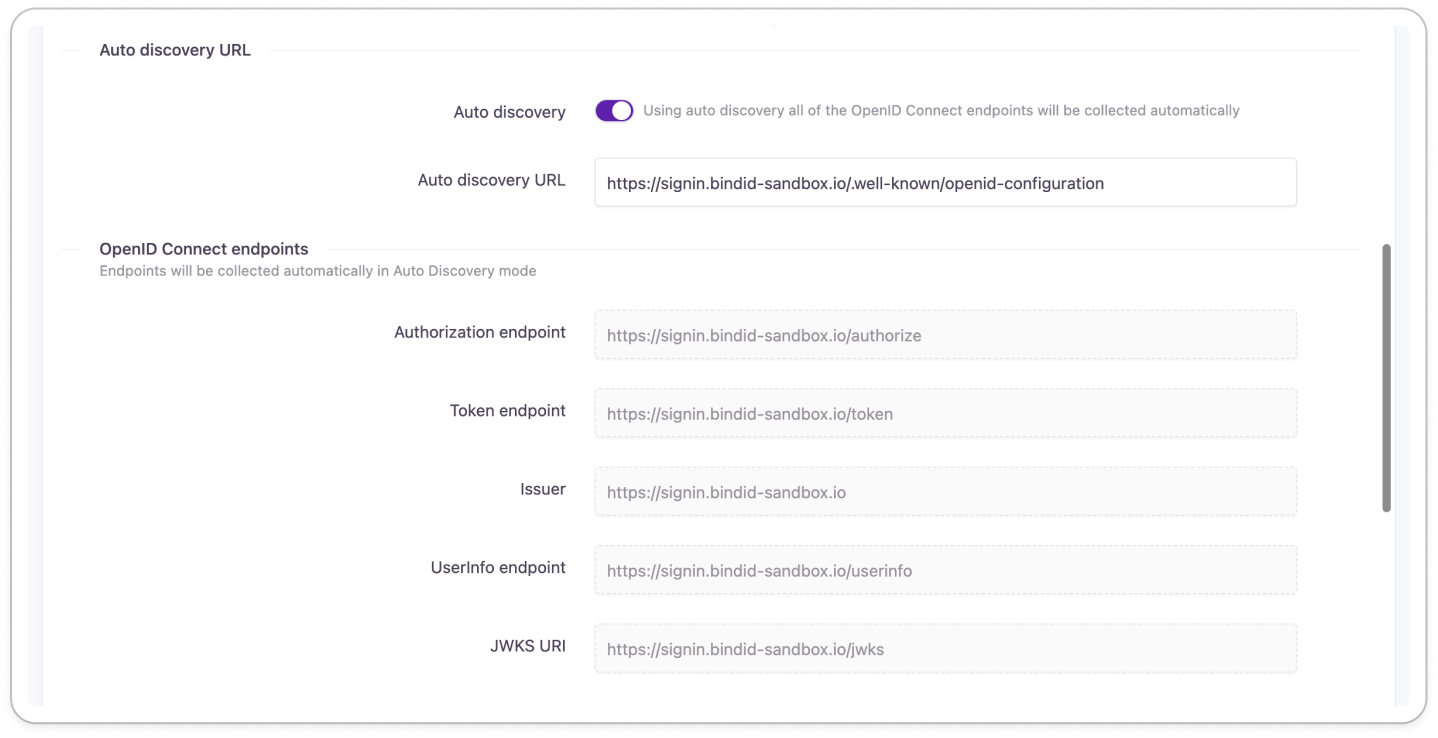
- Ensure that Auto Discovery is turned ON.
- Insert BindID's auto-discovery URL:
https://signin.bindid-sandbox.io/.well-kown/openid-configuration
The auto discovery endpoints will populate after the external login provider is created (changes are saved).
If auto discovery endpoints do not populate, contact your BindID support team to get the correct auto discovery URL
- Scroll down to Scopes.
- Disable Profile.
- Optional Include bindid_network_info among scopes to capture additional device biometric details from BindID for more complex use cases not covered in this example.
- Enable Synchronize and store profile data at each login to ensure user data is kept up-to-date inside Strivacity.
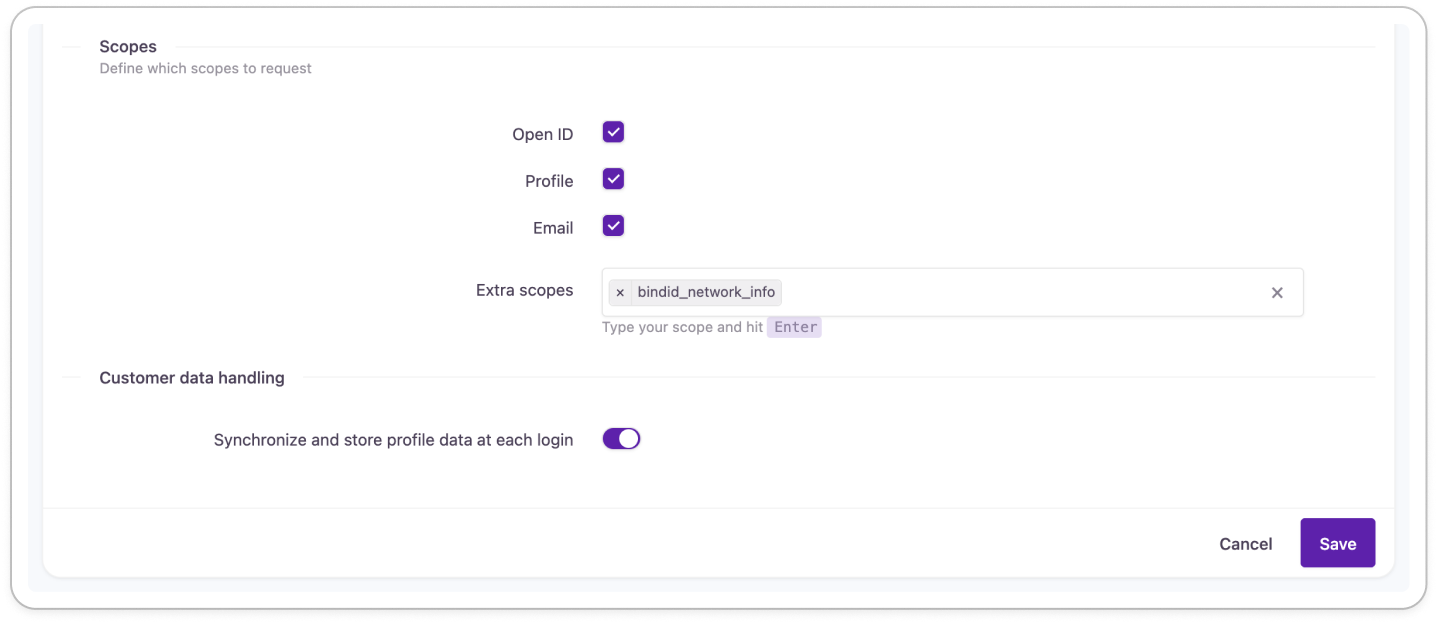
- Save your BindID external login provider.
Create a Strivacity application
- Create a new application to use for the integration.
Add a name and description, and define the mandatory properties of the application.

- Scroll down to Login Providers and add BindID as the Enterprise Login Provider to the application:
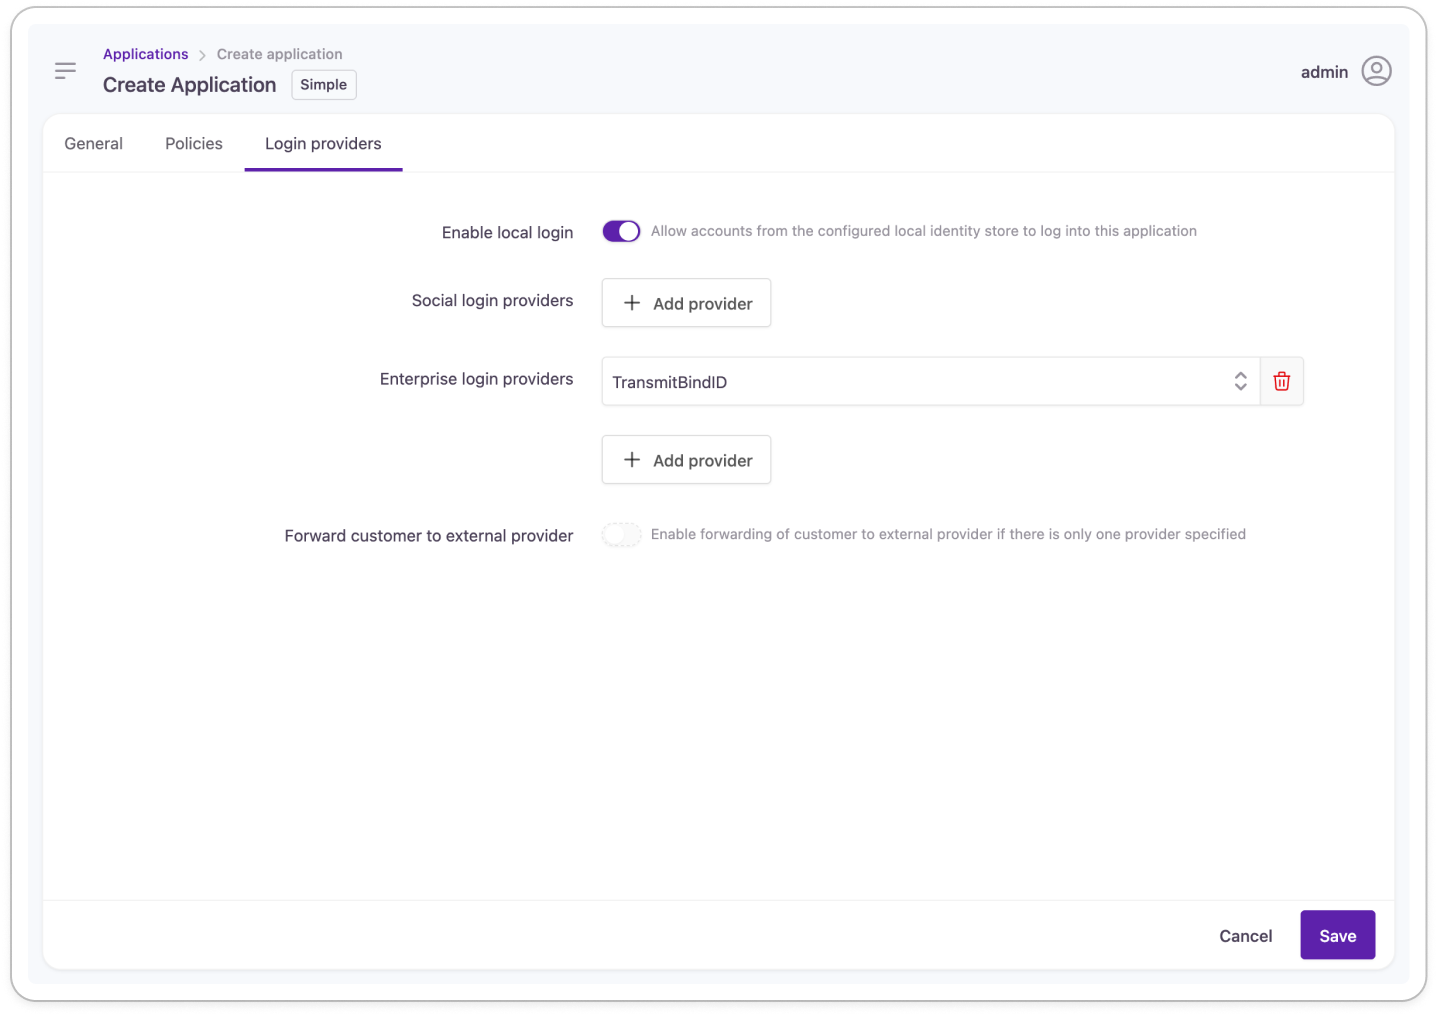
💡Optional: Disable interactive login and registration to only allow passwordless login via BindID.
- Save your application.
- Capture the application's self-service URL to test passwordless authentication.
Test your integration
- Go to an incognito browser.
Make sure only one incognito window is open as multiple windows share session information.
- Go to the self-service portal of the Strivacity application.
- Click on the 'Passwordless login' button you created earlier.
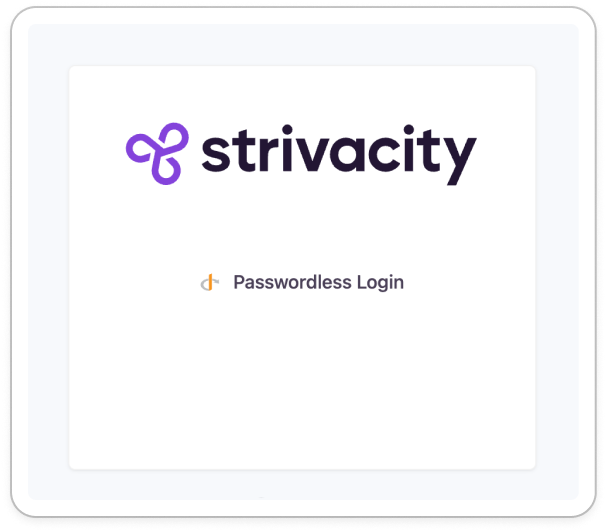
Your button may have different text depending on what you entered when configuring the BindID External Login Provider.
You will be redirected to BindID's page with a QR code.
- Scan the QR code with your chosen authenticating device.
- Follow the instructions on your authenticating device:
- For the first time using BindID, you will be asked to provide an email address.
BindID identifies you by email.
- After providing your email address, you will be shown trust indicators, such as
- the time of the request,
- the type of the device that's requesting authentication,
- and your estimated location.
- Approve and continue if you find the information correct.
You will be sent a passcode to your email address.
- Enroll your authenticating device by entering the passcode on the next screen.
- After device enrollment, BindID asks for a biometric or PIN authenticator.
Upon successful authentication, you will be logged into the test application (here, Strivacity's self-service portal):

Updated 5 months ago