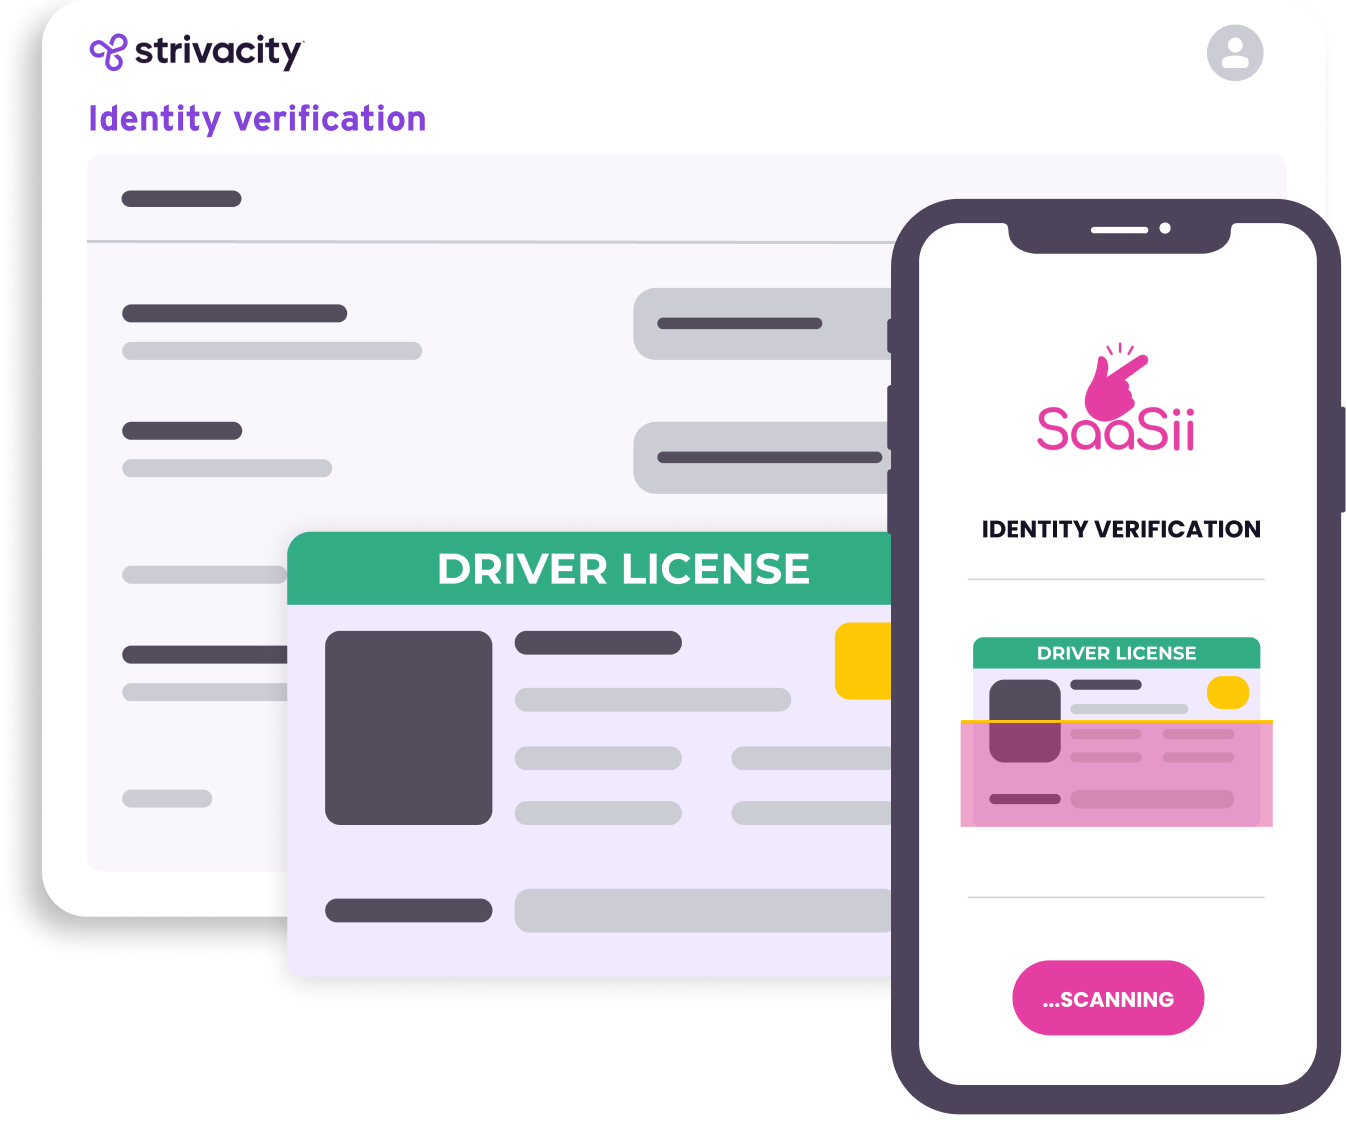
Set up document verification
The physical document verification step lets you verify a customer's identity by asking them to upload a photo of a government-issued ID (or similar document) as part of a broader identity verification journey.
This step is part of the Identity verification policy, which you can configure to run during registration, login, or self-service flows.

Document verification setup and customer experience
Capabilities
- Request a physical document (such as a passport, driver's license, or ID card) to verify identity.
- Configure what happens after success or failure: continue with verification or exit the journey.
- Map extracted document data to native claims for storage in the identity store.
Configuration
- In the Admin Console, go to Policies and Identity verification.
- Open an existing Identity verification policy or create a new one.
- Select + in the Document verification row to insert the step.
- Select the step to open the configuration panel.
- (Optional) If you want to store data from the document (such as full name or date of birth), map the physical document attributes to Strivacity native claims and ensure those are mapped to identity store attributes.
- Define the Success and Failure actions (described below).
- Select Save.
Configure actions
Use the action settings to determine what happens after a customer either passes or fails the document verification step.
Success actions
When the customer successfully verifies their document:
- Next verification step: Continue to the next identity verification step defined in the policy.
- Exit verification flow: End the identity verification flow and sign the customer in.
Choosing Exit verification flow after success logs the customer into their account.
Failure actions
When the customer fails to verify their document:
- Next verification step: Continue to another verification method (such as knowledge-based verification).
- Failure message: End the flow and display an error message to the customer.
- Exit verification flow: Remove the customer from the identity verification process.
Choosing Exit verification flow after failure results in a session timeout and the customer is not signed in.
Map native claims in document verification
To store information collected from a customer's scanned document (such as full name or issuing country), the attributes must be mapped to native claims and stored in the identity store. How this mapping works depends on whether document verification runs as part of a journey or as a standalone flow.
In a journey
When document verification is inside a journey:
- Set a local variable path in the Document verification step (for example,
x). - Use a Persist data step to map the extracted values manually.
- For each attribute, define:
- Source: The exact path in the document metadata (for example,
x.metadata.name.givenName). - Target: The corresponding native claim (for example,
givenName).
Repeat this for every attribute you want to persist.
Outside a journey
When document verification runs outside of a journey (for example, in a standalone verification flow), you must use an After identity verification hook to persist data:
callback(new ProofingResult(proofing.global_outcome, proofing.customer_info, session));
The second parameter (proofing.customer_info) includes all collected attributes, which will be stored in the account if claim mappings are correctly configured.
Handling select attributes
If a native claim points to a select-type attribute (like a country field), make sure its value list includes the expected document verification output (such as ISO country codes). Otherwise, saving the data may fail.
To avoid validation errors, you can map such attributes to a string-type field instead, especially if you expect diverse values from third-party document sources.
Document verification attributes
The following values can be captured from a physical document scan:
- Given name
- Middle name
- Family name
- Full name
- Date of birth
- Gender
- Address
- Street address
- City
- State
- Country
- Postal code
- Document name
- Document number
- Document class name
- Document issuer name
- Document issuer code
- Document issue date
- Document expiration date
Each of these values can be individually mapped to a native claim for storage in the identity store.
Updated 6 months ago
