Applying group restriction to applications
If you have multiple applications existing side-by-side in the same identity store but don’t want everyone to access every one of them, you can apply restrictions with groups. After creating groups and setting up group memberships, you only have to decide which application(s) to assign your groups to. Group assignment(s) will determine who has access to that specific application.
-
Navigate to Applications in the Admin Console.
-
Select an application you want to restrict access to.
-
Click +Add group restriction in the Group Restriction section.
A drop-down will appear that contains the groups available in the identity store.
- Select a group to assign to the application.
The members of the assigned group will have access to the application which means group members can log in (even if their identity was created for a different application) and have the application appear on their quick access page. Any other identities outside of these groups will not have access to the application.
You can add multiple groups to the same application:
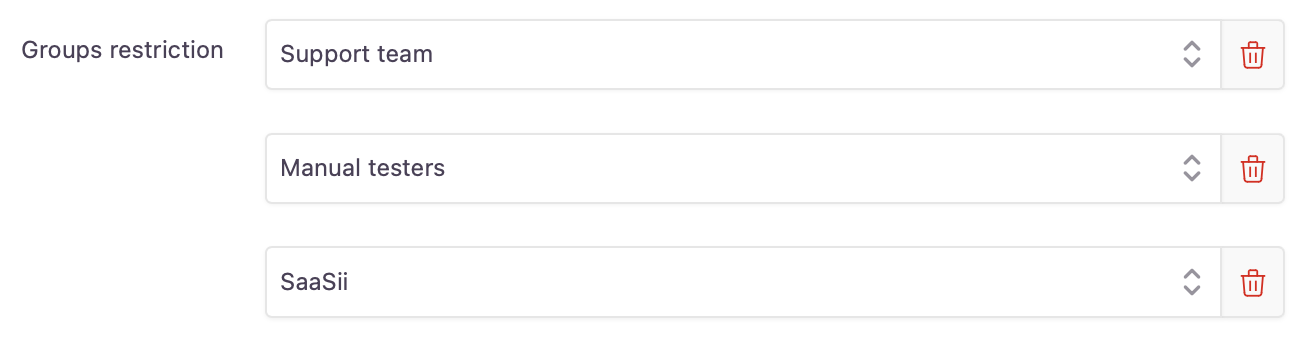
Multiple groups assigned to an application
Customers who sign up for an account or are invited to the application are automatically added to every group assigned to the application.
- Save your application to apply the restrictions.
Updated 5 months ago