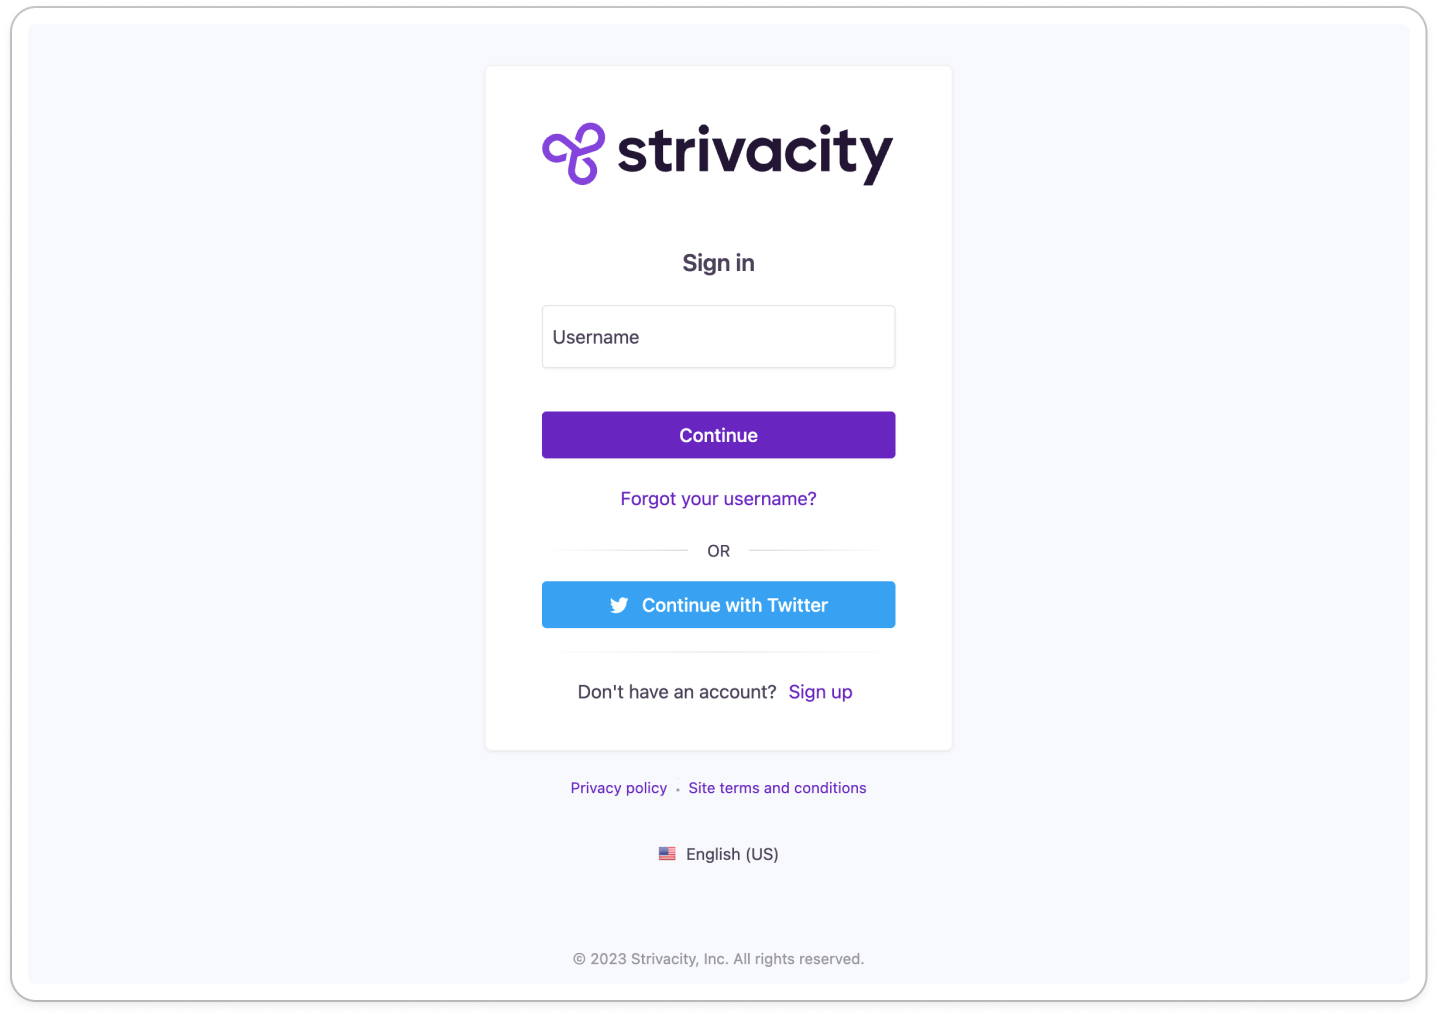
Twitter login setup
Setting up Social Login requires establishing a trusted relationship between Strivacity and Twitter.

There are two steps required to set up your Strivacity instance to use Twitter as a social login provider:
Step 1: Configuring Twitter Authentication in the Twitter Developer Portal
Step 2: Configuring Twitter Authentication in Strivacity
Step 1: Configuring Twitter Authentication in the Twitter Developer Portal
To set and configure Facebook for use as a social login provider, follow these steps:
-
You will first need to apply for a Twitter Developer account via https://developer.twitter.com/en/apply-for-access
-
Once you have an approved Twitter developer account, you will need to create an application within the developer dashboard by logging into https://developer.twitter.com/en/portal/dashboard
-
Once you have logged into the Twitter Developer Portal using your Twitter developer account, navigate to Projects & Apps and then select Overview, as shown below:
.png)
-
Next, select + Create App under the Standalone Apps section of the page.
-
Now enter a name for your application. In this example, we used the name 'Strivacity'. Once entered, select the Complete button.
.png)
- The portal will now show a page with the API key, the API secret key, and the Bearer token. These should be saved somewhere securely since they will be required for Step 2 of this guide when configuring Strivacity.
.png)
- Next, select your newly created application, and within Authentication Settings, click Edit, as shown below:
.png)
- You can now 'Enable 3-legged OAuth', and if you wish Strivacity to collect customer email addresses you can enable this option as well.
If you wish to use Strivacity to collect and use the customer email address then please be advised that you will need to provide URLs to suitable Terms of Service and Privacy Policy
- Within Edit authentication, complete the following information as shown in the table below and click Save.
| Setting | Value |
|---|---|
| Enable 3-legged OAuth | Enabled. |
| Request email address from users | Enabled (if you configure Strivacity to collect this information). |
| Callback URL | The full URL to redirect to after a user authorizes an installation. This will be: https\://[Strivacity instance URL]/provider/continue |
| Terms of Service | URL to your Terms of Service. Required if enabling the synchronization of the customer/users email address. |
| Privacy Policy | URL to your Privacy Policy. Required if enabling the synchronization of the customer/users email address. |
- This completes the configuration of the Twitter Developer Portal. You can now continue with Step 2: Configuring Twitter Authentication in Strivacity, below.
Step 2: Configuring Twitter Authentication in Strivacity
Following these steps will finalize your setup for using Twitter Authentication as a social login provider with Strivacity (and your application).
-
Start by logging into the Admin Console using an admin account
-
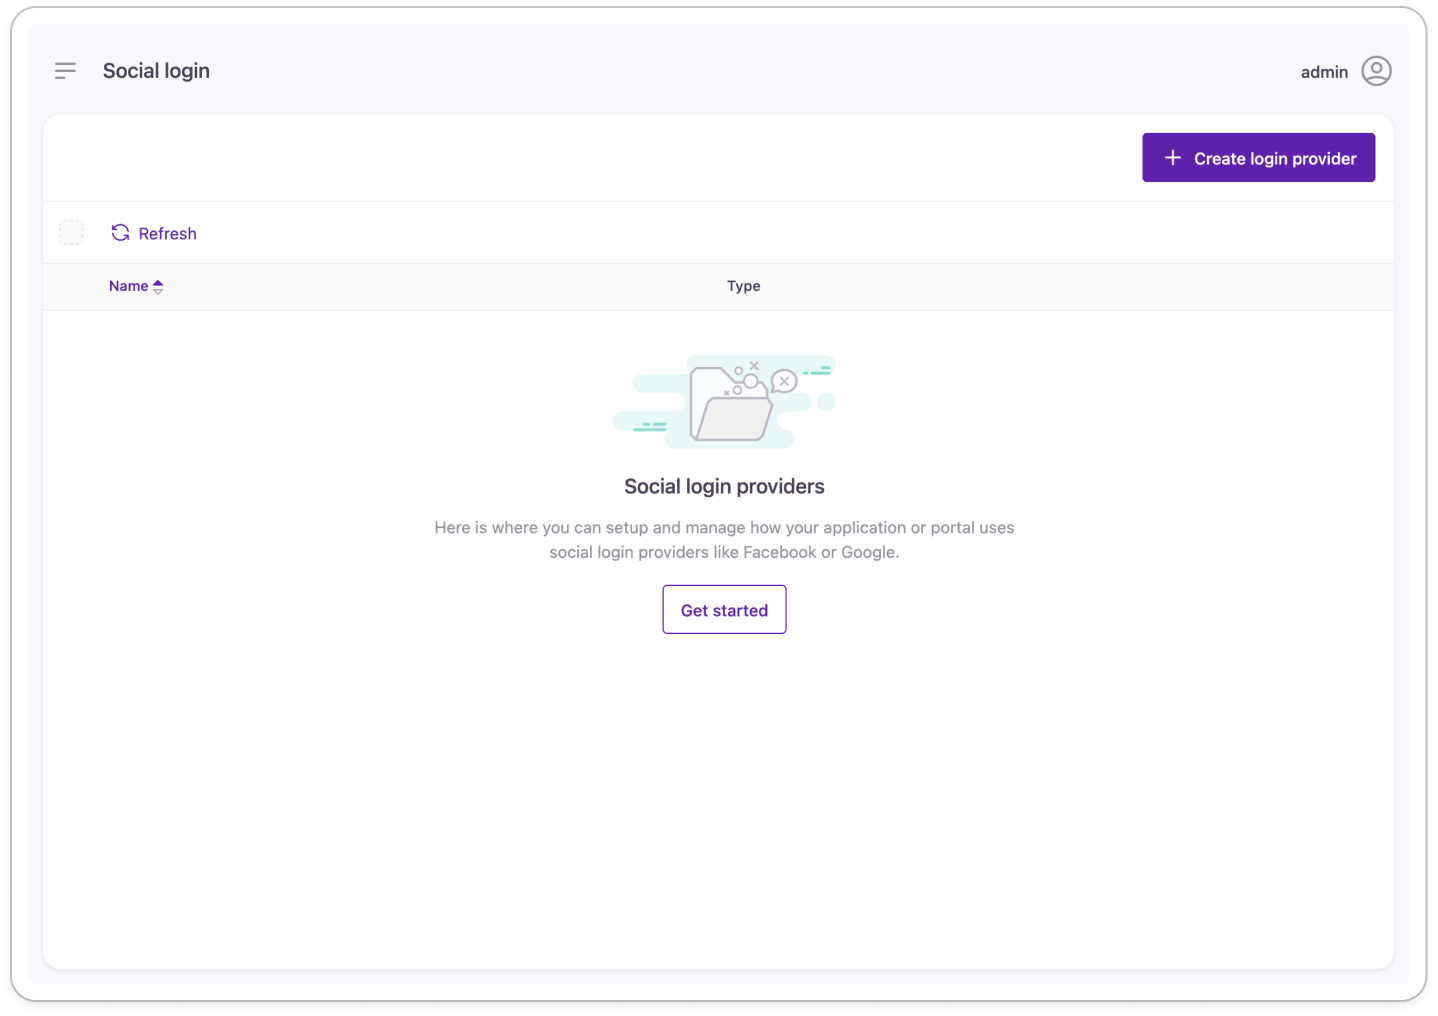
From the left-hand menu, select Identities, then Social Login
-
From the Social Login screen, click the + Create Provider button from the top right-hand corner as shown below:

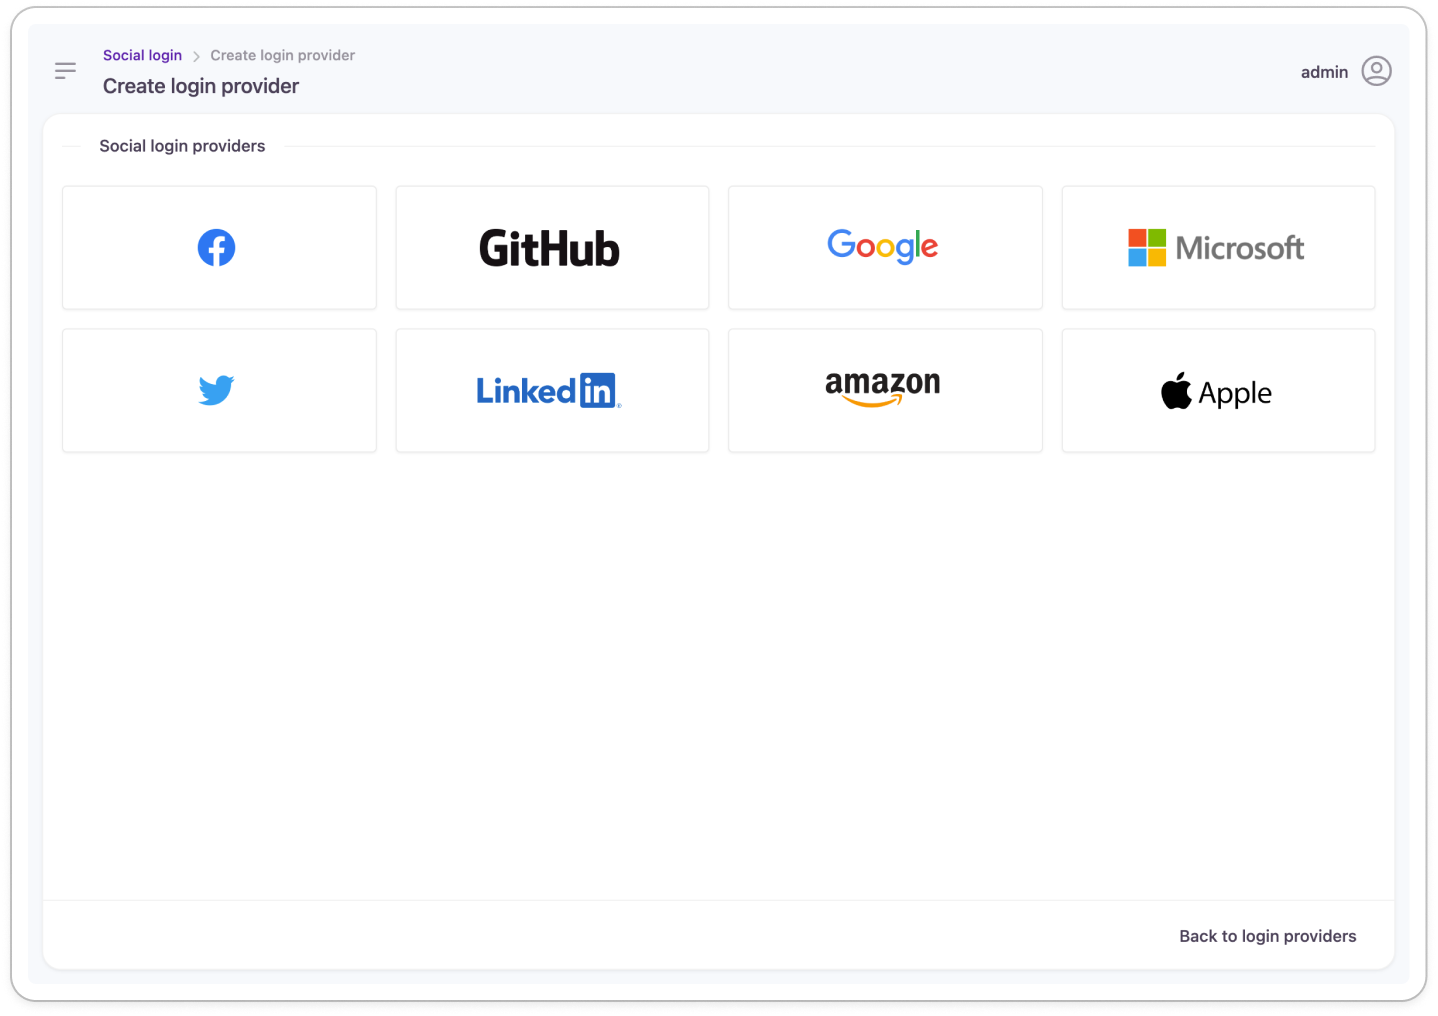
- From the Create Social Login Provider screen click the Twitter icon as shown below:

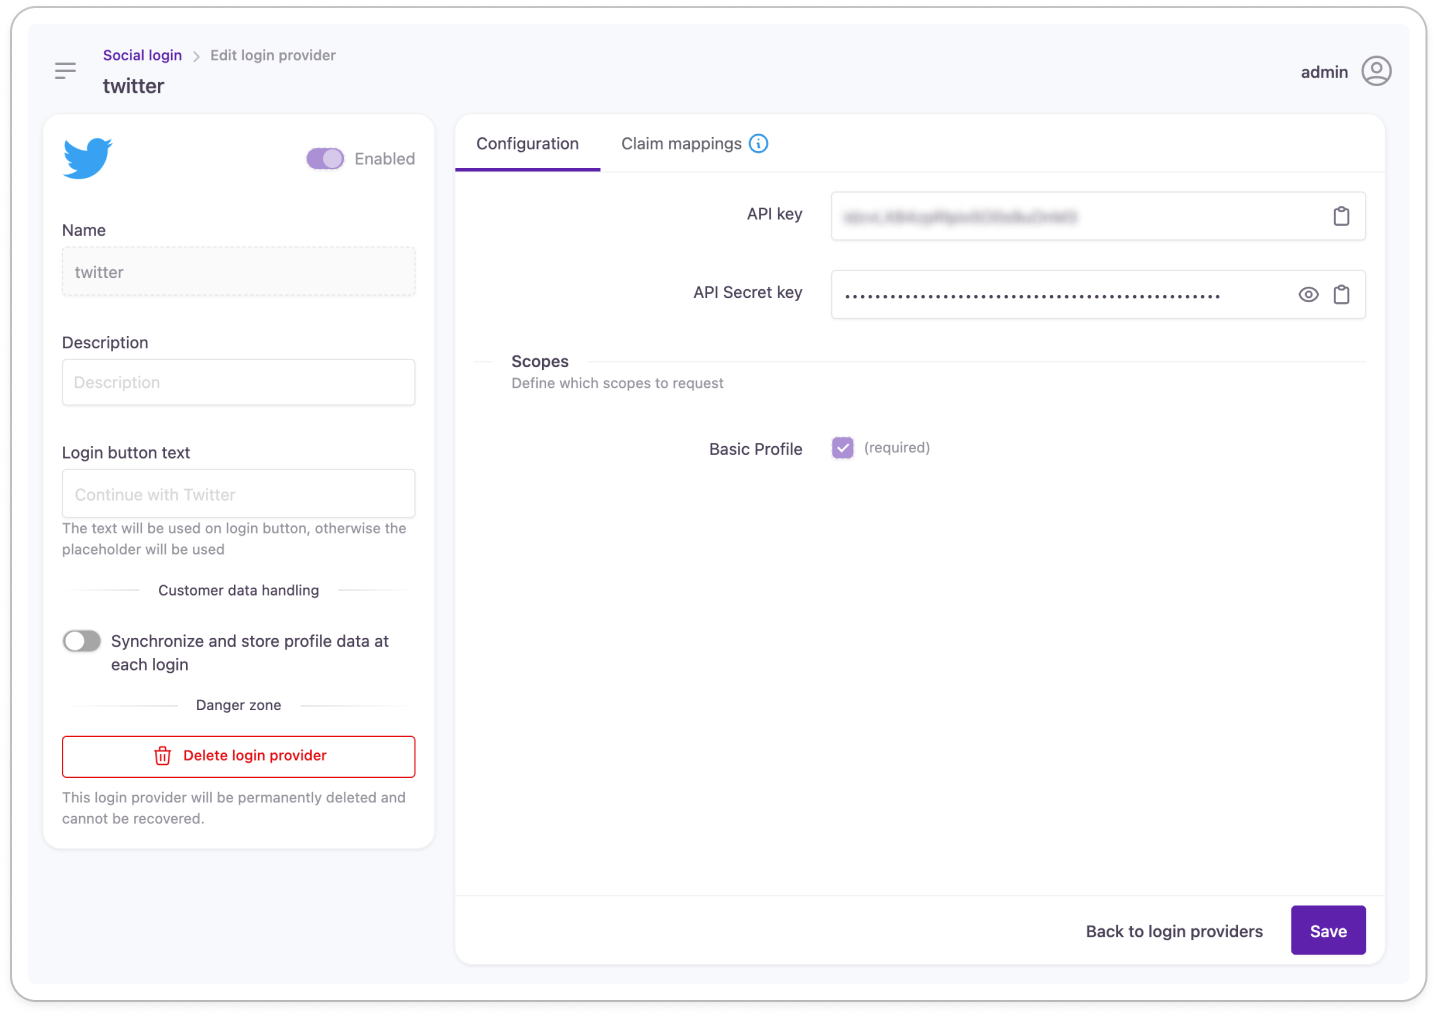
- The Create Twitter Login Provider screen will now be displayed as shown below:

- Next, copy the ClientID and Client Secret from the Twitter Developer Portal Step 7, above and paste the respective values into the Client ID and Client Secret fields.
Strivacity will use the Twitter Basic Profile attributes of the customer's profile. If you choose to synchronize and store this social profile data at each login, then Strivacity will retrieve and store this information which will be visible to the customer in the My Account page, and to any Strivacity Admins when managing the customer identity.
Updated 4 months ago
