Setup a SAML2 integration
Learn more about how to setup a SAML integration with Strivacity, providing your customers single-sign-on to any other applications that you may want them to use.
Setup an Application Policy within Strivacity (using SAML2)
To create an Application, follow these simple steps.
-
Start by logging into the Admin Console using an admin account.
-
From the left-hand menu, select Applications.
-
If you're just getting started with Strivacity, the applications list will be empty. If any existing applications have been configured then they will be listed here.
-
To create a new application, choose the + Create Application option.
-
For guidance on how to fill out the settings under the General tab, visit the Application settings article.
-
Select the Policies tab and choose which policies you would like to assign to the application.
-
You can choose to add social login or enterprise login providers under the Login providers tab.
-
After completing these steps, select the Save button to create the application.
-
Find your newly created application in the list and select it to edit.
-
The Clients tab will now be available where you can add a SAML2 client by selecting +Create client and SAML2 using no-code components.
Setup SAML2 Application Properties
To learn about the configuration of the settings under the General, Application URLs, and Application launcher tabs, visit the documentation about Application clients.
- In the SAML2 tab, you can configure all SAML2-specific settings required to integrate with your SAML2 application. The following options are available:
| Field Name | Description |
|---|---|
| SP Entity ID | This is the primary identifier used by Strivacity to trust the SAML Service Provider. |
| Assertion Consumer Service (ACS) URLs | The ACS URL is the endpoint on the application (Service Provider) where the Strivacity (the Identity Provider) will redirect to with its authentication response. |
| Default ACS URL | Strivacity uses RS256 as the default algorithm for signing the JSON Web Tokens (JWTs). RS256 generates and uses an asymmetric signature. |
| Single Logout (SLO) URLs | The URLs to which users are redirected when logging out from a service. These endpoints coordinate logout actions across multiple services within the SAML integration, ensuring users are fully signed out from all related sessions. |
| Dialect | Here is where you can specify the claim dialect that is used by this Application. Depending on the SAML2 application and its preferred claim mapping you will need to select urn:oasis:names:tc:SAML2:2.0:attrname-format.ur or https://schemas.xmlsoap.org/ws/2005/05/identity/claims.xsd. If you are unsure, please consult the application owner/vendor. |
| Name ID format | The Name ID format defines the format of the NameID element in the SAML assertion, which represents the customer’s identity during the authentication process. The format tells the IdP and SP how the customer's identity is represented. The options transient, persistent, email address, and unspecified are available. |
| Name ID value | The Name ID value defines which attribute from the identity store is used to populate the NameID field in the SAML assertion. This allows you to choose what information will represent the customer during authentication. |
| Signing certificate | A x.509 certificate used to verify the authenticity and integrity of digitally signed SAML messages from a service provider, such as authentication requests. logout request, and logout responses. |
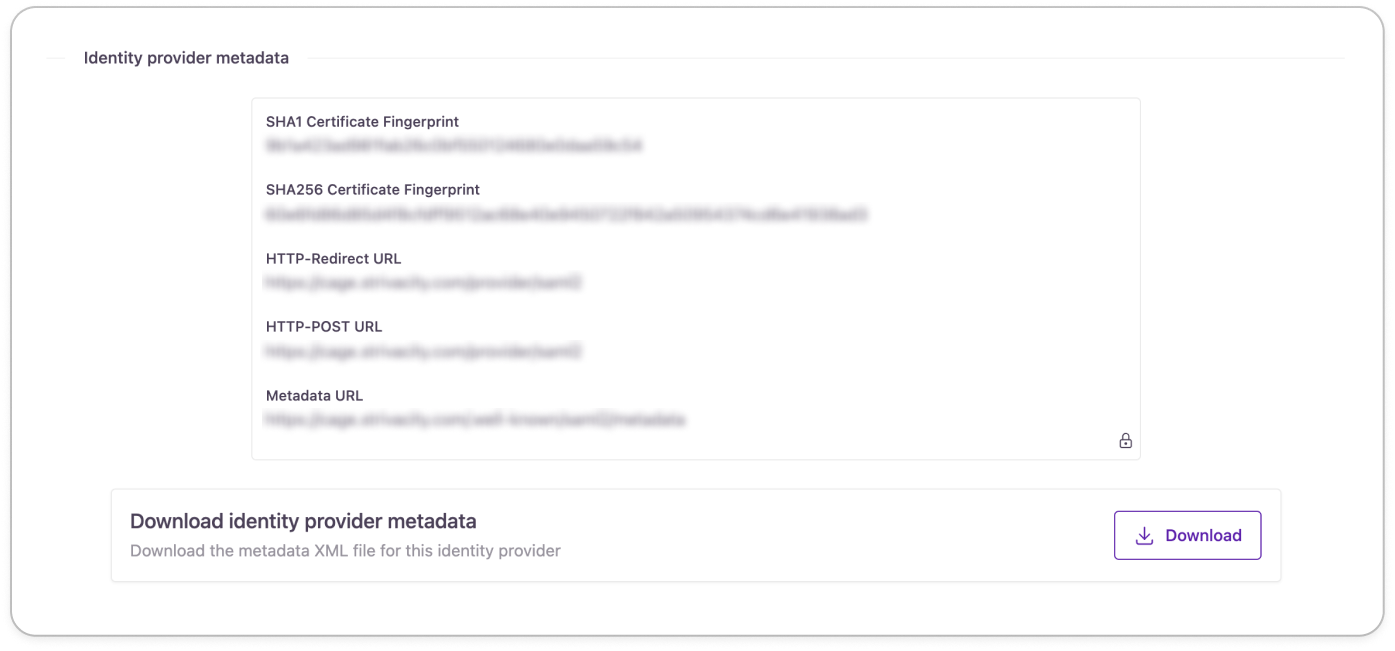
| Identity provider metadata | Here you can download the Metadata for this Identity Provider. Some applications (Service Providers) may request this information when setting up with Strivacity. |
-
After completing all fields, select Save to finalize the setup for your SAML2 application.
-
After saving the SAML2 configuration for this application, you’ll have the option to download the Metadata XML file to assist with integration with the target SAML2 application (service provider).

Well-known URLs
Use the table below to quickly give you the well-known URLs for your Strivacity instance.
| Name | URL |
|---|---|
| Well-known SAML2 metadata | /.well-known/saml2/metadata |
Updated 7 months ago
