Creating a notification policy
Learn more about how to create an new customer notification policy.
To create a Notification policy, follow these simple steps. To use the Notification once you've created it, simply follow the Assigning a Notification Policy to an Application steps.
-
Start by logging into the Admin Console using an admin account.
-
From the left-hand menu, select Notifications.
-
Under the Notification Policy screen, you will see a listing of all Notification policies. If this is a new Strivacity instance, then you will only see the Default Notification Policy, as shown below:
Notification policy list
-
To create a new Notification policy, click the + Create Notification Policy button in the top right-hand corner.
-
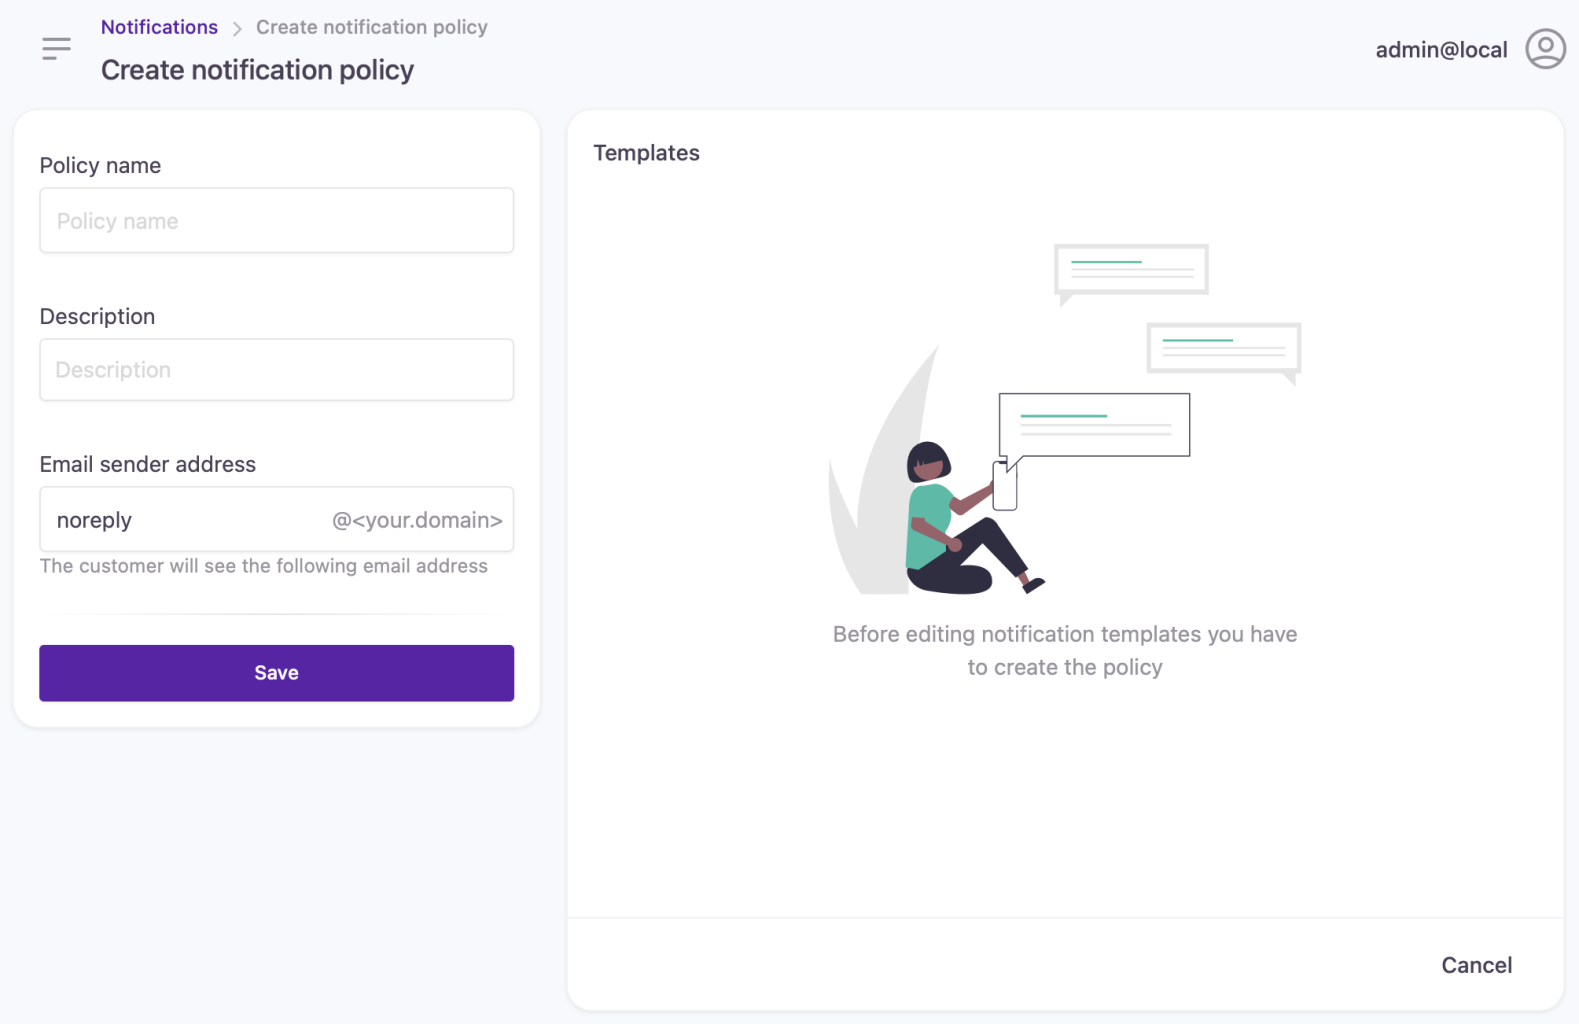
The Create Notification Policy page will be displayed, as shown below.
You will be required to provide a policy name which will be used throughout Strivacity to reference this policy. Once you have entered a Policy Name and optionally, a Description or a change to the Email sending address, click Create.

New notification policy
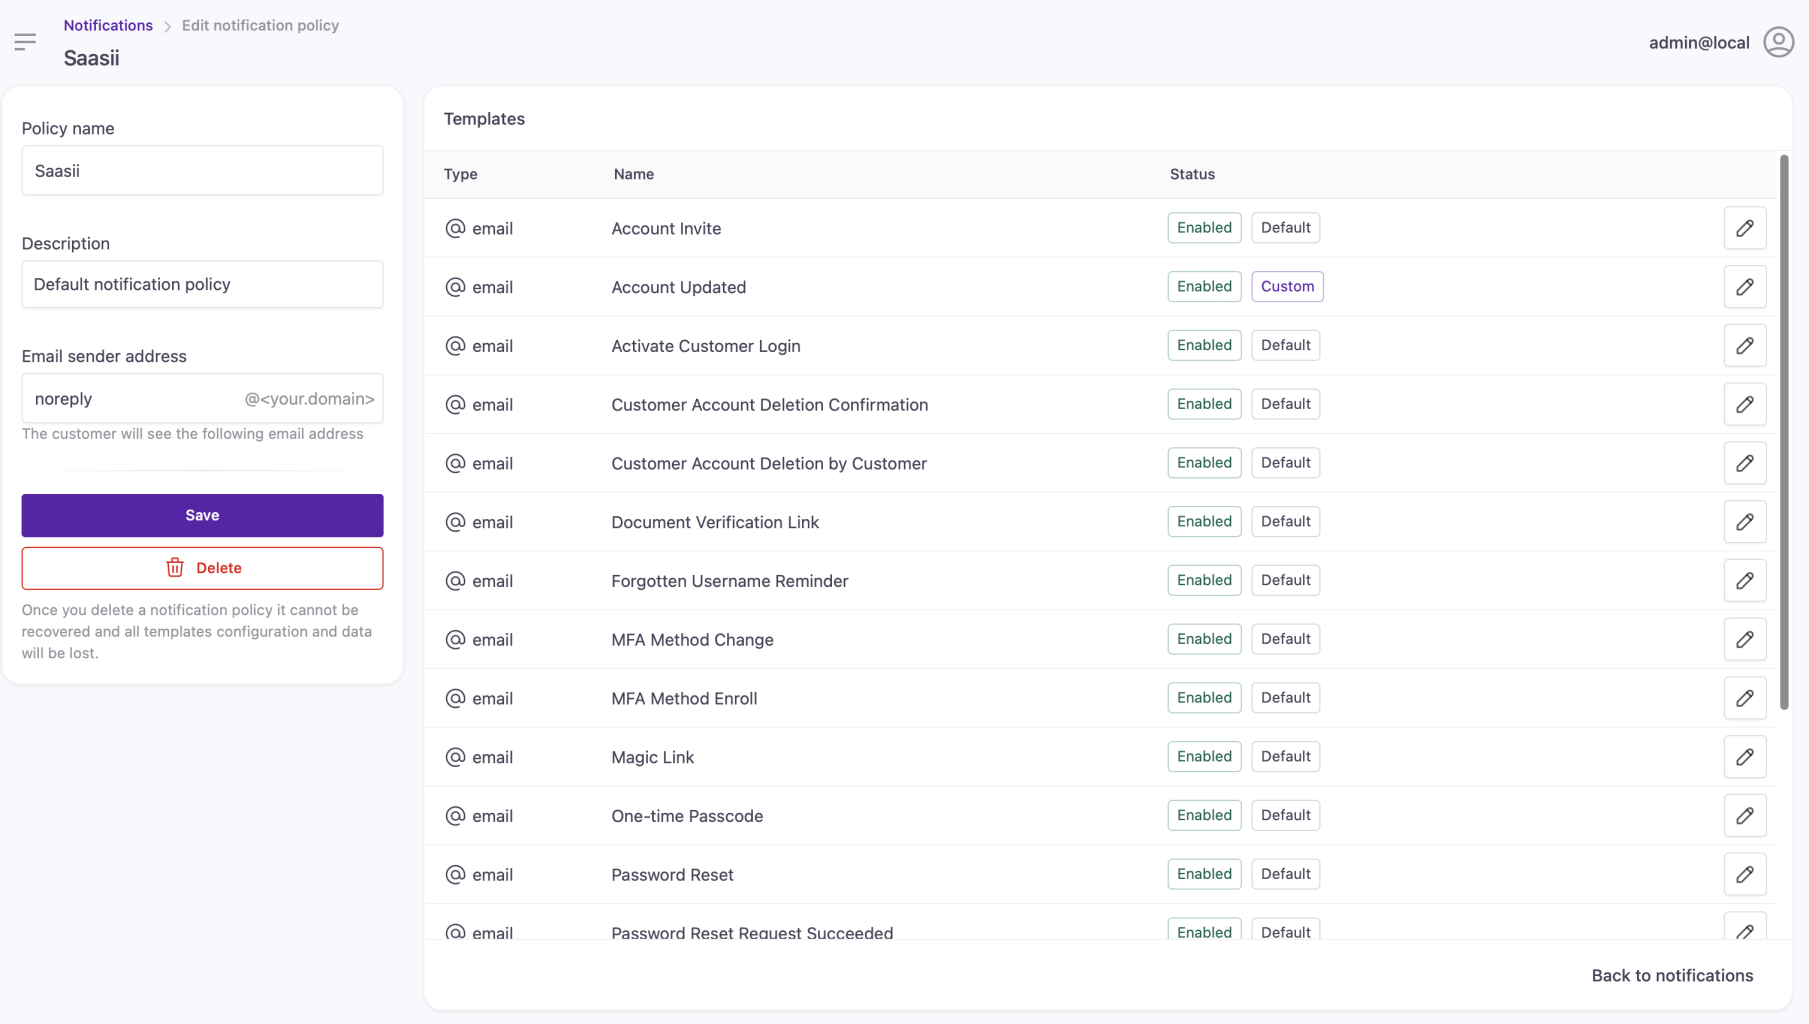
- Next, you will be shown the Edit Notification Policy page as displayed below.
Template statuses
See if a notification template is enabled, disabled, or has been customized right from the notification list under the notifications template settings:

Notification templates
- To customize a specific Notification Template click the row of the template that you wish to edit.
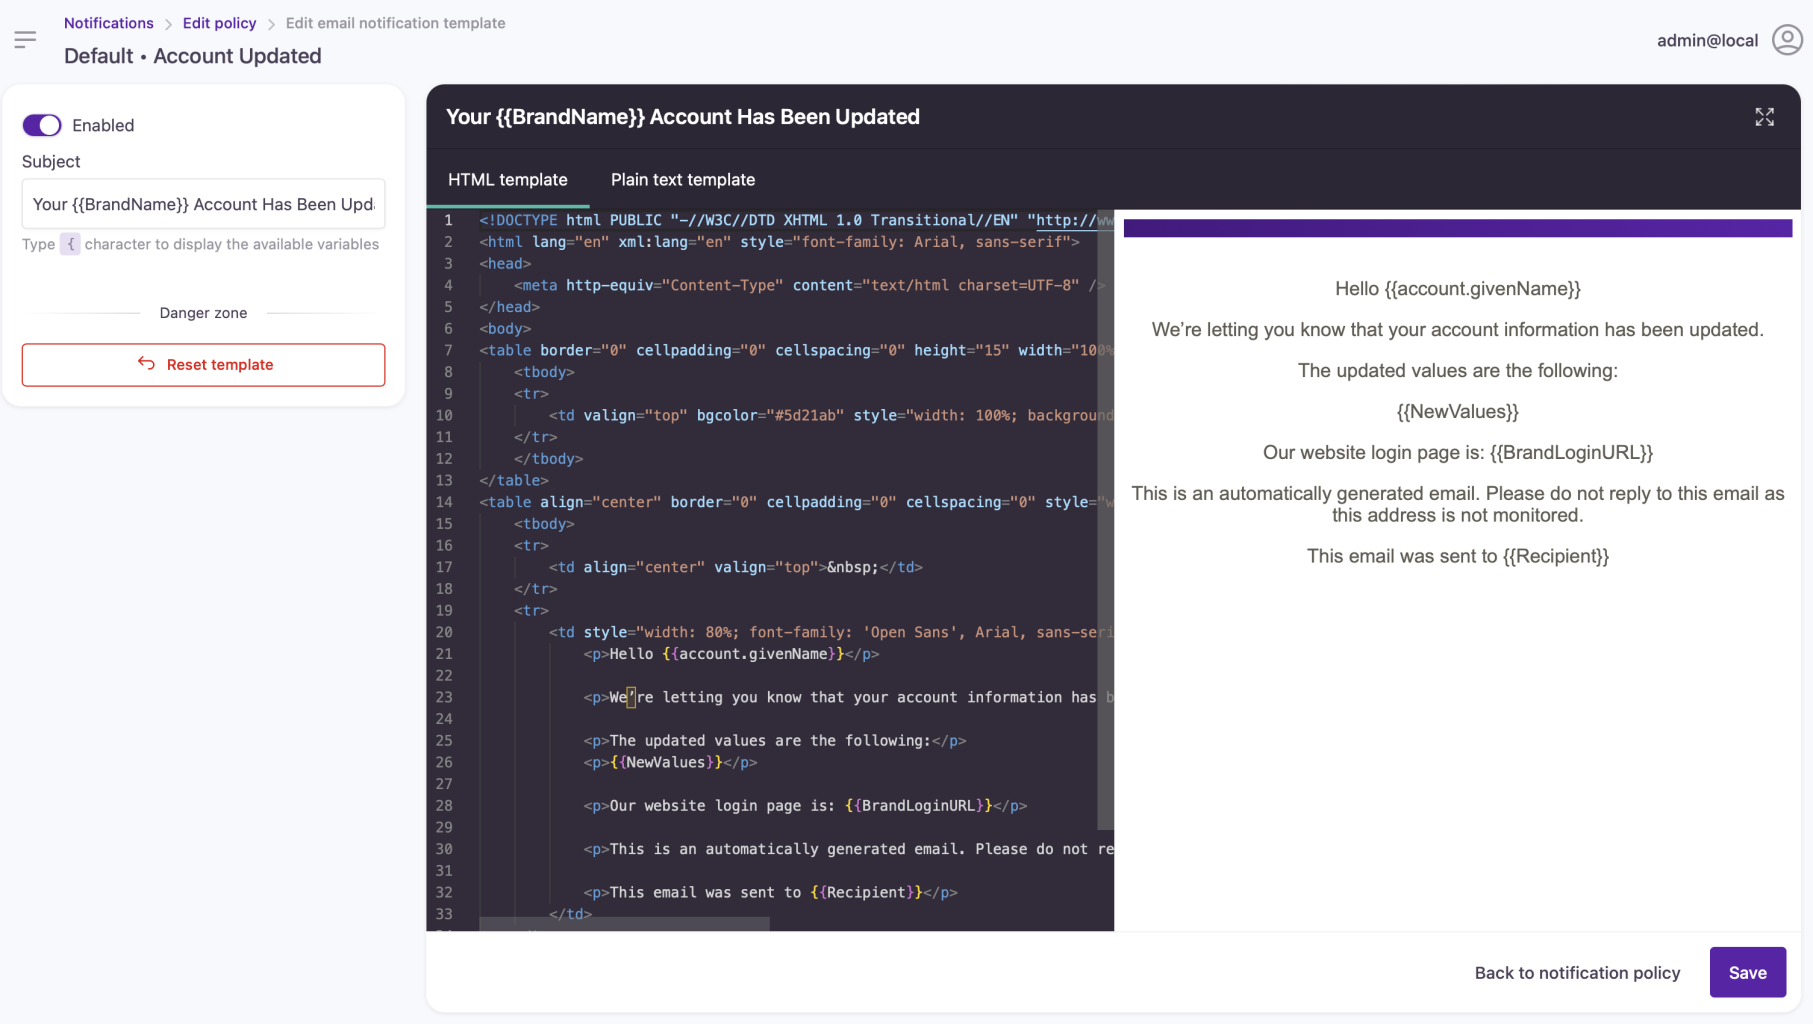
The Edit Template page will be displayed as shown below (the example we're using here is for the Customer Account Update email notification).

Edit notification template
- When you have finished making any changes, click Save to make changes to the Notification template.
See Customizing Email Templates or Customizing SMS Templates for more information on the customization options that are available.
Updated over 1 year ago
