General instance information and settings
Learn how to manage general configuration of your Strivacity instance.
To manage the general configuration of your Strivacity instance, follow these simple steps.
-
Start by logging into the Admin Console using an admin account.
-
From the main menu, select Instance Configuration > Instance Information.
-
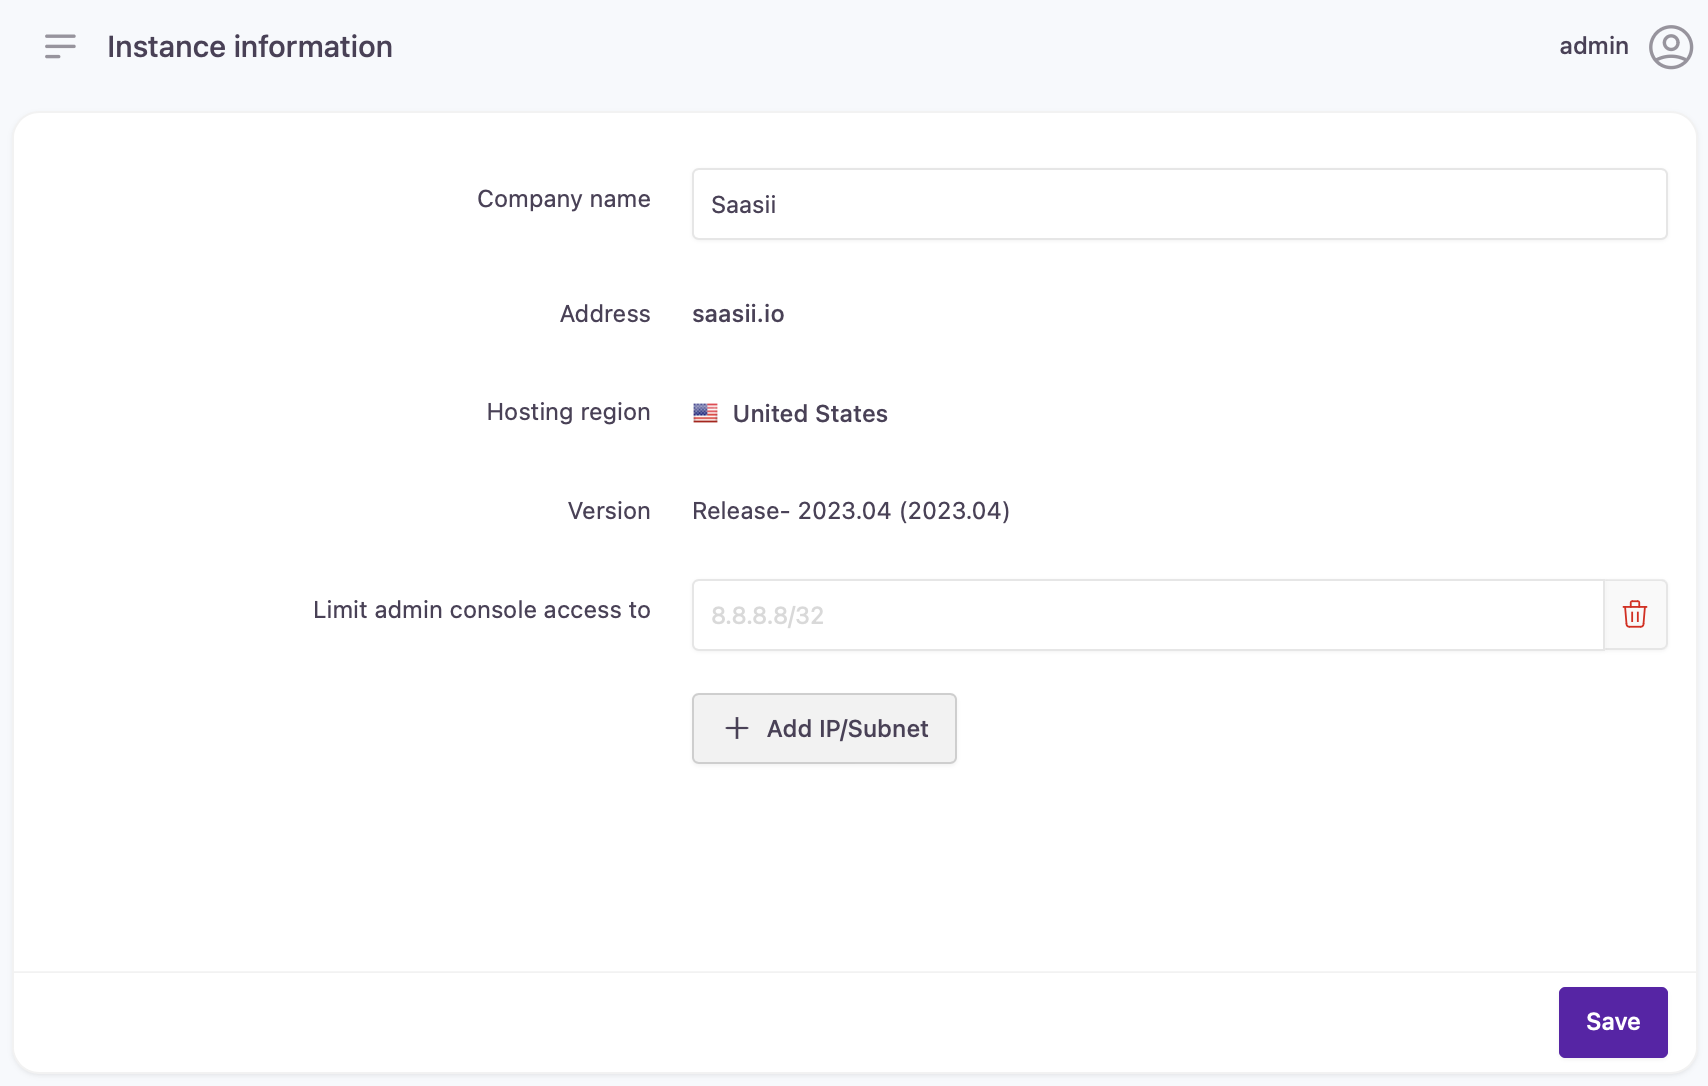
Under the Configuration screen, you will see a listing of all of the configuration options as shown below:

Admin Console information and settings
- The table below explains each of the pieces of information or options that can be configured within Configuration. Once you've made any necessary changes, click the Save button.
Settings
| Option | Description |
|---|---|
| Company Name | This is the value of the company name attribute that is used as a variable through Strivacity-hosted component interfaces and customer notifications |
| Tenant Address | This is the FQDN (fully qualified domain name) of this instance of Strivacity. This address is key to accessing the admin console and using APIs |
| Hosting Region | This is the country or region that Strivacity is deployed to. This would have been chosen during the creation of this Strivacity instance. For more information about country/region options see Regional Availability. |
| Limit Admin Console access to | With this setting you can add trusted networks to enhance security. The settings allow you to limit administrative access to the Admin Console to certain networks.
⚠️ Network settings can't be saved if your current IP address is not included in any of the provided networks. |
Updated over 1 year ago
