Rebranding the Admin Console
Learn how to use your own brand's logo and color scheme with the admin console.
Set Up Branding For the Admin Console
-
Log into the Admin Console using an admin account
-
From the left-hand menu, select Instance configuration > Admin policies > Branding
-
You'll see that they're several options available as shown in the screenshot below
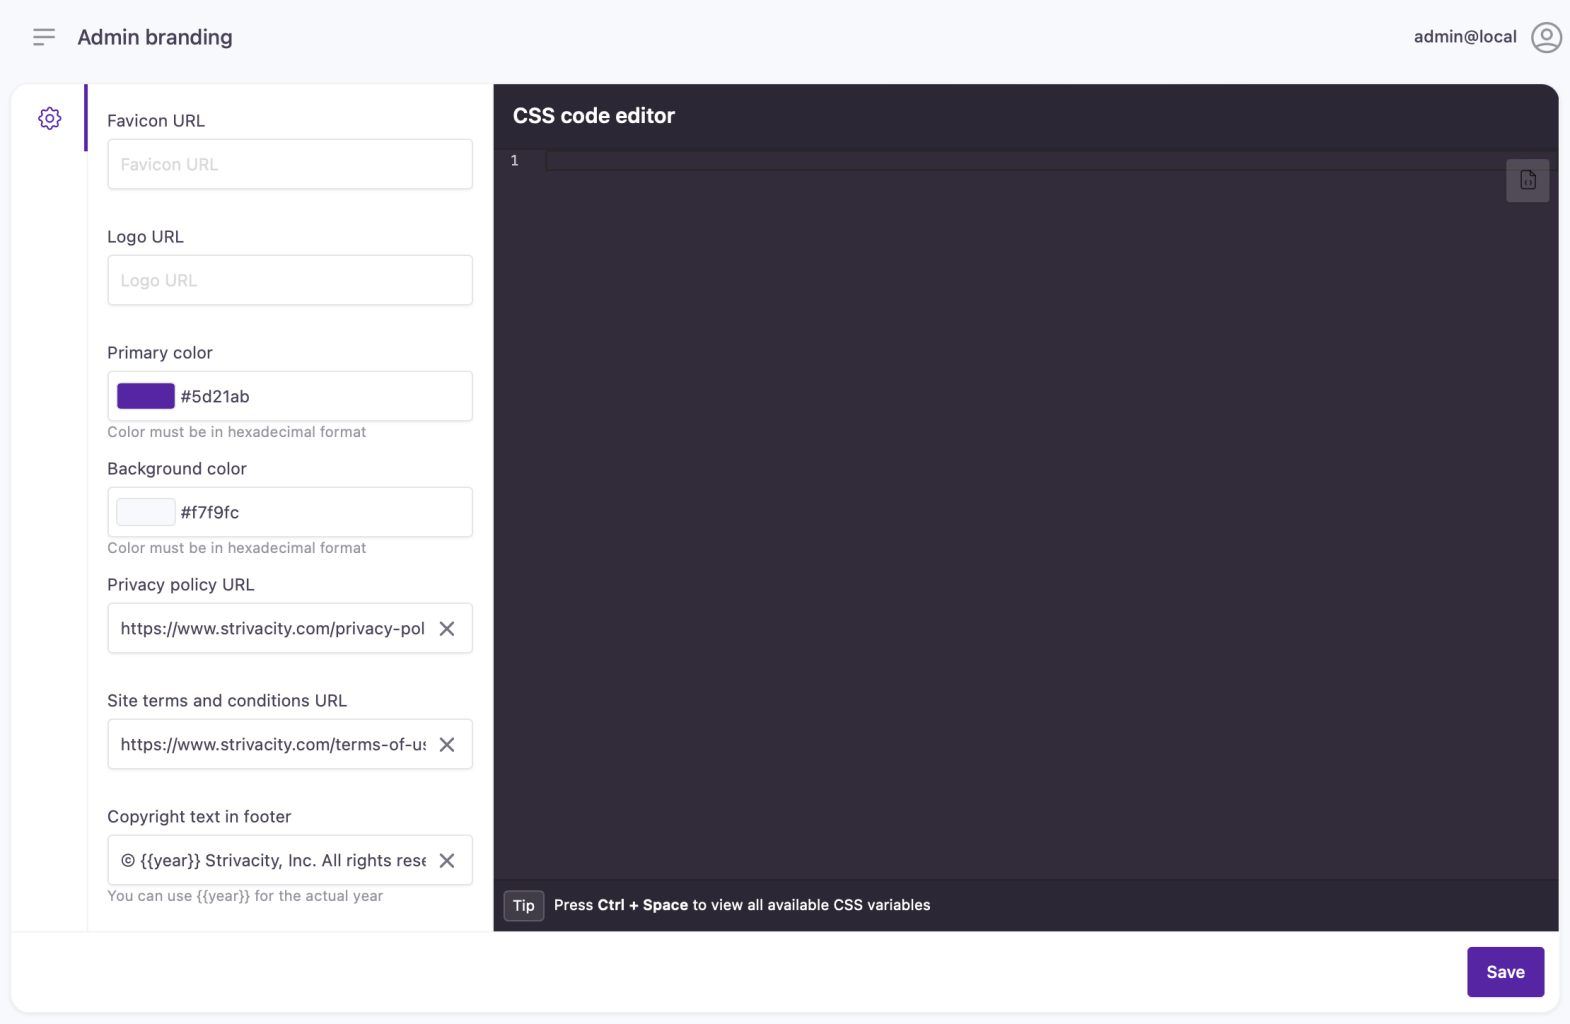
The following table contains an overview of the available options:
| Option | Description |
|---|---|
| Favicon URL | Add a URL that points to the favicon you'd like to use for this brand policy |
| Logo URL | Specify an Internet-accessible location. The image file format must be an SVG or PNG with a minimum height of 75px and a maximum height of 100px. |
| Primary Color | The Primary Color must be defined in hexadecimal format. |
| Background Color | The Background Color must be defined in hexadecimal format. |
| Privacy Policy URL | Customize the URL behind the privacy policy link displayed on the admin console. |
| Site Terms and Conditions URL | Customize the URL behind the site terms and conditions link displayed on the admin console. |
| Copyright Text in Footer | Change the text displayed as the copyright information on the admin console. |
- Once you selected your desired logo and color scheme, click 'Save' at the bottom of the page. Any changes will be applied and will be immediately visible at the login, the my account page, and the admin console menu.
Updated 25 days ago