Phone-based verification
Learn how to set up identity verification that affirms customer identities using phone carrier information.
Phone-based verification
Phone-based identity verification affirms a customer's identity by matching the personal information provided by the customer against their phone carrier records. You can choose which fields to use for verification, match threshold information for each field, how many fields must pass, and select fields that must match for successful verification.
Phone-based verification is currently only available in the US and Canada.
Phone-based identity affirmation settings
Set up phone-based verification
-
Open an identity verification policy.
-
Go to 'Phone-based identity verification' in the policy.
-
Click the + sign to configure the step.
Phone-based risk evaluation step configuration
- Inside the step, set up a native claim at 'Phone number availability'.
Phone-based identity verification will use the phone number that goes into the account attribute that’s mapped to the selected native claim.
Select a native claim that's mapped to an account attribute that's created for collecting a customer's phone number.
You can have customers provide their phone numbers when signing up or include a data collection step in your identity verification flow.
Attribute match
Set up match thresholds and failure rules for each customer attribute.
- Select one or more attributes you want to use for data matching.
The more attributes you check, the higher the confidence of identity affirmation.
There are 9 different attributes available for matching:
- Given name
- Family name
- Street address
- City
- State
- Postal Code
- Country code
- Date of birth
- National ID
ZIP+4 codes are currently not compatible with attribute matching. It is recommended to opt for the standard 5-digit postal code instead.
Attribute match configuration
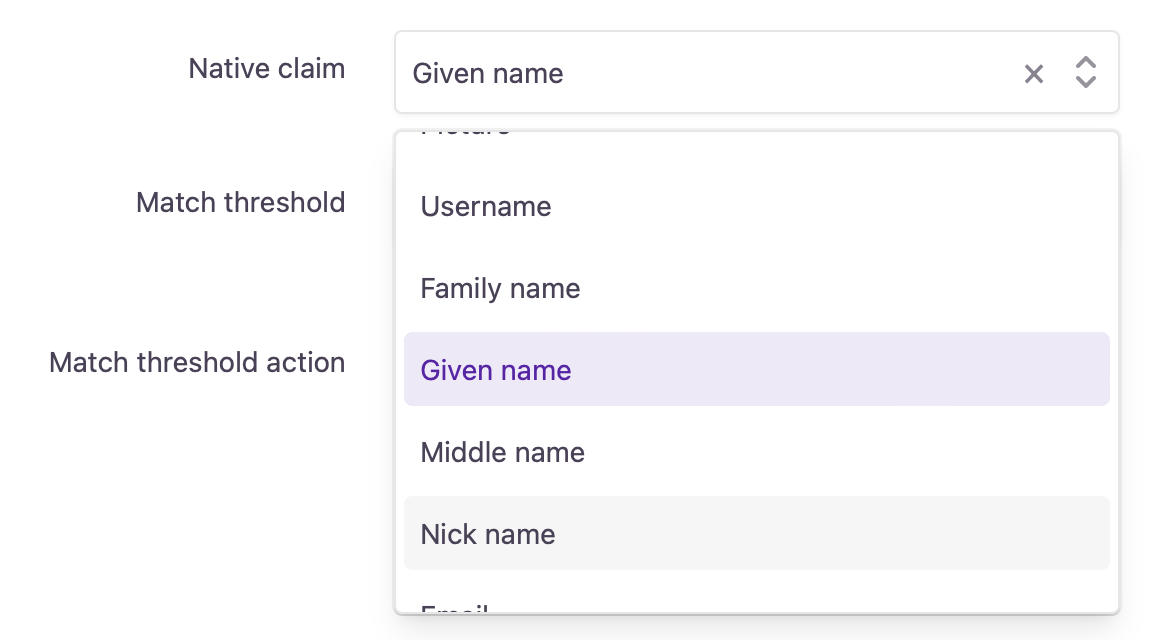
Native claim
- Set up the governing native claim.
Select a native claim that's mapped to an account attribute that's created for collecting the corresponding customer data.
The customer data that goes into the account attribute mapped to the selected native claim will be checked against the phone carrier records.

Native claim selector
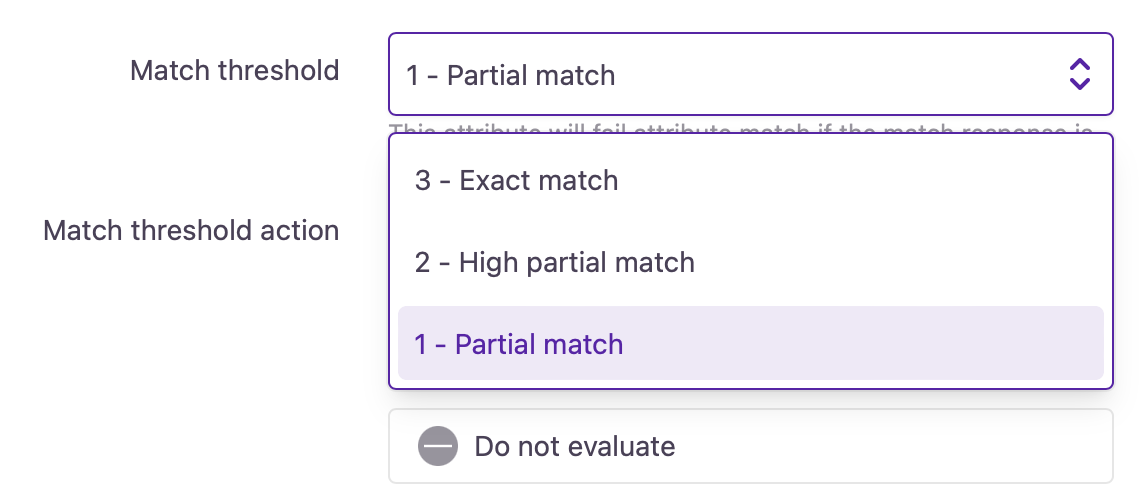
Match threshold
- Set up the success threshold for data matching.
There are 3 different match thresholds you can choose from.

Match threshold selector
- 3 - Exact match Require customers to enter details exactly how they have them on record with their carrier. If the data provided by the customer is not identical to the phone carrier records, then attribute matching will fail.
- 2 - High partial match You allow customers to make a few minor mistakes, like typos, or to enter commonly known variants of their first name, last name, street address, etc.
- 1 - Partial match: Allows more inaccuracies than just a simple typo. Customers can enter abbreviations or not-so-common variants of their first name, last name, address, etc.
In addition to the thresholds described above, two other outcomes can appear in the Account Events log when using phone-based verification:
- No match: No correlation exists between the provided phone number and the personal details.
- No data: The phone carrier has no record of the provided phone number.
These outcomes indicate either a failed identification attempt or a lack of data from the carrier.
Match threshold action
- Decide what happens if data matching fails.

Match threshold action selector
- Add to attribute failure count If data matching fails, it will add to the verification step's total failure count. If the verification step's total failure count reaches a specified number, the step fails.
- Fail verification If data matching fails, identity verification will fail immediately, regardless of the total failure count.
Customers will continue with the selected Failure action if they fail phone-based verification.
- Do not evaluate The data point will not be evaluated.
Attribute match failure count
Here, you can set up how many failed data matches result in a failed phone-based verification step.
Every attribute field that has Add to attribute failure count configured will add to the count in case customer-provided data doesn't match carrier records. If the specified count is reached, the step comes to a failure.
Actions
Decide how the identity verification flow should move forward from either outcome.
- Success action: the customer can either
- go to a 'Next verification step' OR
- can be allowed to log in by selecting 'Exit verification flow'.
In case of a Success action, the 'Exit verification flow' logs the customer into their account.
- Failure action: the customer can either
- go to a 'Next verification step' OR
- can be removed from the flow either by
- displaying a 'Failure message' OR
- directing the customer to the 'Exit verification flow'
In case of a Failure action, the 'Exit verification flow' leads to a session timeout.
Updated 9 months ago
